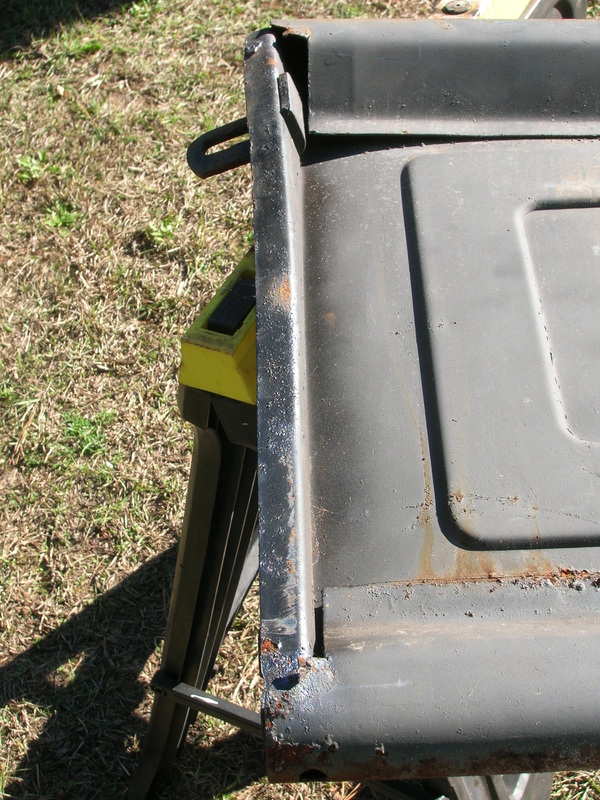
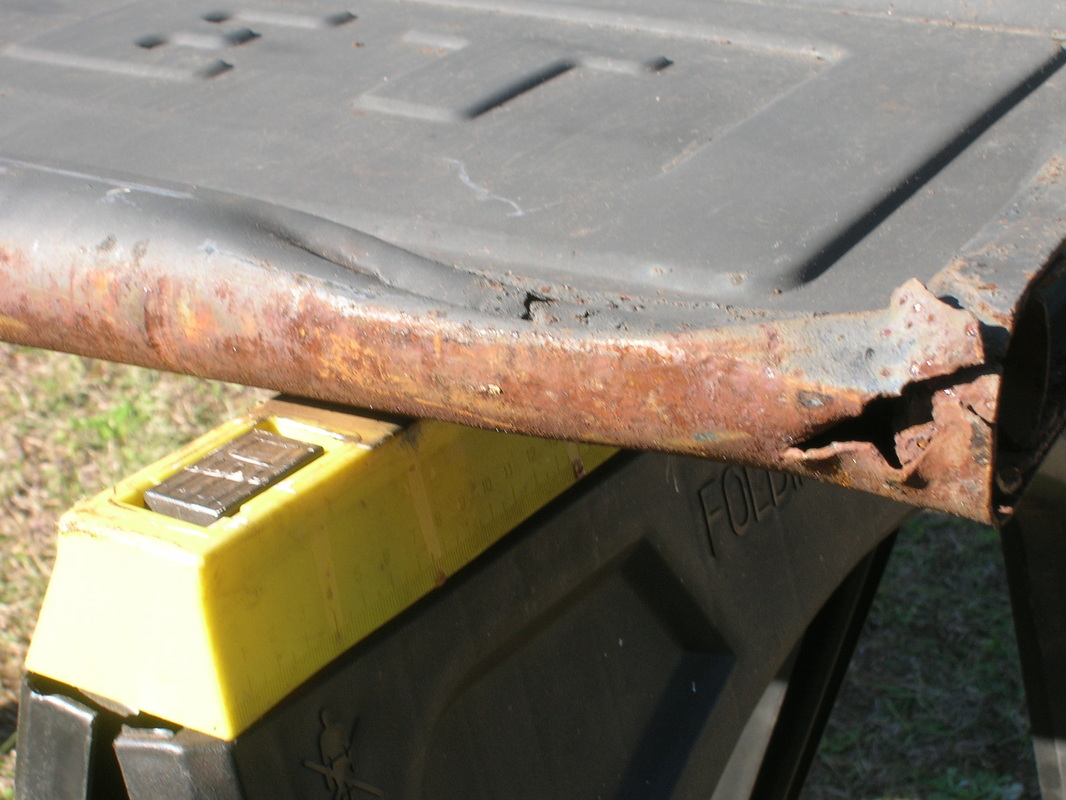
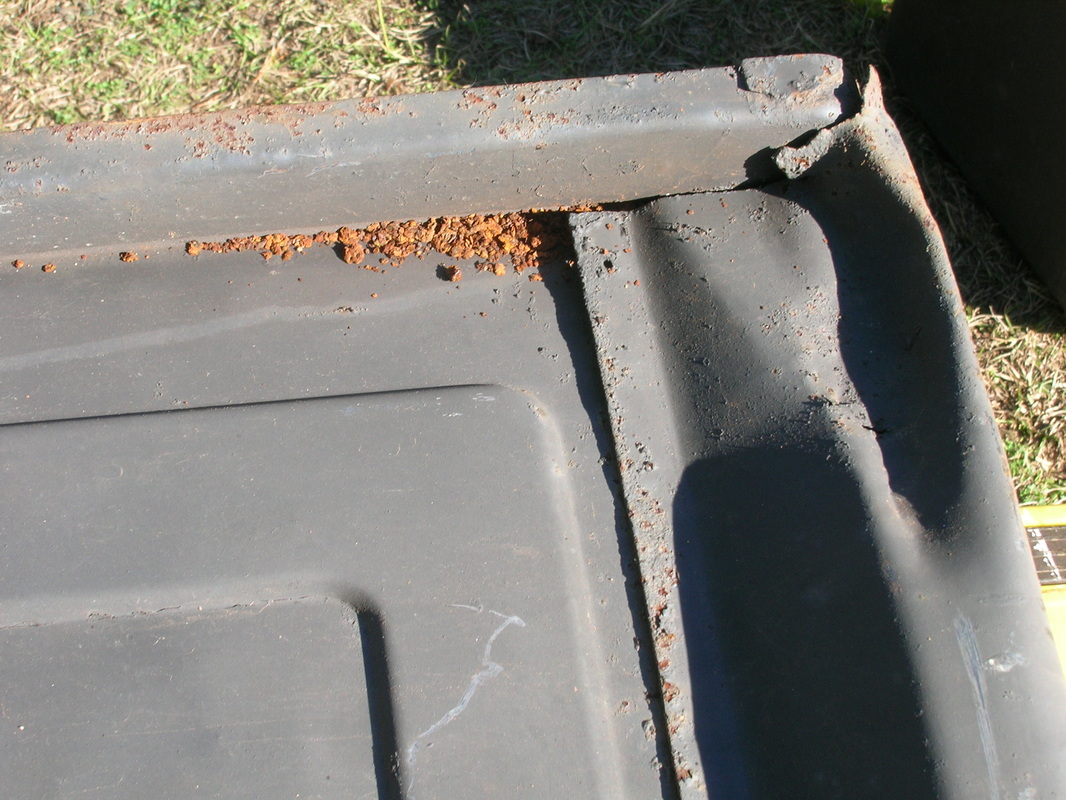
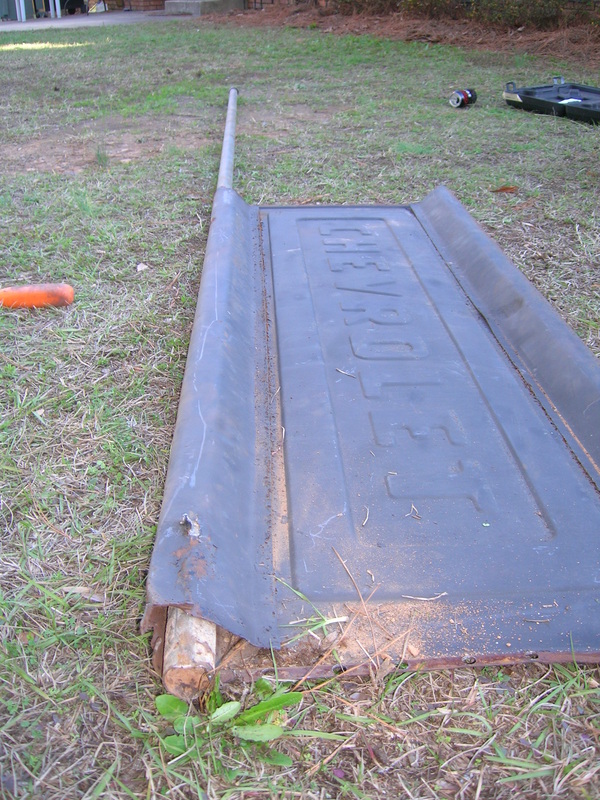
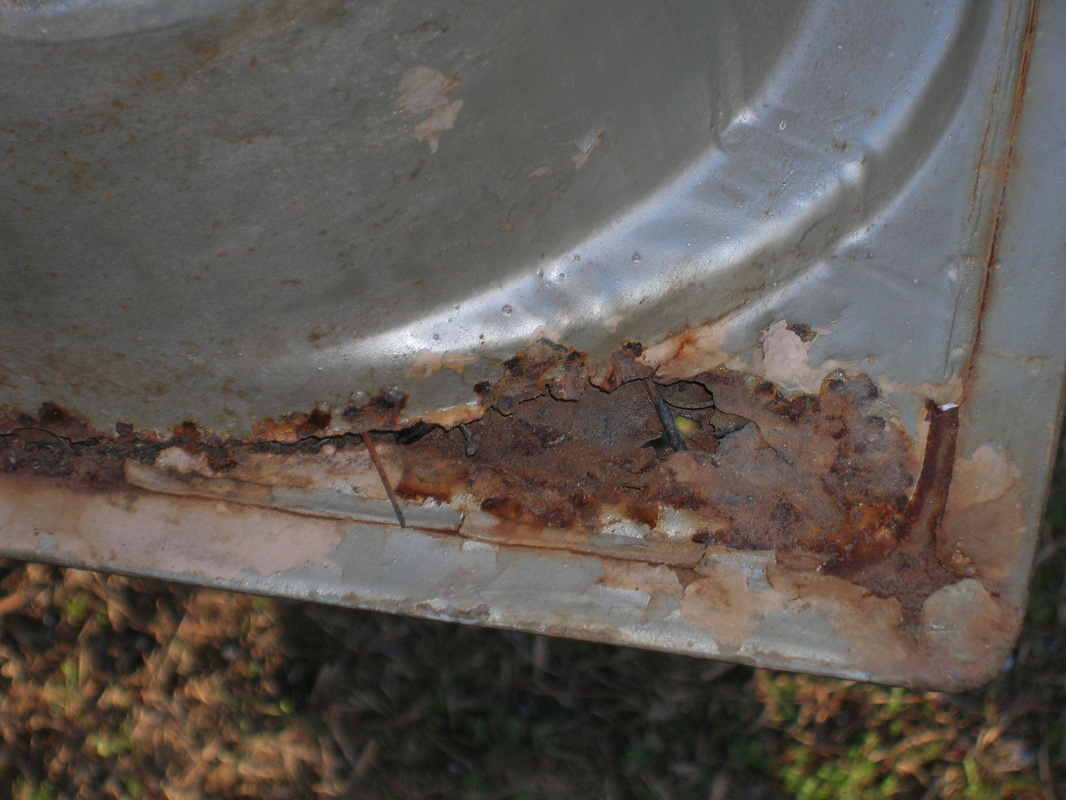
My tailgate is in decent shape, but has seen some damage over the years. The left side end piece was twisted out of shape - probably by hooking the chain with the tailgate down and then standing on the tailgate. The right side had a nasty dent in the lower right corner. 
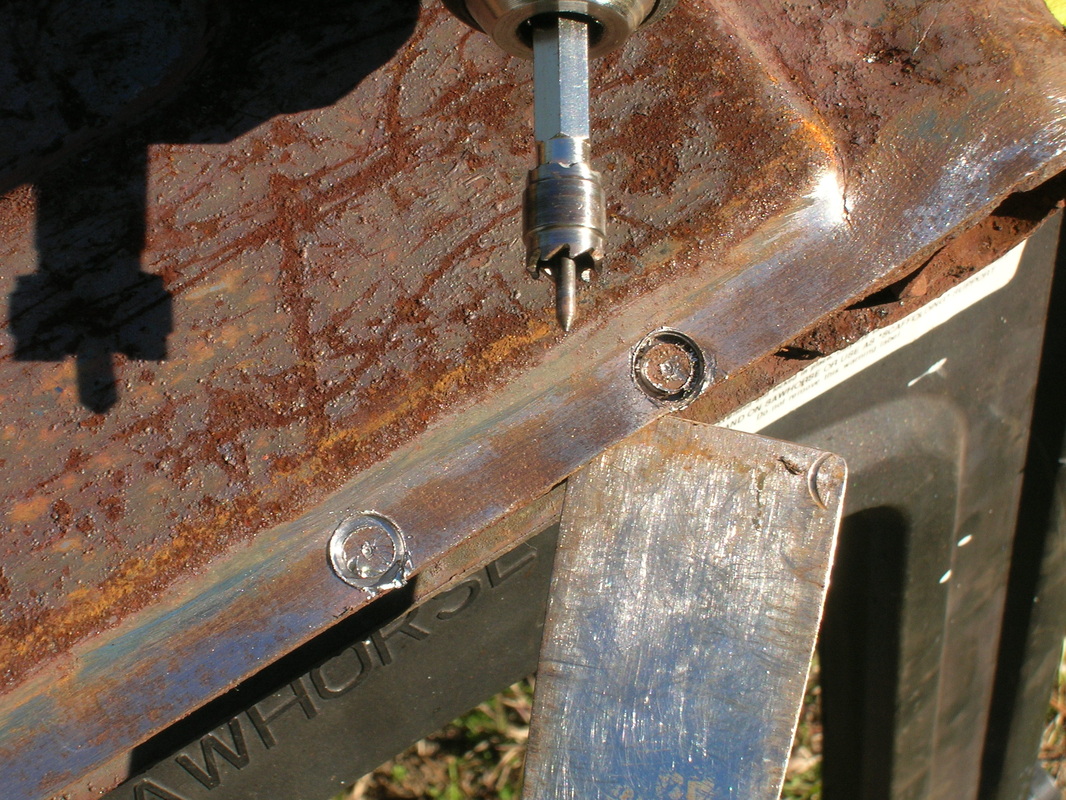
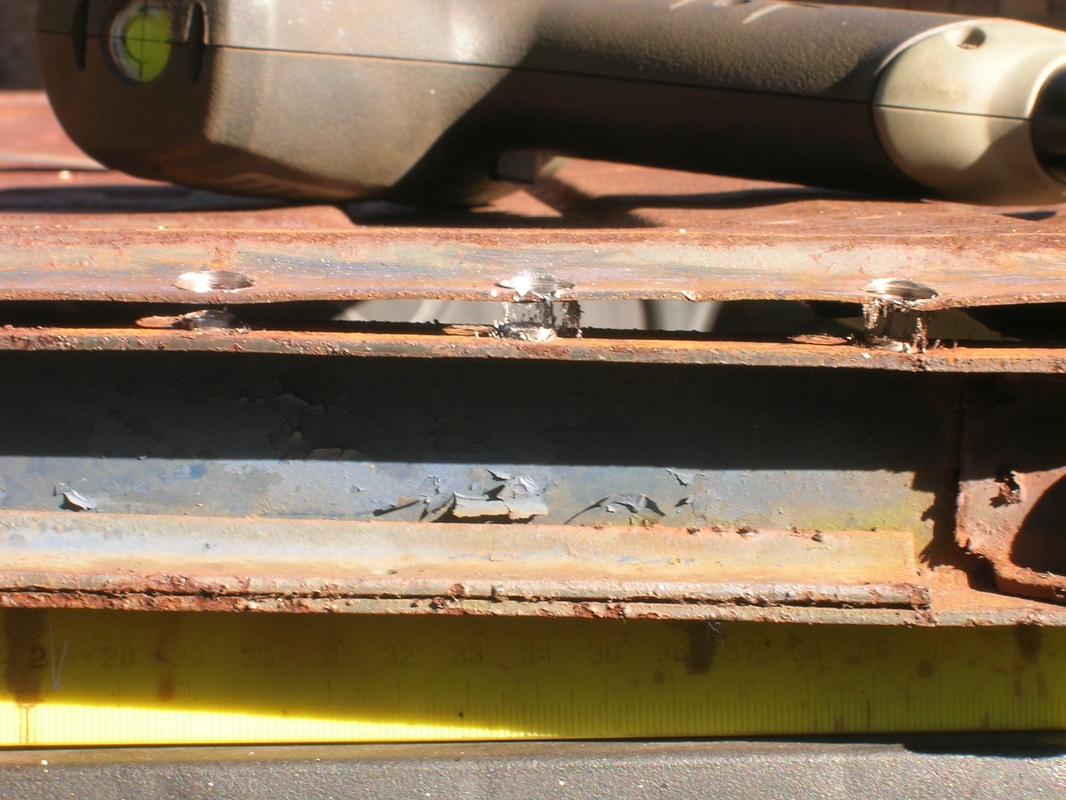
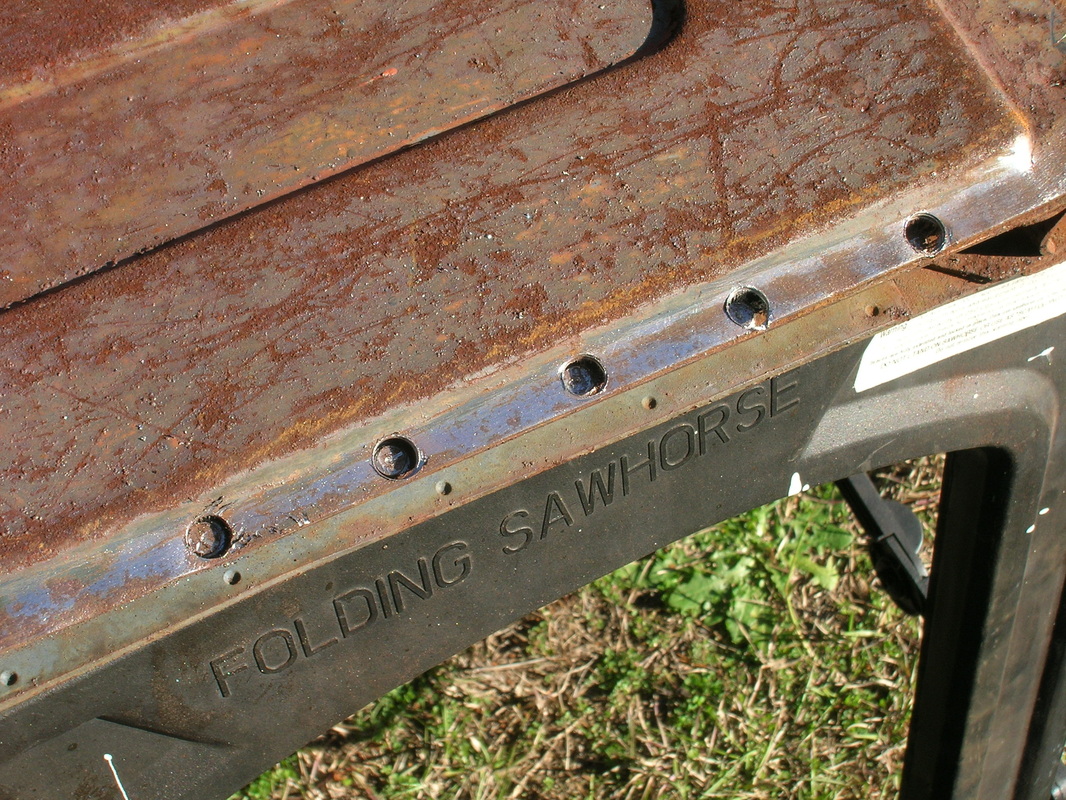
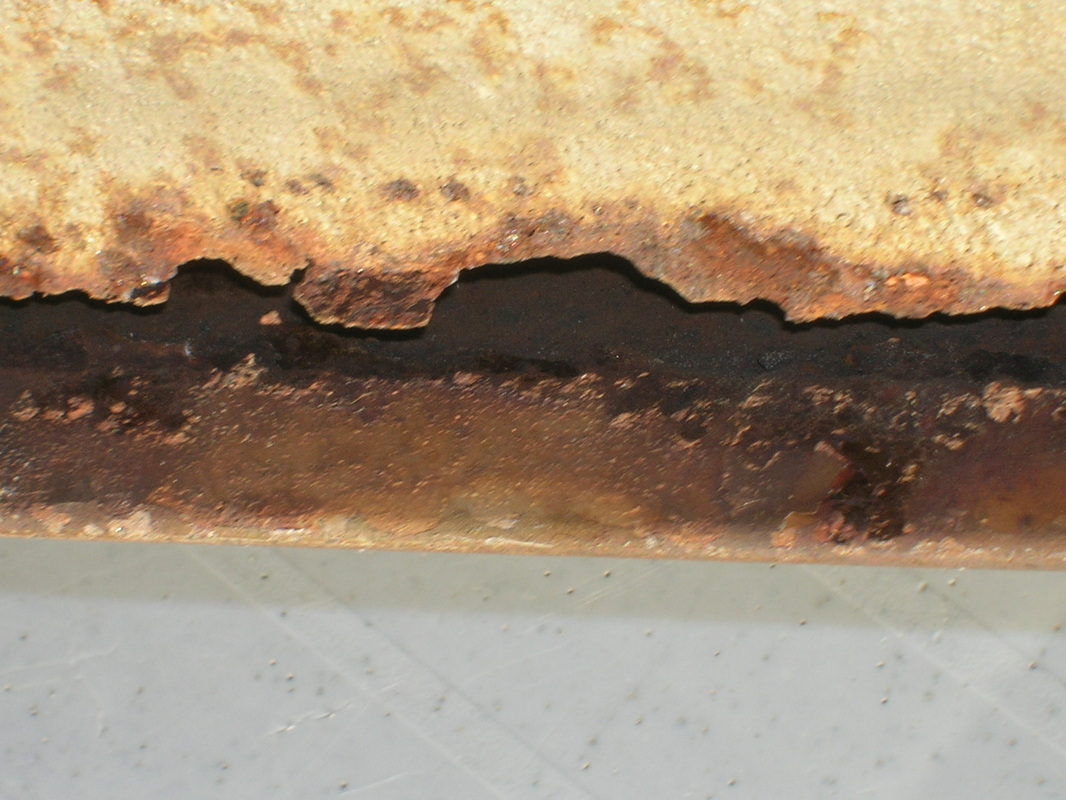
I used my Harbor Freight Spot Weld Cutter to remove the end pices. Like some people here in South Carolina, it still does a good job even though it's missing a few teeth. LOL! The pictures show how a putty knife helps apply pressure between the pieces so it's easier to tell when you are completely through the first layer. 
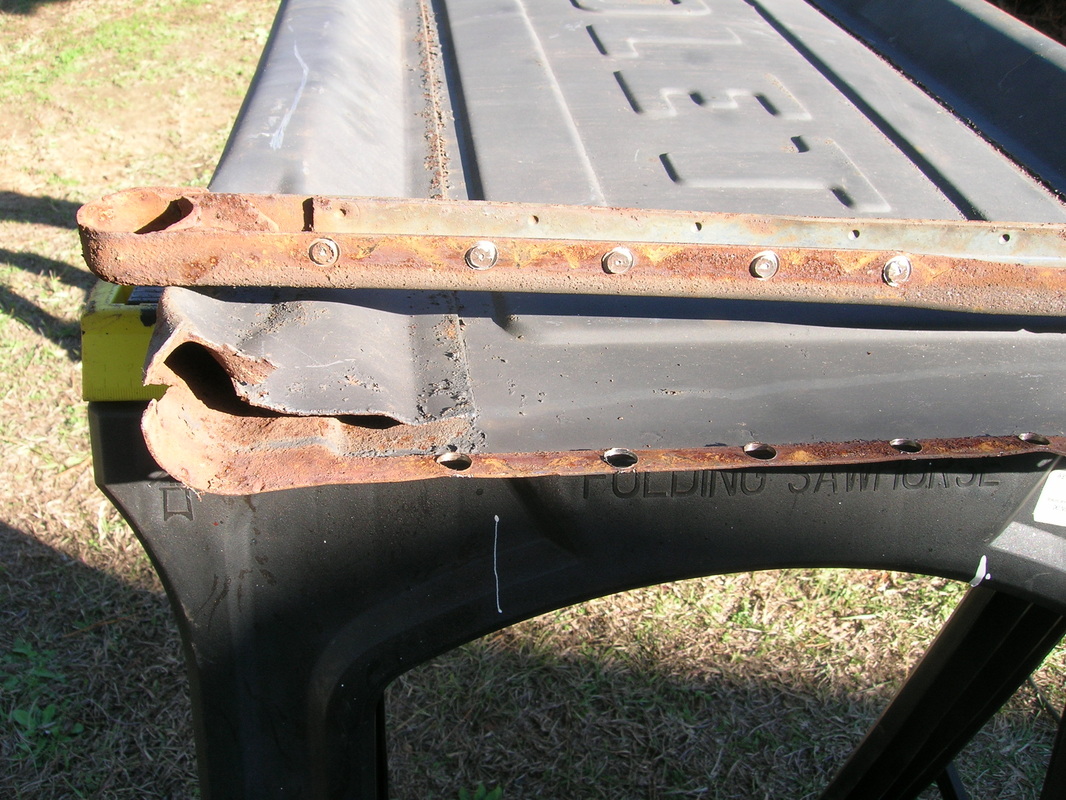
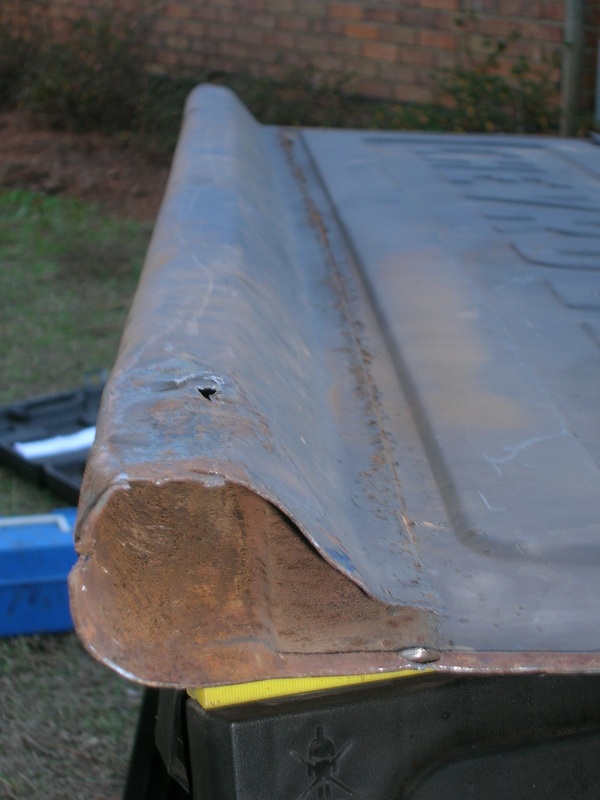
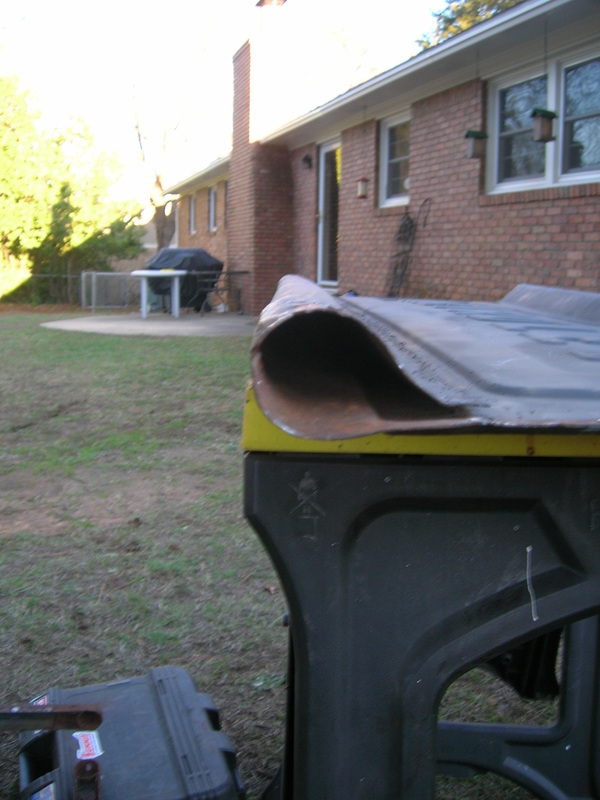
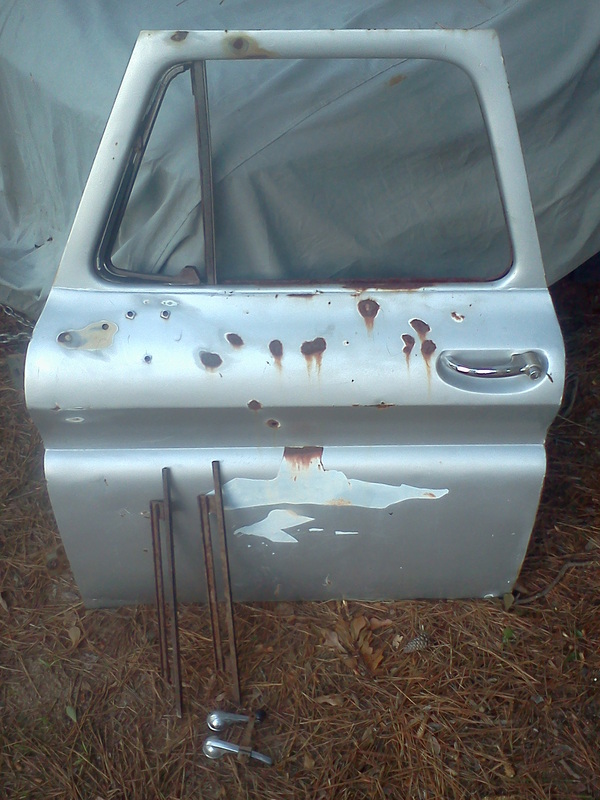
Once the end caps were out, I could work on the dents and bent end caps. My techniques are a little unusual!! LOL!!! I used a 5 pound sledge and rammed a long piece of galvanized fence pipe down the channel. It worked pretty well. 
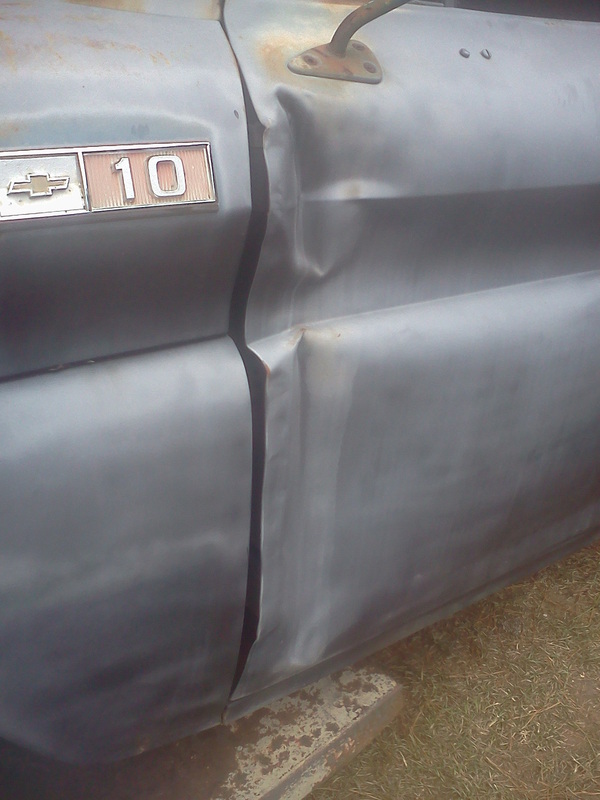
I then used another piece of pipe to dolly and shape the dent the rest of the way - however, I may end up cutting out this area and welding in a donor piece from the salvage yard since the end result will probably look better than this. It was fun trying to get the dent out anyway. Attention was next given to the end pieces. They were a bit twisted. A few bends here and there with a crescent wrench, and a few whacks with a sledge while it was secured in a 5" vice was all that was needed to make them acceptable again. 
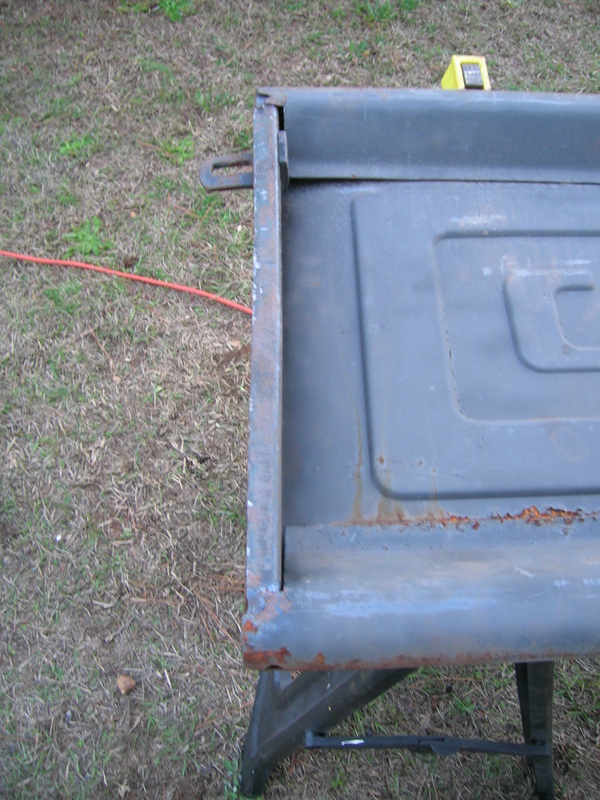
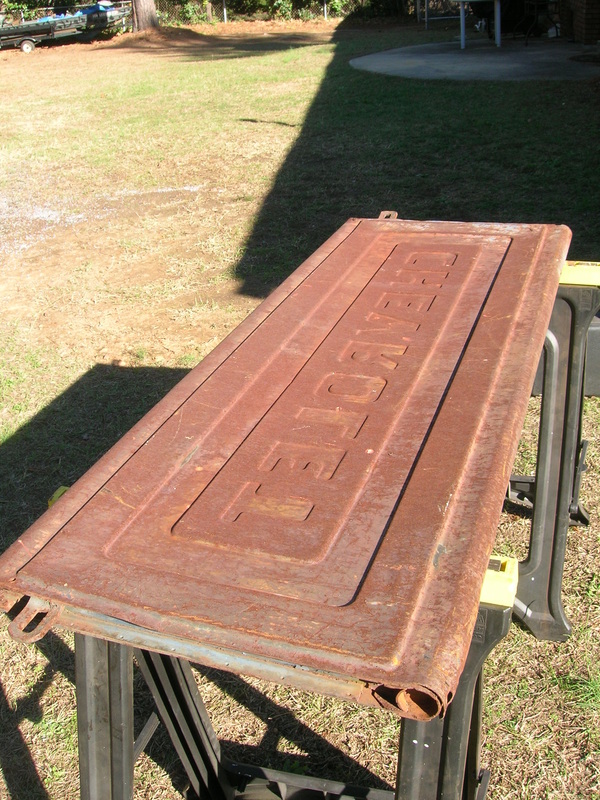
The back side of the tailgate has some nice patina.
0 Comments
I have moved things around a bit. Just click around at the top of the page to find the pages I posted earlier. I think adding a BLOG will be exciting. Share tips and ask questions. Keep everything PG rated and it won't get edited! 12/29/2011 I just got a nice passenger door at the salvage yard. It is in pretty good shape, but it has the usual rust at the bottom of the door. I plan to cut out the rust and use my original door as a donor for the patch pieces. The original door has hardly any rust but a lot of dents. This door is in similar condition and will need patch panels too. Here is what my original door looks like (but there is NO RUST).
You can see why I need a new door!
Start blogging by creating a new post. You can edit or delete me by clicking under the comments. You can also customize your sidebar by dragging in elements from the top bar.
|
See my BLOG entries from prior months below:
April 2024
My Hobbies are:Auto Restoration Categories |
- Main BLOG Page
- Steering Column Page
-
T5 Info Page
- Thinking about installing a T5? READ THIS FIRST
- My T5 videos
- Making a Custom Shifter
- Complete T5 Driveline - Installation from Engine to Rear Axle
- S10 T5 Transmission Jeep Shaft Swap - DIY and skip the adapter plate.
- Camaro Drive Gear Relocation
- T5 Tail Stock with a Cable Speedo Connection
- World Class and Non-World Class versions of the T5 - How to tell them apart.
- How to determine the T5 gearing
- A possible solution for cable speedometers.
- T5 Transmission Identification - What the Tags and Markings Mean
- What's the difference between a Camaro T5, an S10 T5, and an Astro T5?
- T5 Transmission Tear Down
- T5 S10 Transmission Rebuild
- T5 Transmission Rebuild
- T5 pre-purchase inspection and questions
- T5 Resource List
- T5 Case Inspection
- Bell housing differences
- T5 Drive Gear and Driven Gear Combinations
- A Camaro T5 with the S10 Conversion
-
Tips & Tricks Section
- DIY Wiring Tips
- Oil Pump Priming Tool
- Piston Stop Tool
- Broken Bolt Extraction
- DIY 3 Point Seat Belt Installation
- 1963 Chevy C10 Steering Column Removal
- 1963 Chevy C10 Steering Column Disassembly
- 1963 Chevy C10 Steering Column Rebuild
- 1963 Chevy C10 Steering Column Installation
- Easy Clutch Pedal Adjustment
- Making the Steering Column Safer
- Power Steering
- How to improve gauge cluster lighting.
- Stripping Paint - Polycarbide Abrassive Wheel
- Jeep Cherokee Door Check Modification - Very Simple
- Keeping the hood aligned
- DIY All Cable Ebrake System for 1963-1972 C10
- Alignment Tools - Easier than you think
- Conversion to dual master cylinder brakes 1963-1966 C10.
- Steering column modification
- A simple way to remove old control arm bushings.
- An easy way to adjust brake shoes
- How to remove a pilot bushing from the crankshaft.
- Cutting spot welds
- E-brake clip removal made easy
- Harmonic Balancer Installation - Tapping threads in the crank
- POR 15 with less mess.
- Engine Run Stand
- Engine Dolly - EZ to make
- Steering Wheel Restoration Page
- Sway Bar Info
- Power Brake Booster Page
-
Other Projects
- 1934 Chevy Coupe Build Page
- 1934 Chevy Master 5 Window Coupe
- 1963 Body repairs
- Anvil
- Hot Rod 283 SBC Build
- Grand Cathedral Game
- 1968 C10 Short Fleet
- Rockwell Drill Press
- 283ci SBC Engine
- Safety Stand for Lift
- Coat Hook
- Engine Run Stand
- 1963 Short Fleet Project
- Metal sculpture figures
- Shop Project
- Shop Sign
- Lean-to Shop Addition
- Air Compressor Project
- 2 Post Automotive Lift
- 1963 Chevy Custom C10 SBFS BBW
- Metal Top Outdoor Work Table
- Bearings to grenade
- Bar Stool Go Kart
- Special Bolts Plaque
- Vise Stand
- Grinder Stand
-
Random Pics
- 2021 Stovebolt Jamboree Pictures
- 1963 Custom Comfort Seat
- Flywheel differences
- Carb spacer
- Bimini 2019
- T5 shifter ideas
- Engine Torque and HP
- LUGNUTZ DIY Shop
- Alaska 2018
- 2019 ODSS Homecoming
- Chevy 3 speed transmission ID
- 2018 Stovebolt Homecoming Pics
- Anvil
- Pallet Rack Shelving
- Reference PICS
- shop plywood walls
- Welding Stuff