1963 Chevy C10 Steering Column Removal
STEP 1: Removing the Steering Wheel
Quite a few steps are required to remove a 1963 C10 steering column. Let's start with the steering wheel.
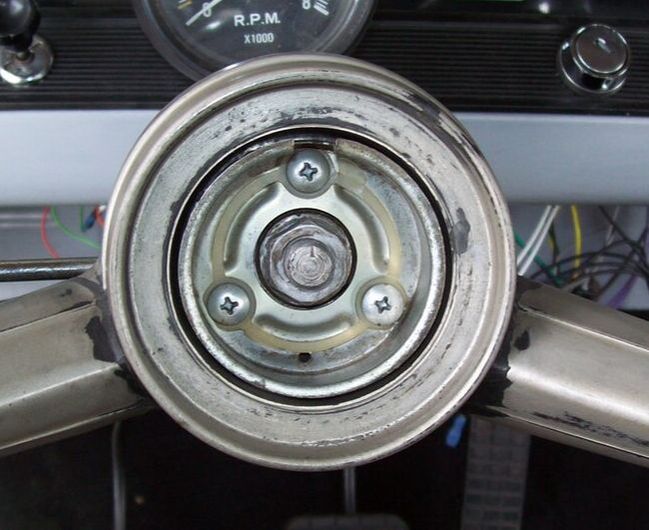
If you have a standard wheel with the round horn button, simply pull the center button off to remove it.
(1965 wheel and column shown in 2 pics below).
(1965 wheel and column shown in 2 pics below).
|
|
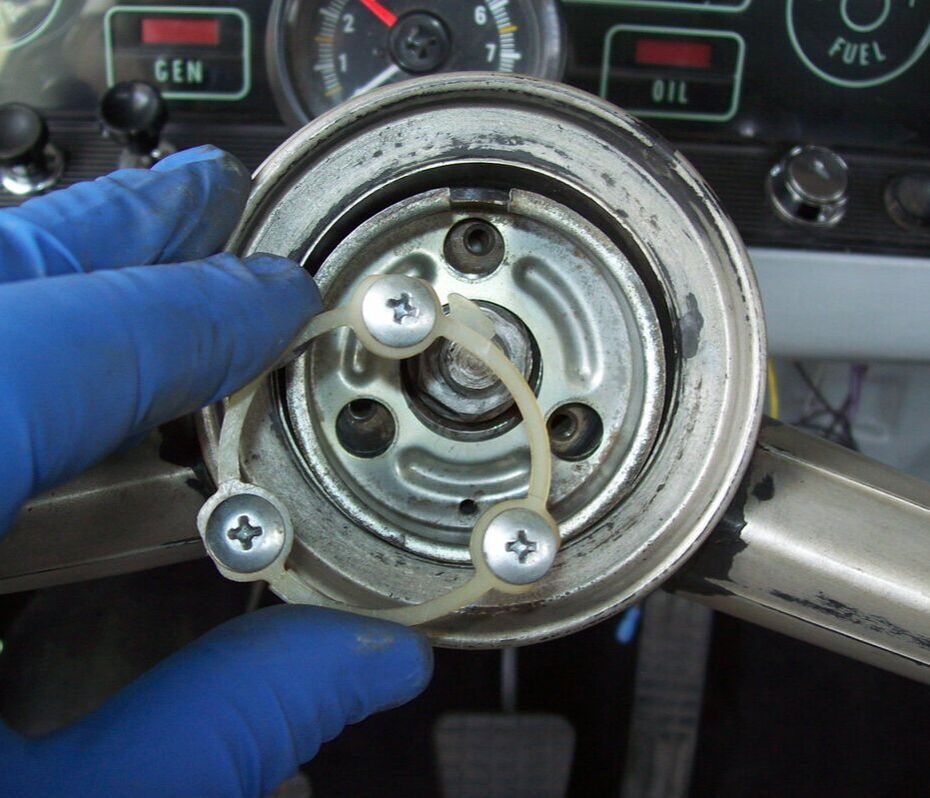
Remove the 3 screws, insulator ring and horn button cup. (1965 wheel and column shown in these 2 pics).
|
|
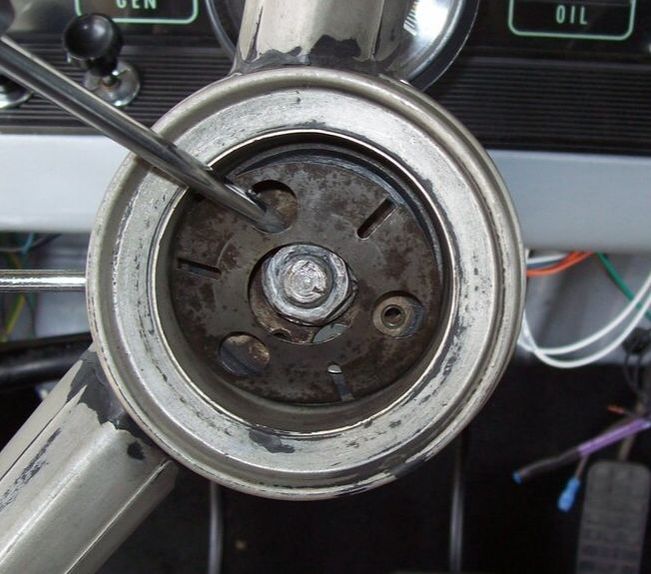
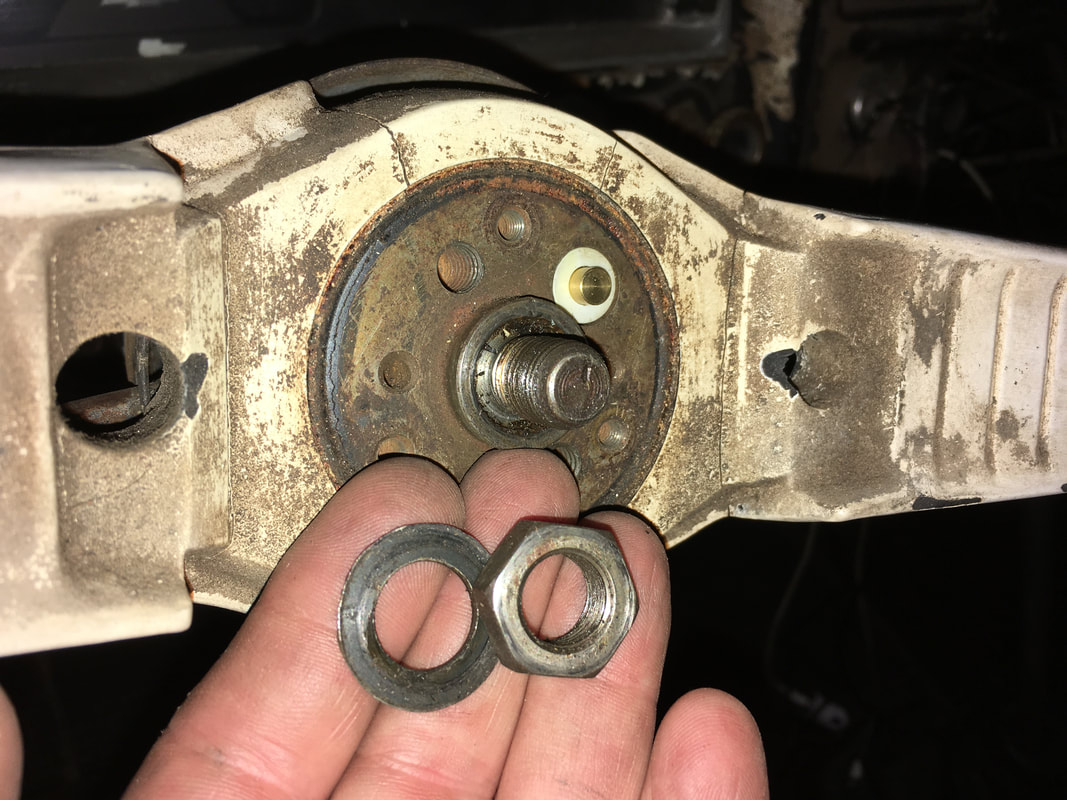
Remove the flat round horn spring. Remove the center nut and washer. Then use a steering wheel puller to pull the wheel off of the steering shaft. (1965 wheel and column shown in 2 pics below).
|
|
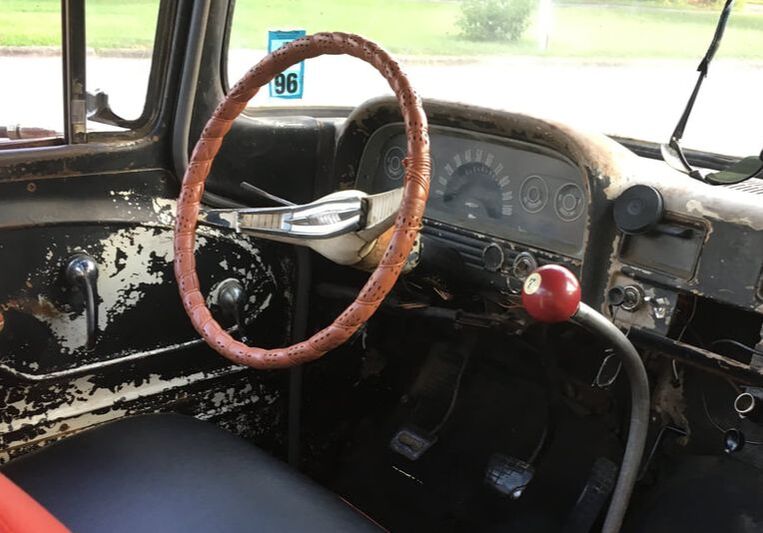
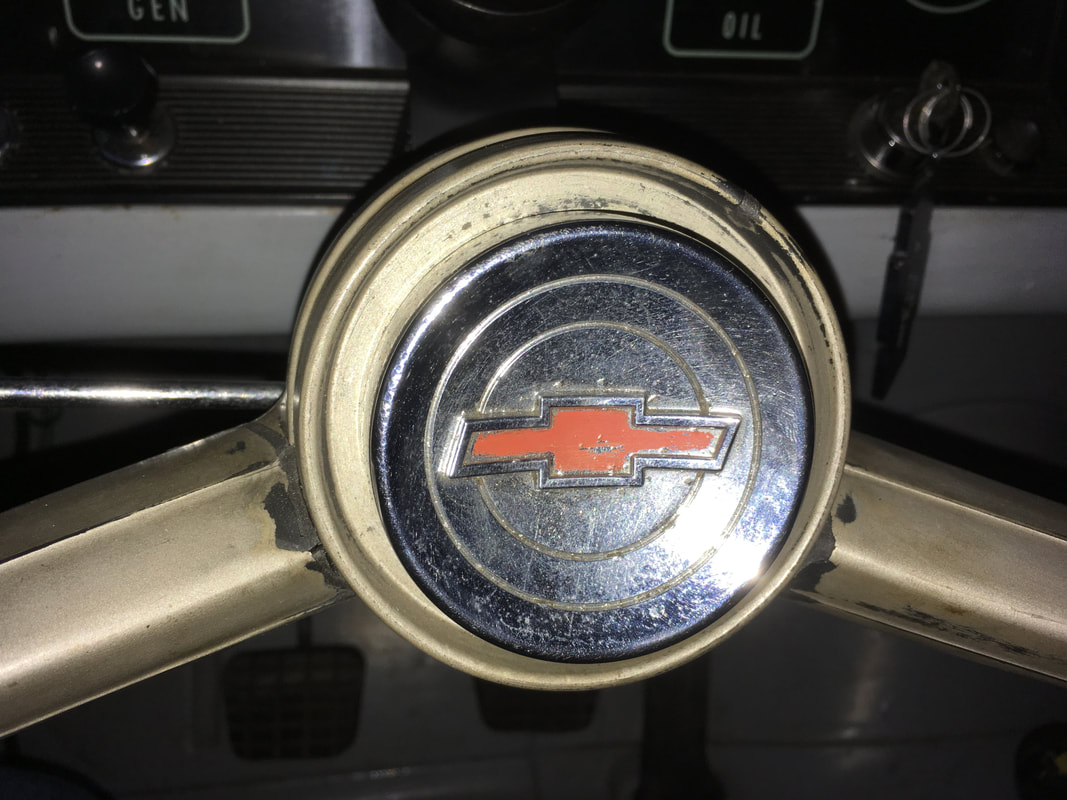
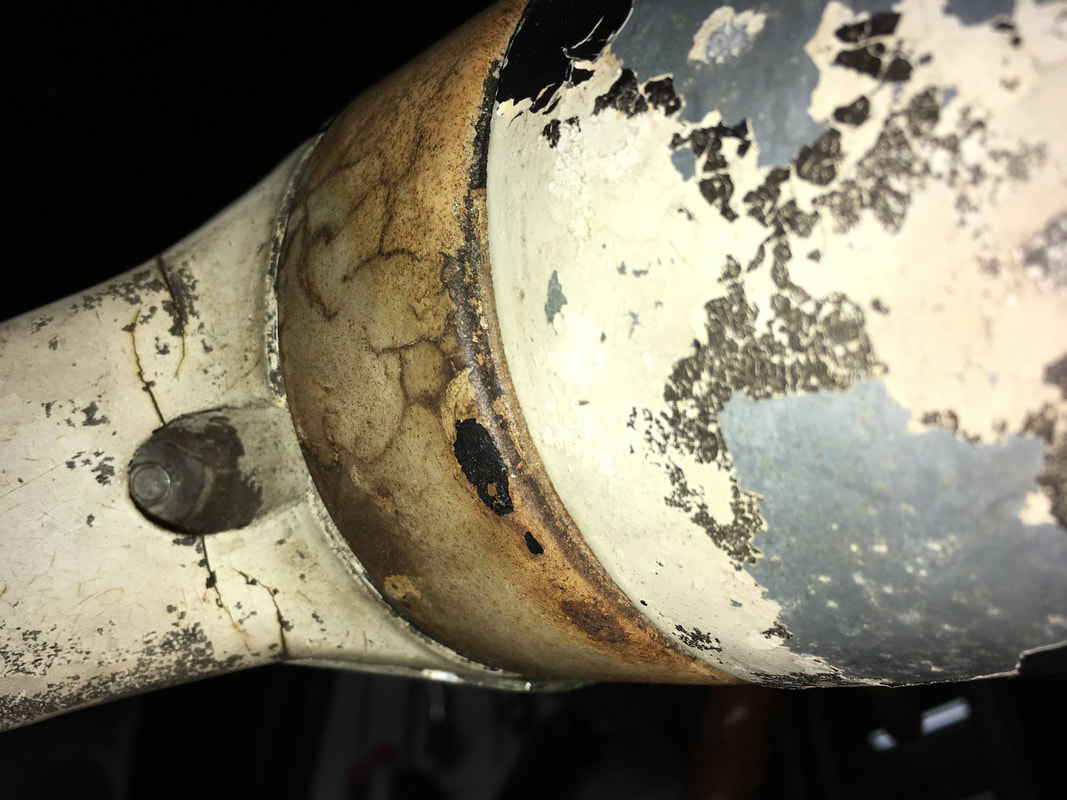
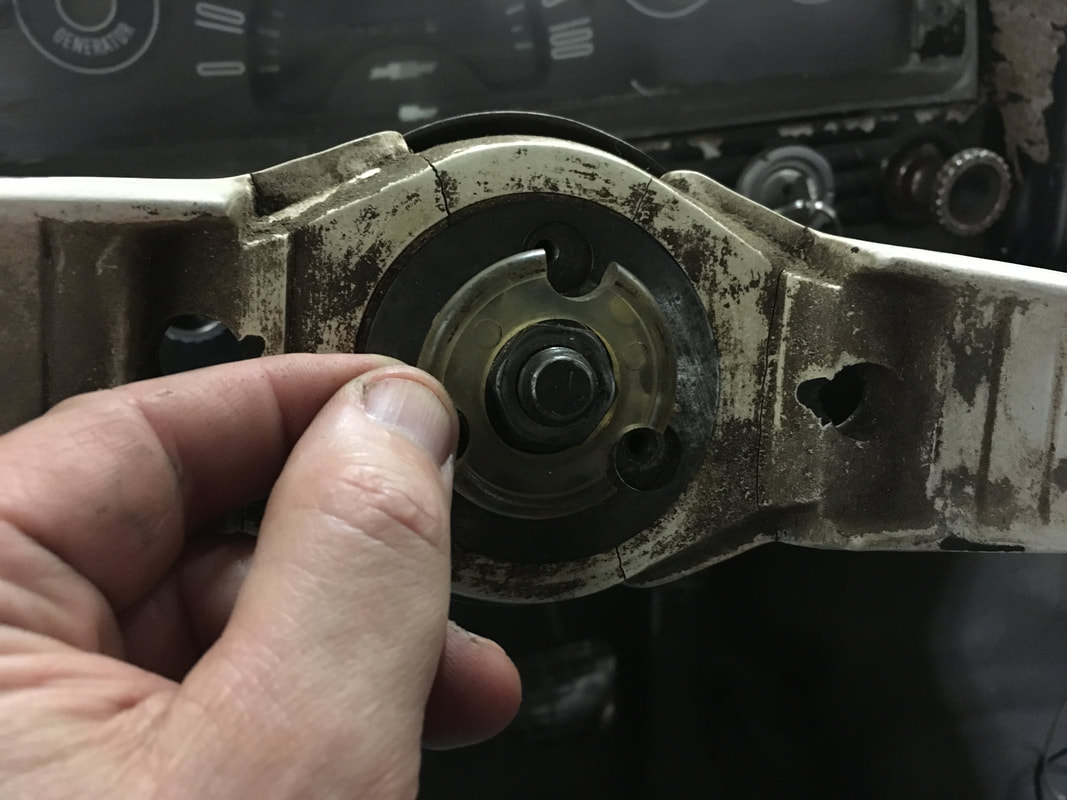
Here's a 1963 custom wheel. Custom wheels have a horn ring. Two small small bolts on the underside of the wheel hold the center piece of the horn ring to the center of the wheel. (next 2 pictures).
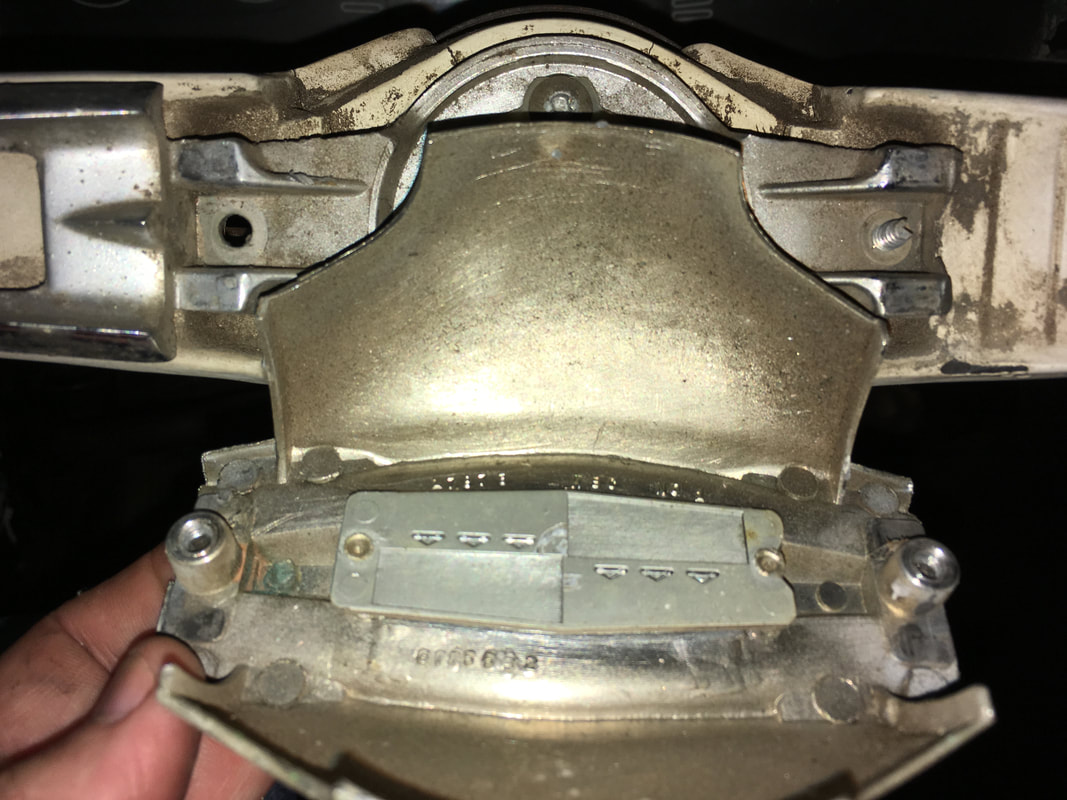
A custom wheel horn ring is functionally the same as the horn cup on a standard wheel. Three clutch head screws are removed. Some trucks will have phillips head screws.

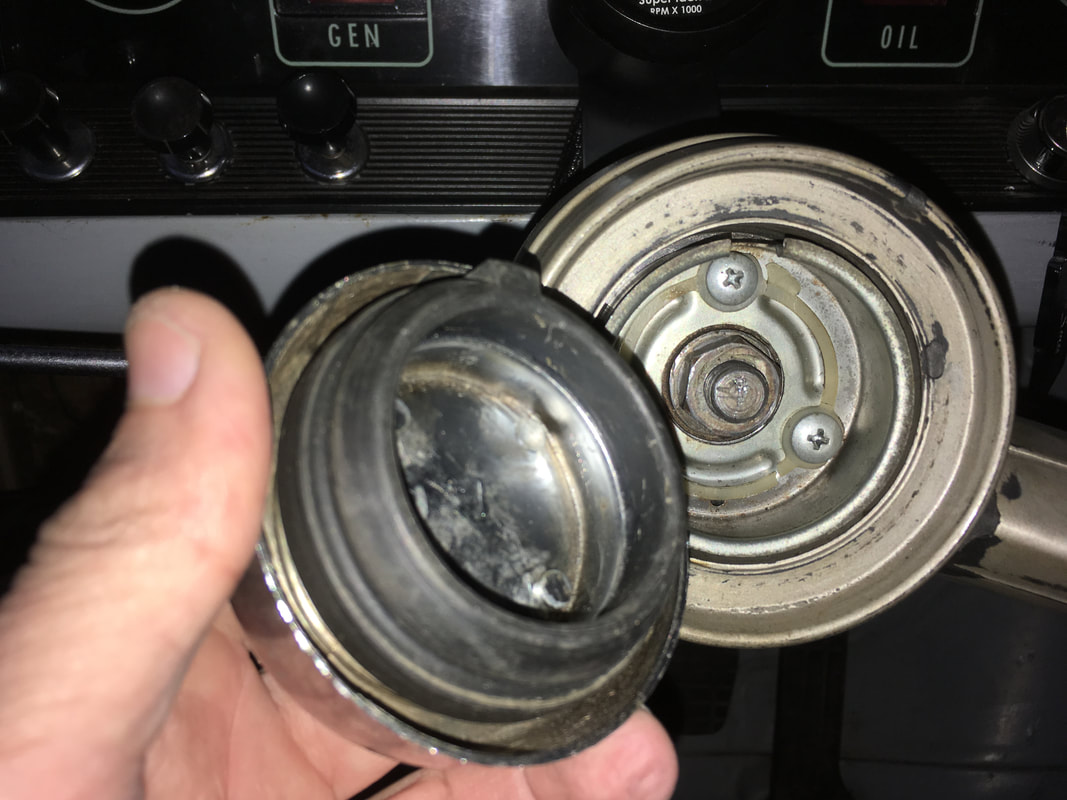
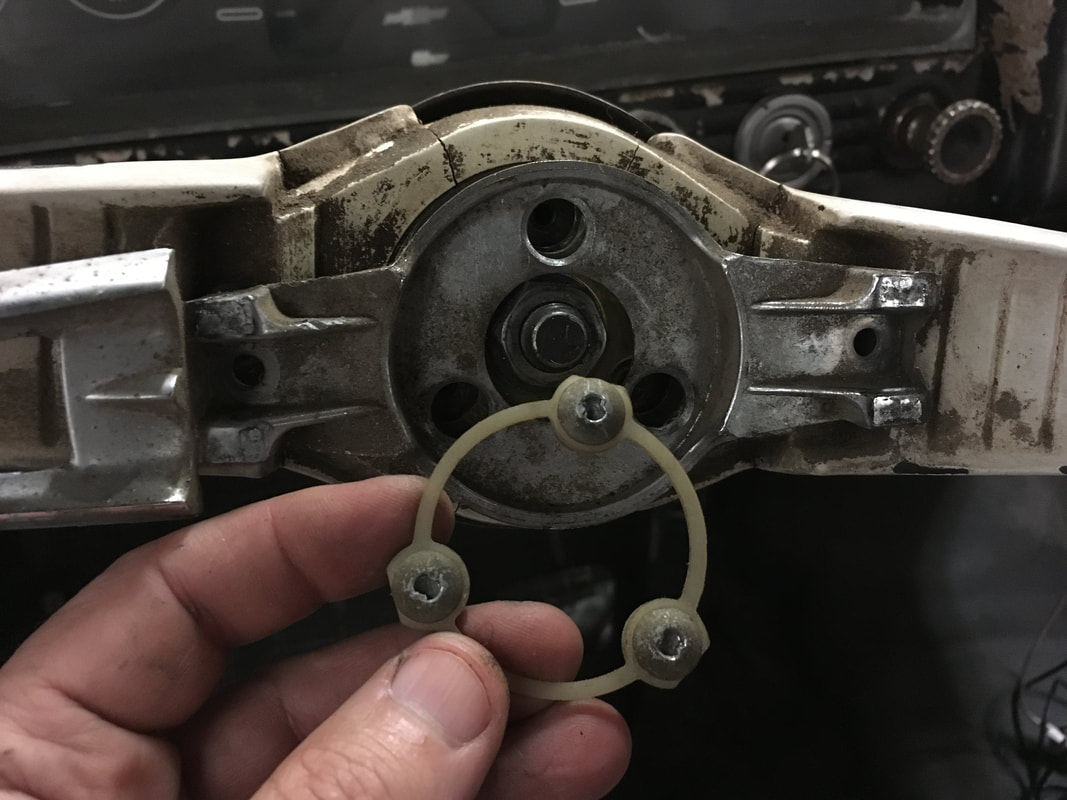
The custom horn ring (mine's broken) can now be removed. You should find a 3 notched plastic spacer beneath the horn ring. A horn cup will not have this spacer.
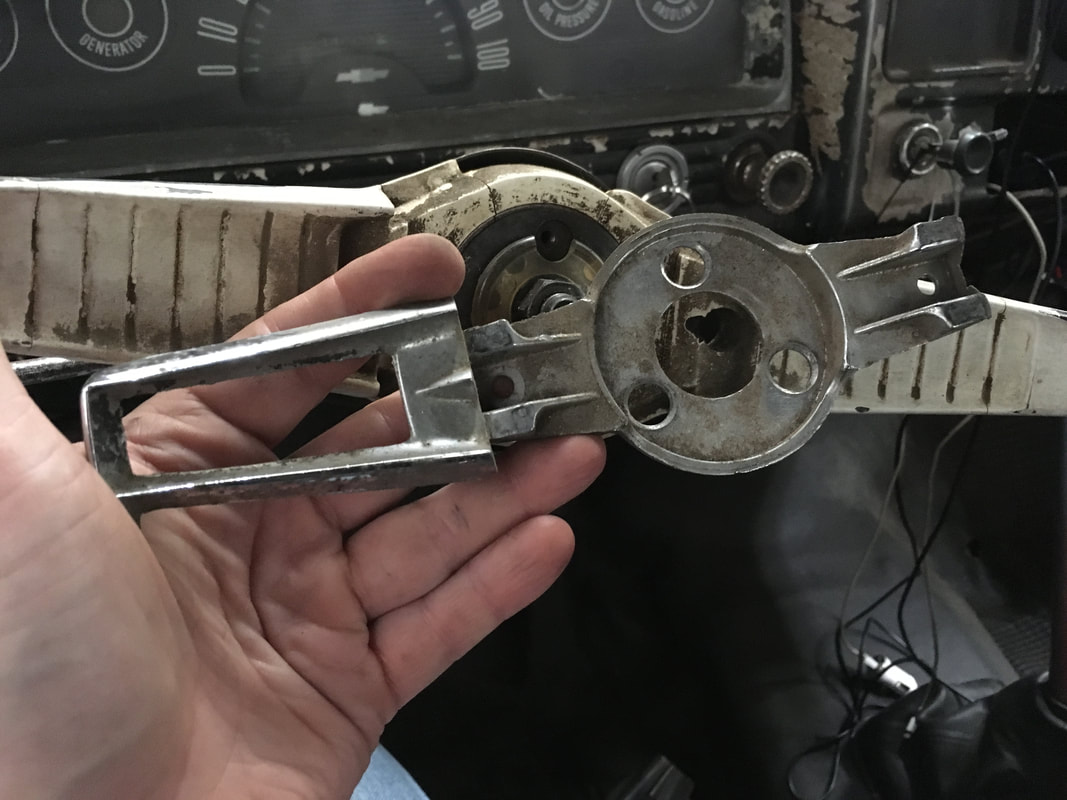
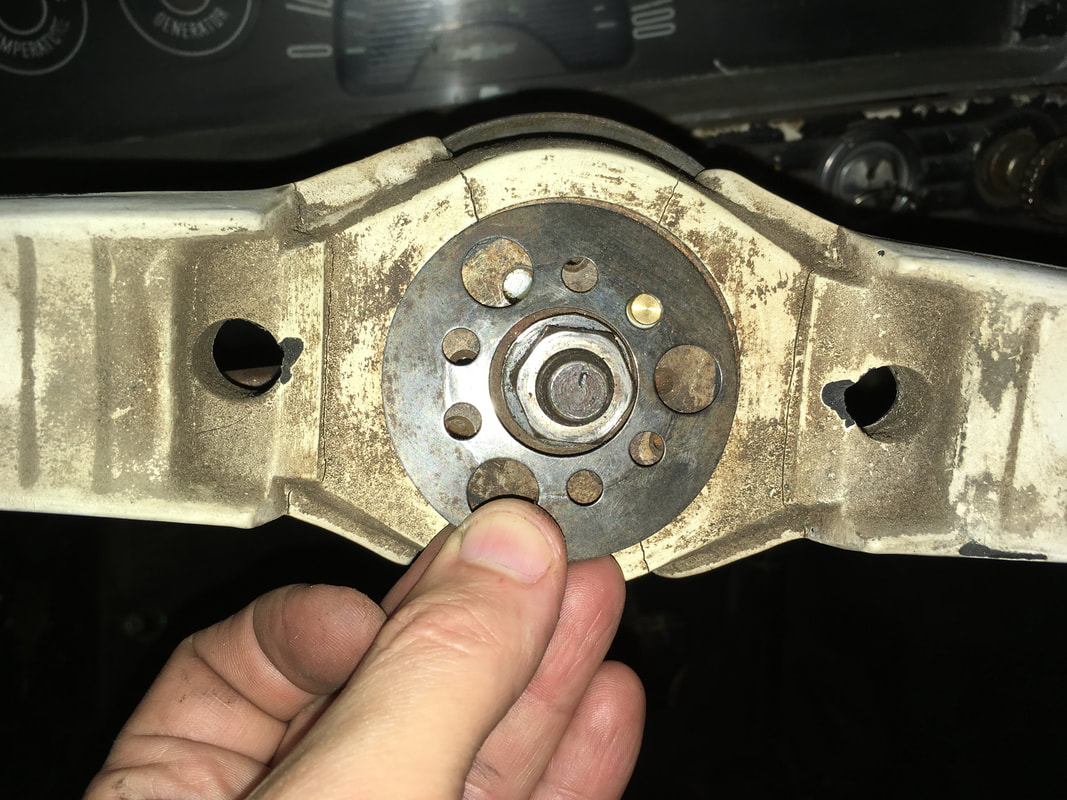
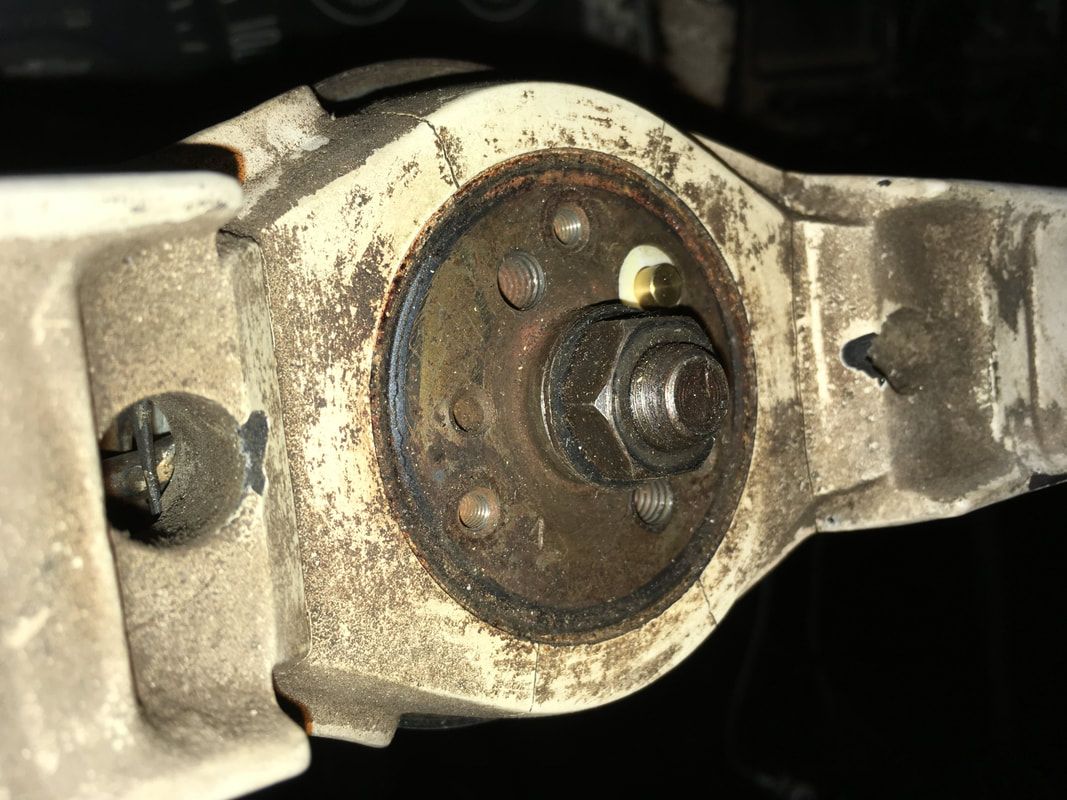
Use a steering wheel puller after removing the center nut and washer.
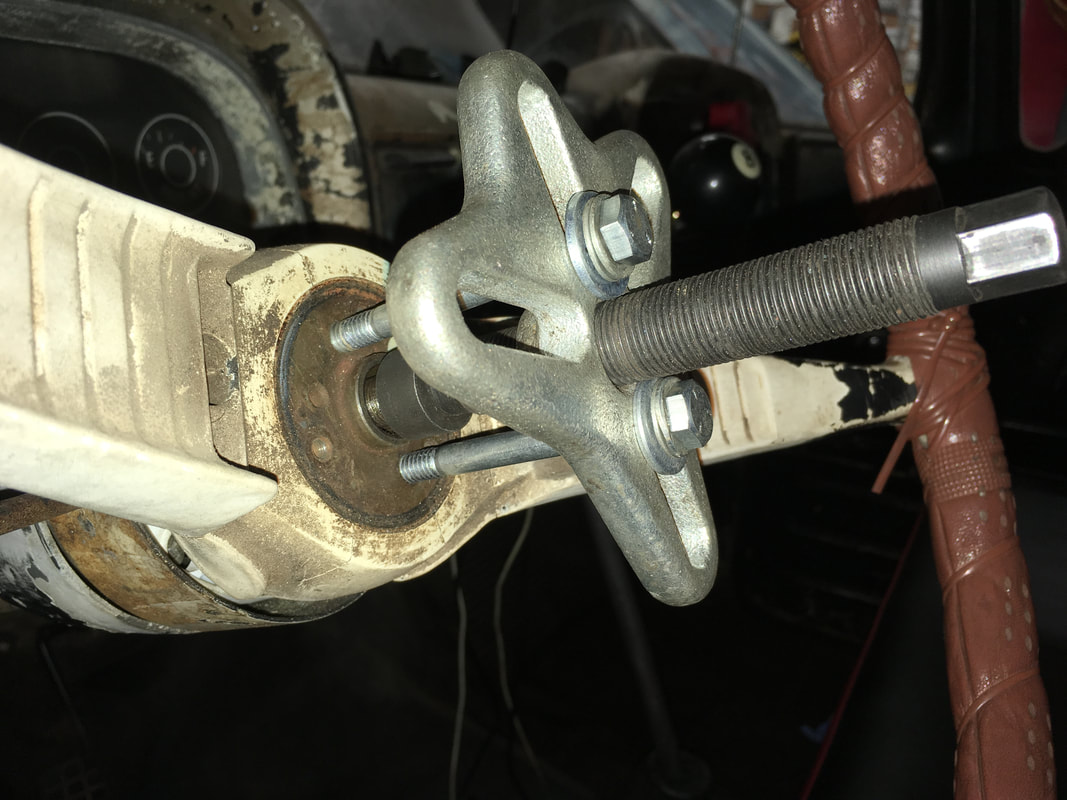
Removing the turn signal arm will help prevent damage.
Optional: To remove the shifter arm, use a drift to push the roll pin out of the shift collar.
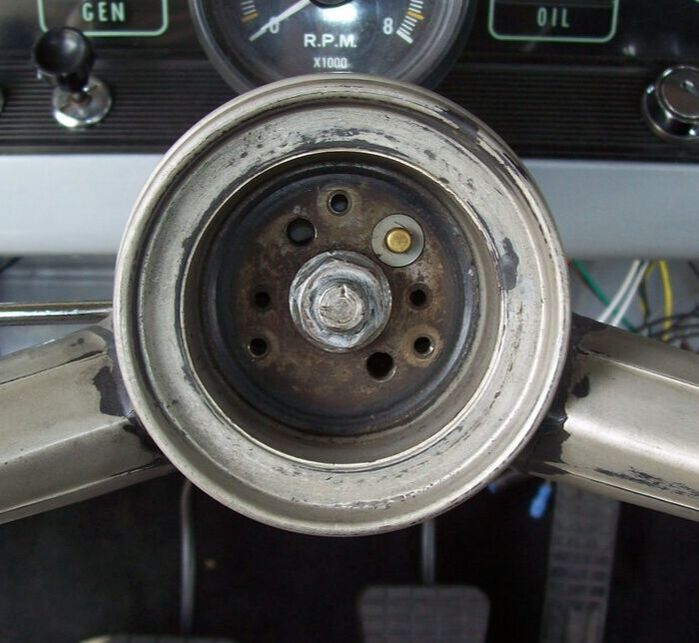
My 1965 column is shown below.
My 1965 column is shown below.
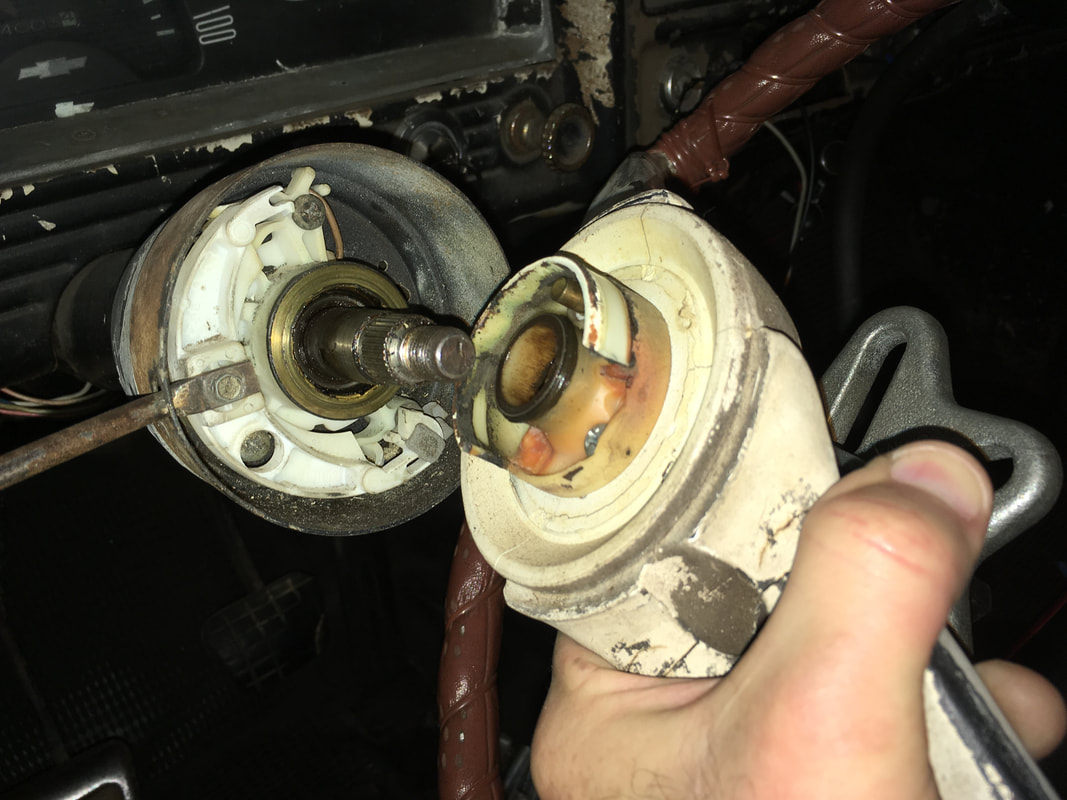
STEP 2: Removing the Steering Column
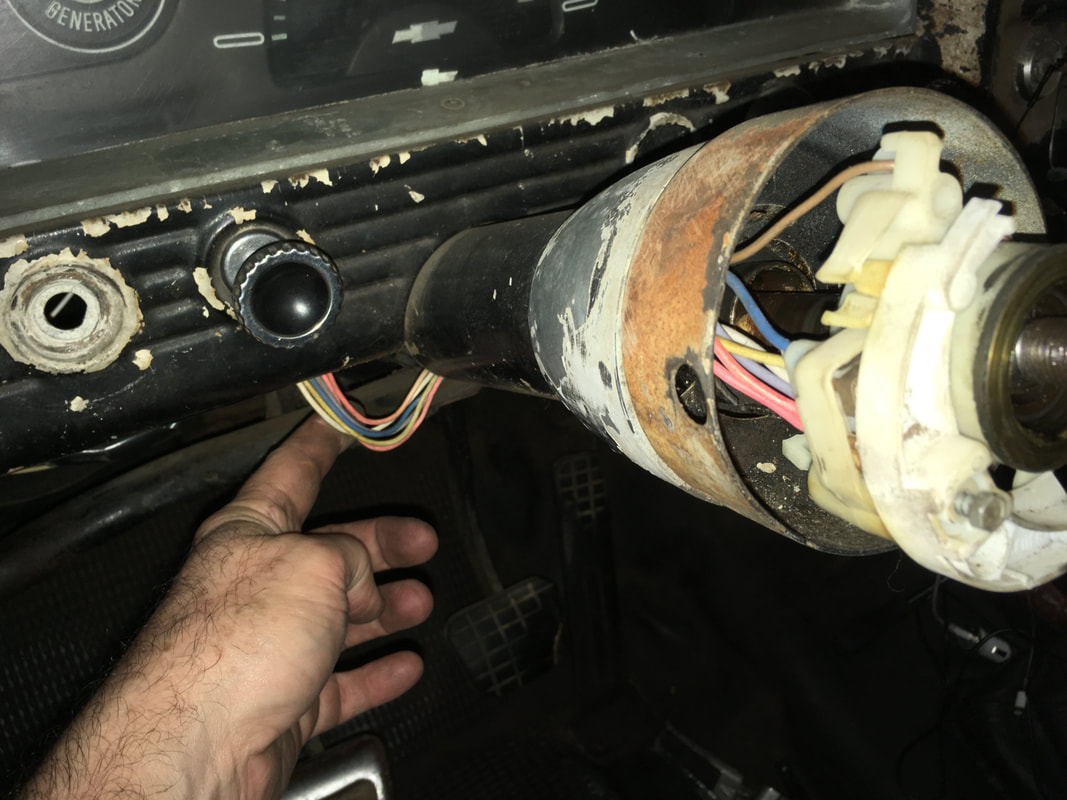
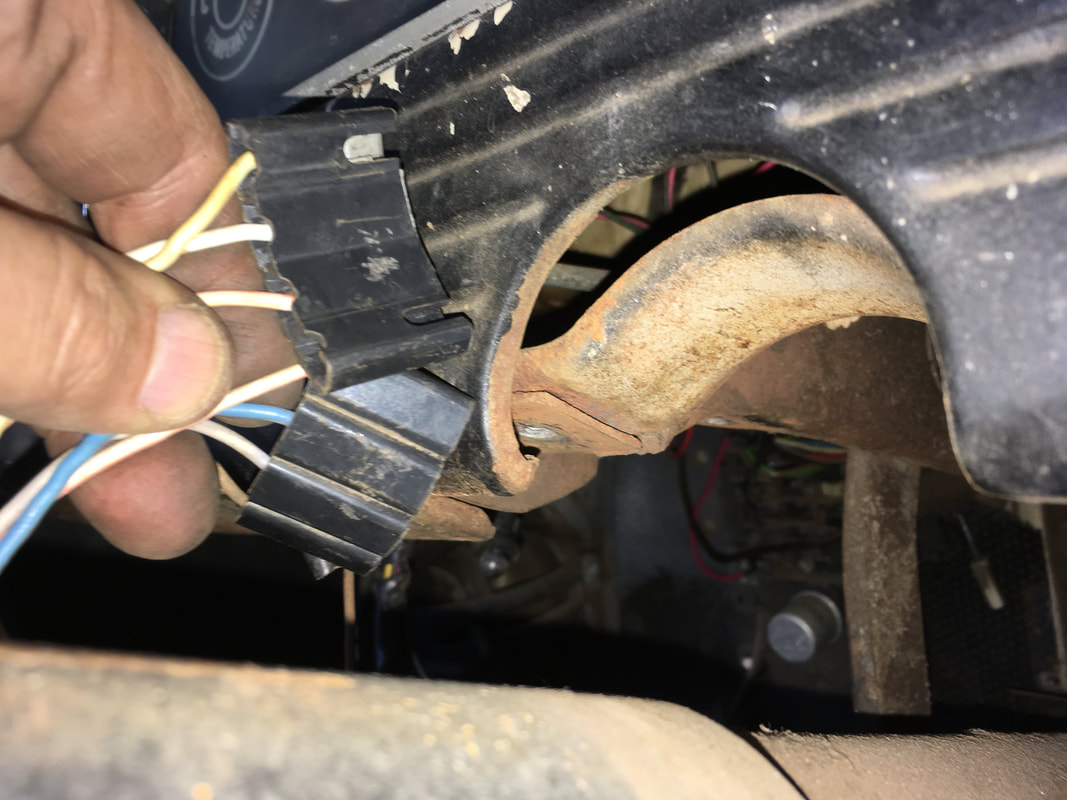
Trace the column wiring that goes under the dash. Uncouple the two quick disconnects.

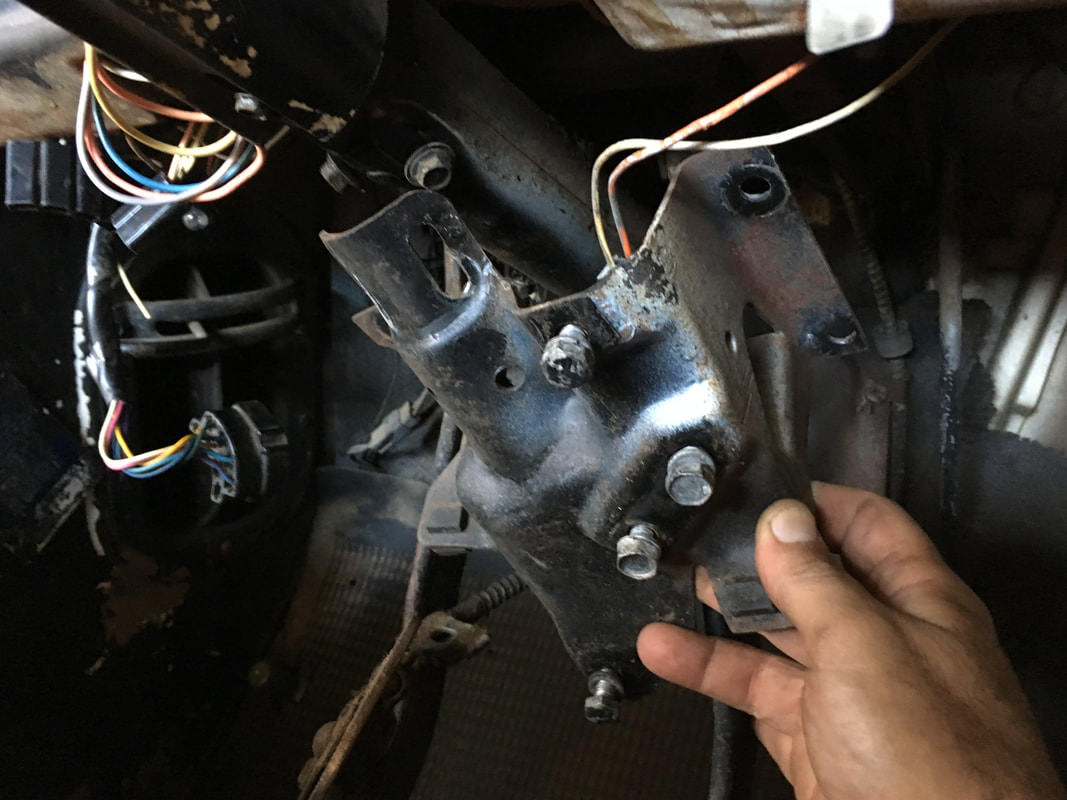
Remove the park brake handle from the under-dash column support bracket. Then remove the support bracket from the dash and the steering column.
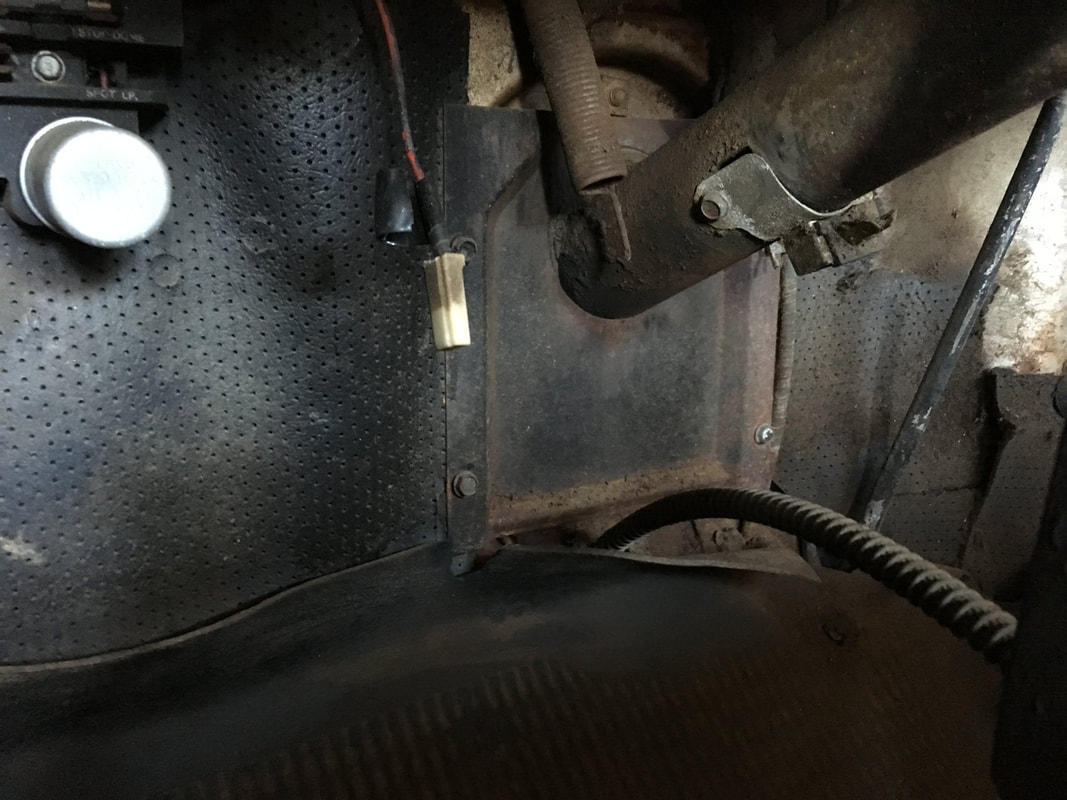
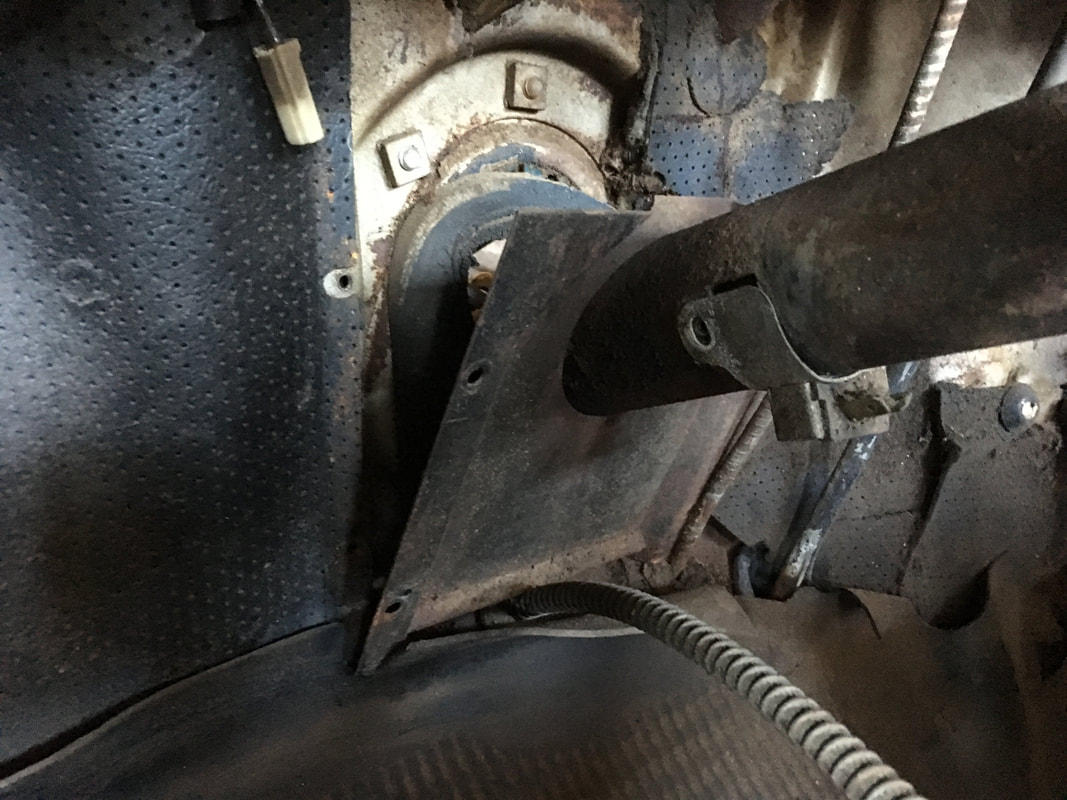
Unbolt the firewall plate bolts and loosen the foam firewall seal.
|
|
The next steps are inside the engine bay.
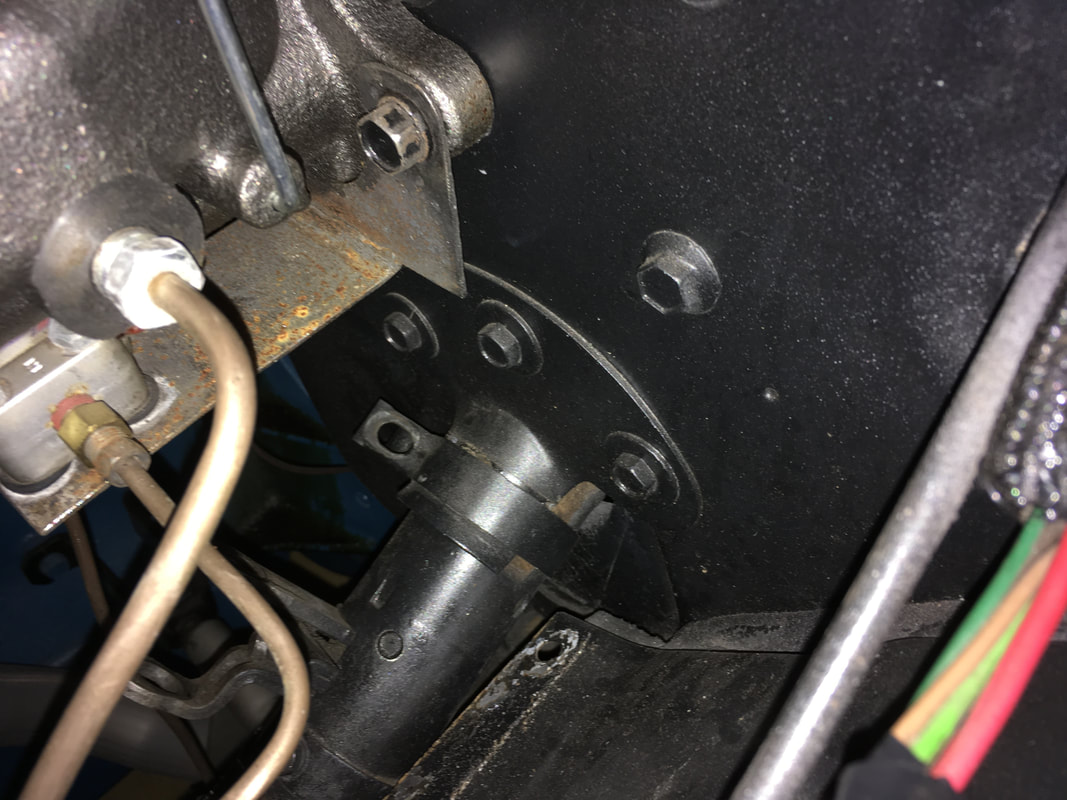
Remove the metal strap that holds the column to the firewall support bracket.
Then remove the 3 bolts that hold the support bracket to the firewall.
Remove the metal strap that holds the column to the firewall support bracket.
Then remove the 3 bolts that hold the support bracket to the firewall.
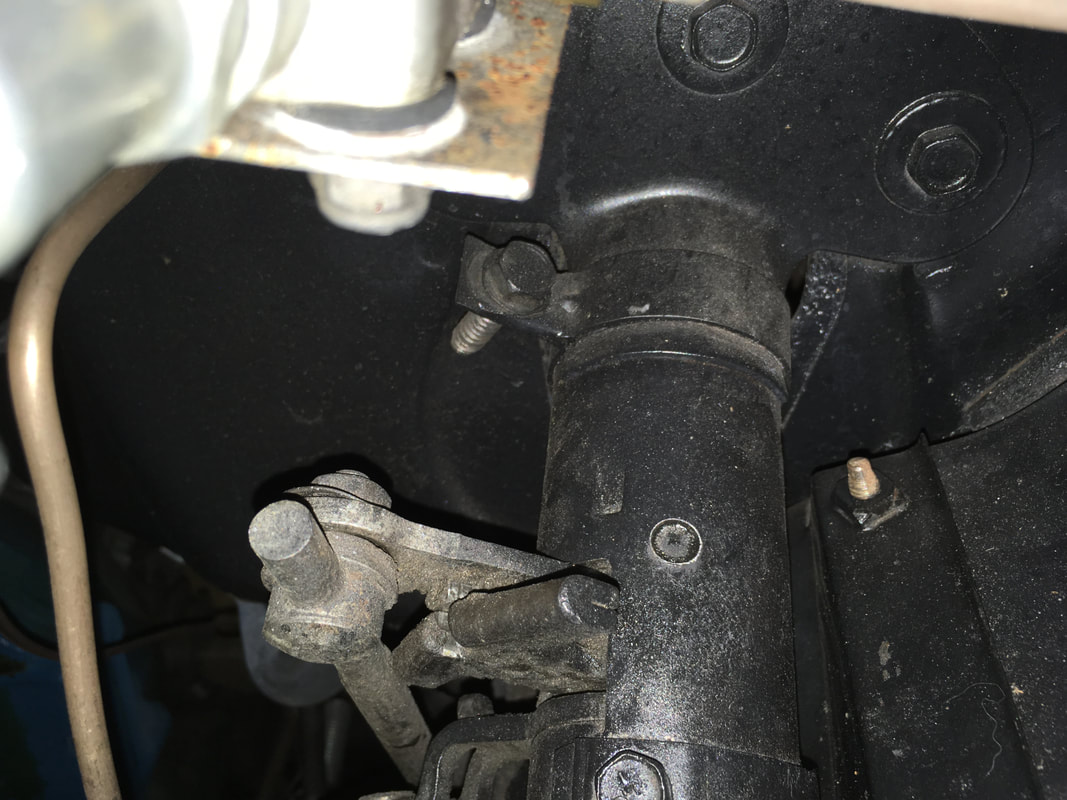
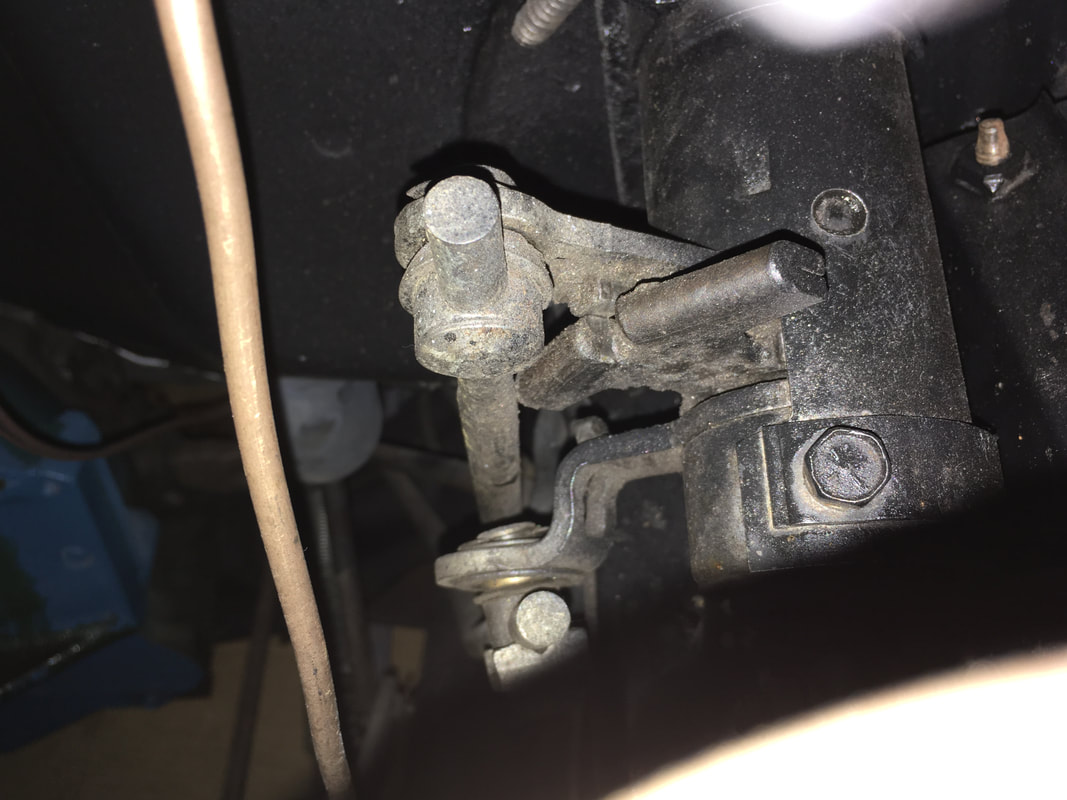
If you have a column shift truck, you will want to first mark the shift rods so you can put them back exactly where they were before disassembly. The rod closest to the firewall has a C-clip. The other rod has a 1/2" nut. Swing the rods away from the column towards the engine.
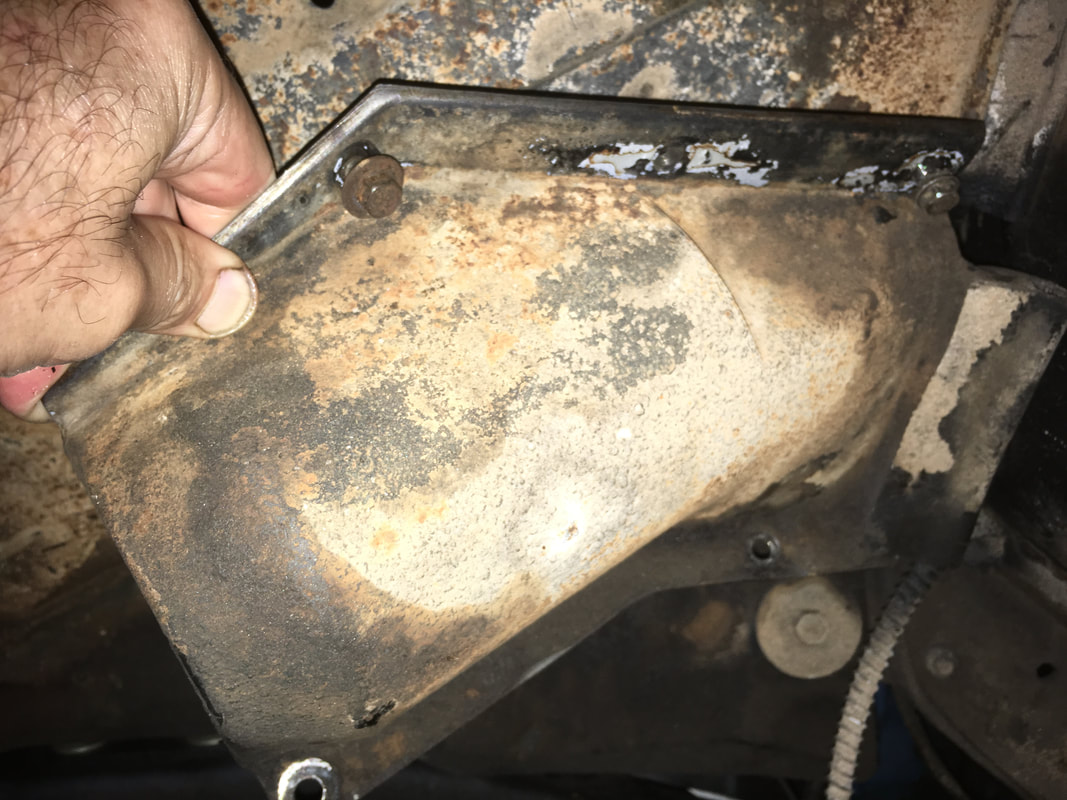
Reach inside the DS wheel well and remove this plate from the inner fender.
You'll need a 12 point 7/16" socket to remove the bolt that holds the rag joint to the steering box shaft.
I used a small hammer and a drift to tap the end of the rag joint off of the steering box.
I used a small hammer and a drift to tap the end of the rag joint off of the steering box.

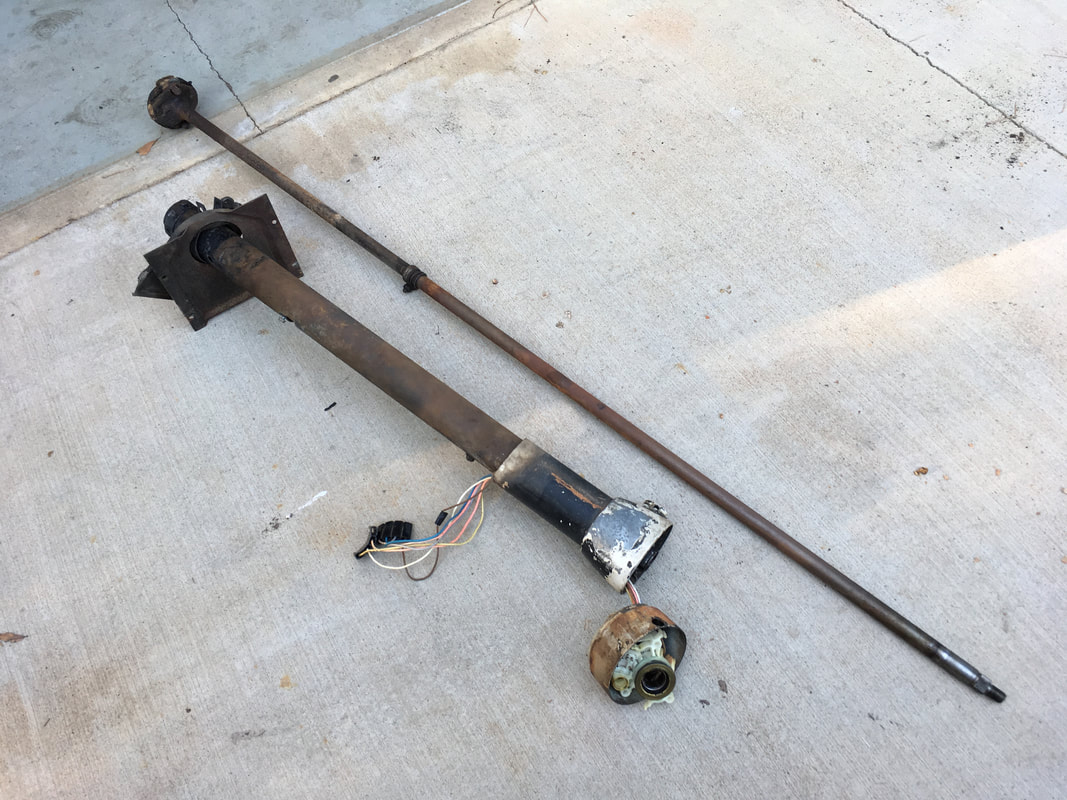
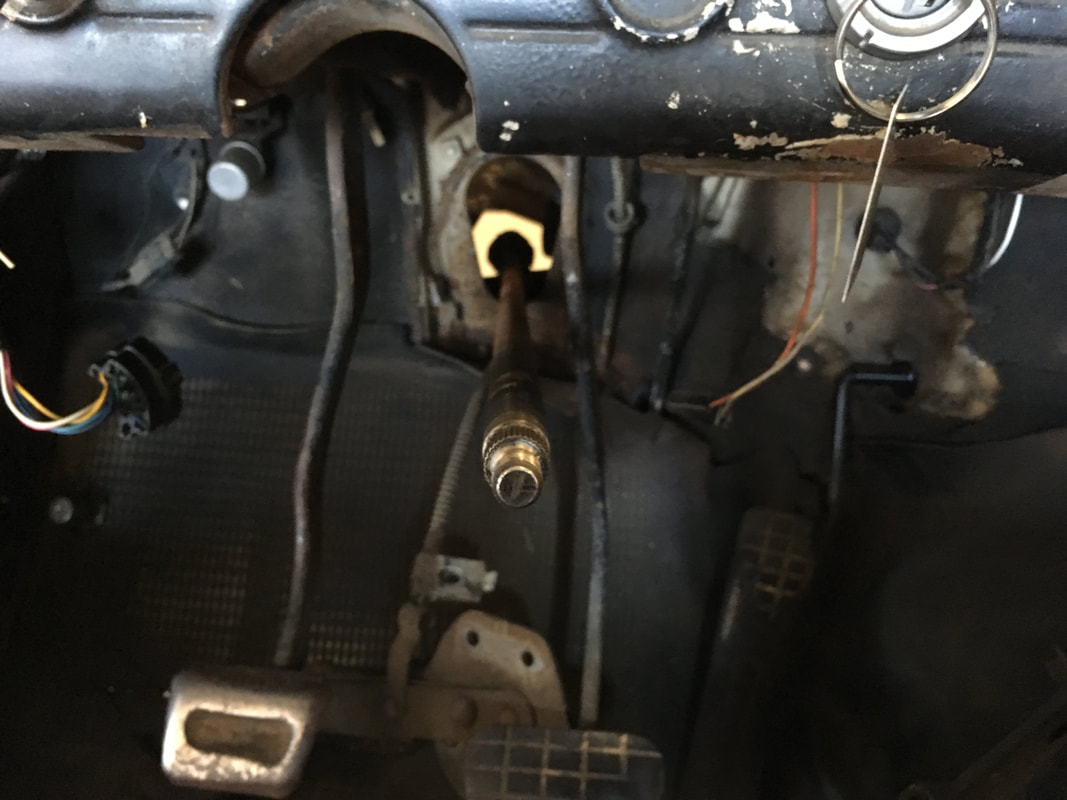
Once the steering shaft is free of the steering box, the column can be moved freely inside the cab. Tilt the column down and away from the bottom of the dash to allow more room to guide the column wires through the narrow opening under the dash.
Guide the lower end of the steering column sleeve through the firewall opening and then slide the column off of the steering rod. Next, reach through the DS wheel well and slide the steering shaft down and out of the cab and through the firewall opening.
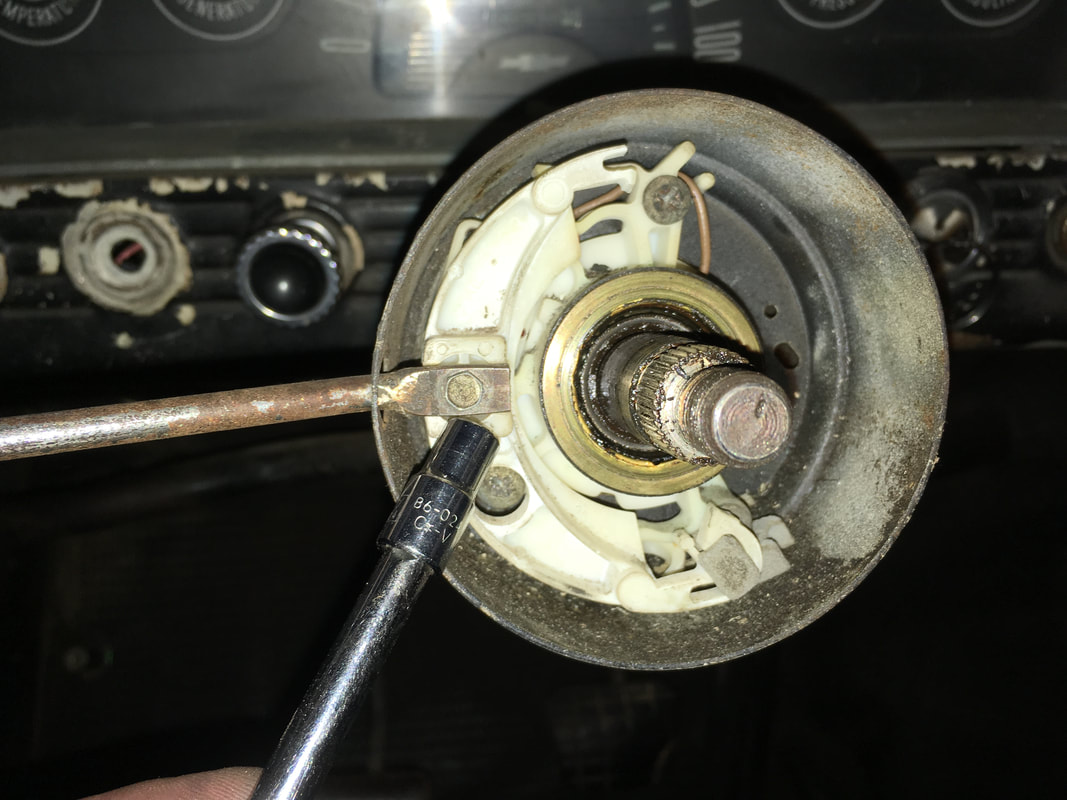
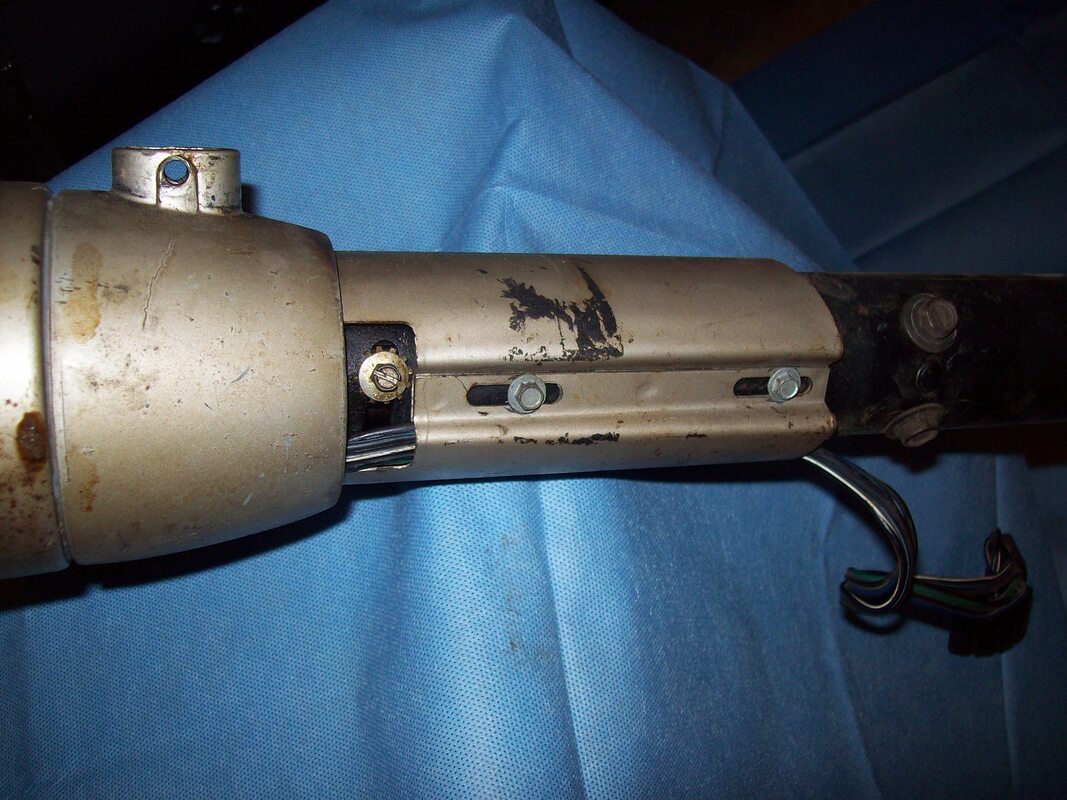
The column is out! It's time to disassemble and inspect the parts of the column.