I took my truck off the jack stands today and took it for a drive, Lots of fun. I've never driven the truck with this 250ci engine and T5 transmission, A friend of mine is driving it during the last half of the video.
|
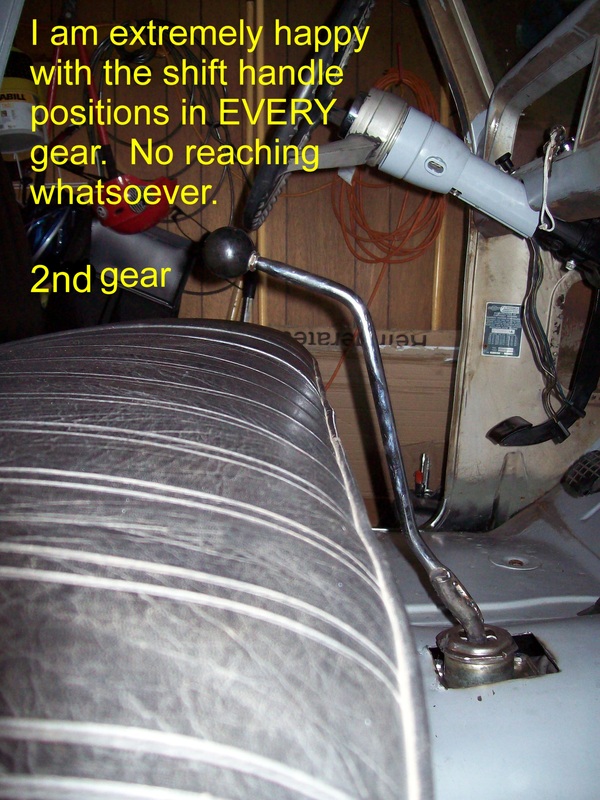
I made a custom shifter today. Great fun! It turned out even better than I had hoped for. I have it tack welded right now but I'll drill and then tap and thread the bolt holes later this week. Here's a link to the whole project. 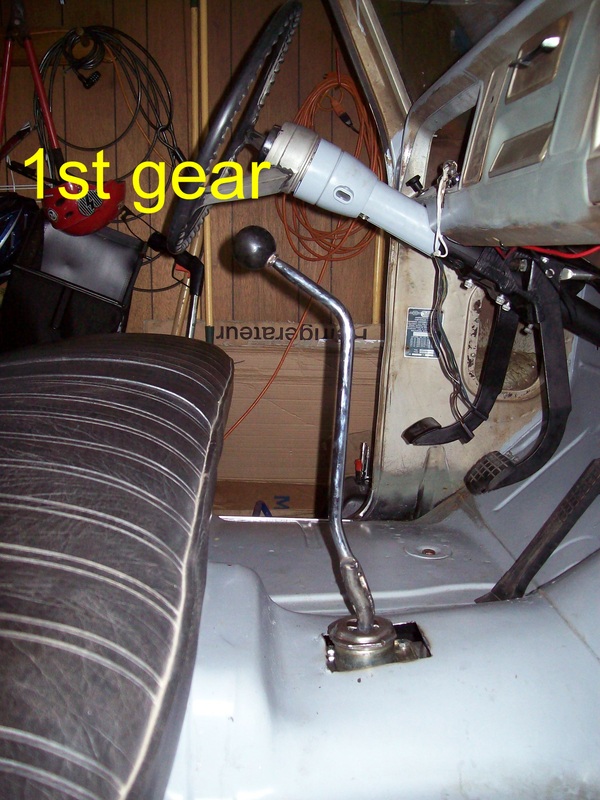
I bought a brand new exhaust pipe. The only size they make is correct for a long bed truck so I'll need to cut out a section to shorten it. It's Walker part #48111. 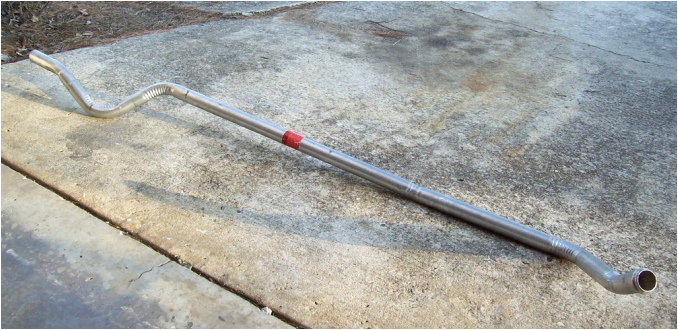 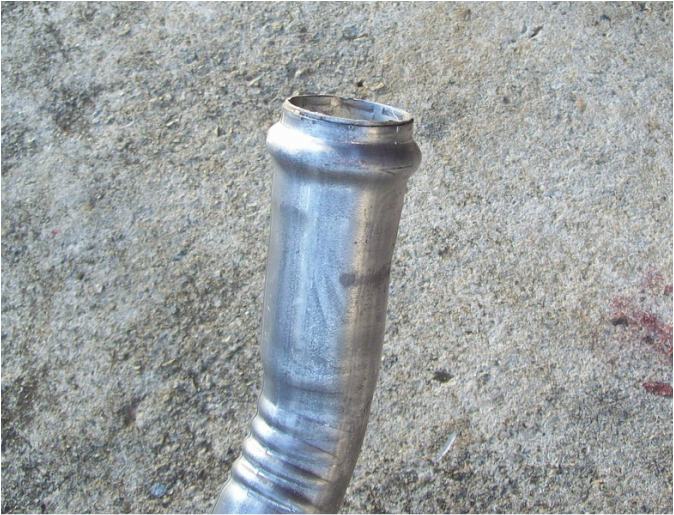 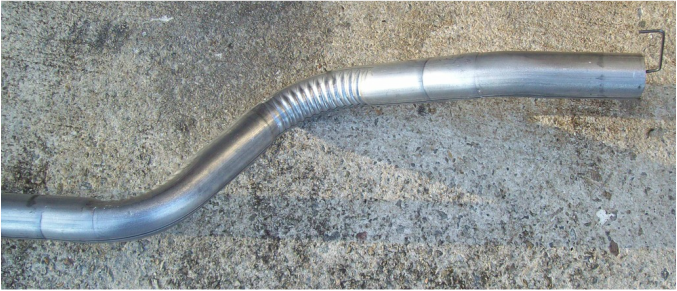 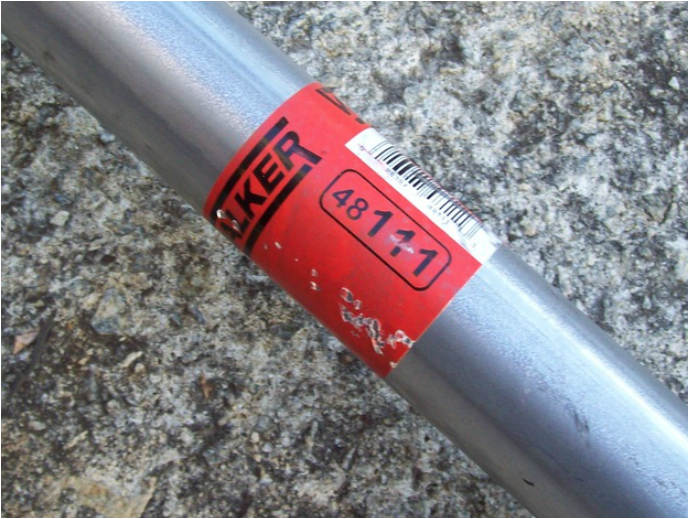 I vacuumed the cab and then installed the seat, shifter handle and steering wheel. Before the wheels go on the ground, I'm gonna start the engine and make sure the clutch works and see how the transmission shifts. Then maybe for a drive in the yard! 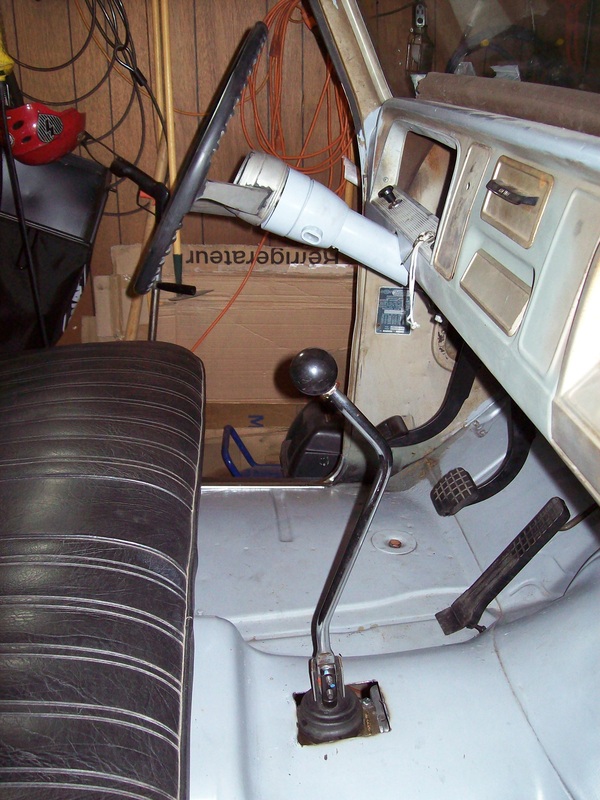
Since the T5 is longer than the original 3 speed tranny, I used some directions I found on the internet to determine what length shaft I would need. I showed the measurments to the drive shaft shop. They shortened, welded and balanced everything the same day. The shop that did the work needs lessons on how to paint stuff. LOL! So now my original shaft has new universal joints and a T5 yoke. So naturally I just had to install it tonight. 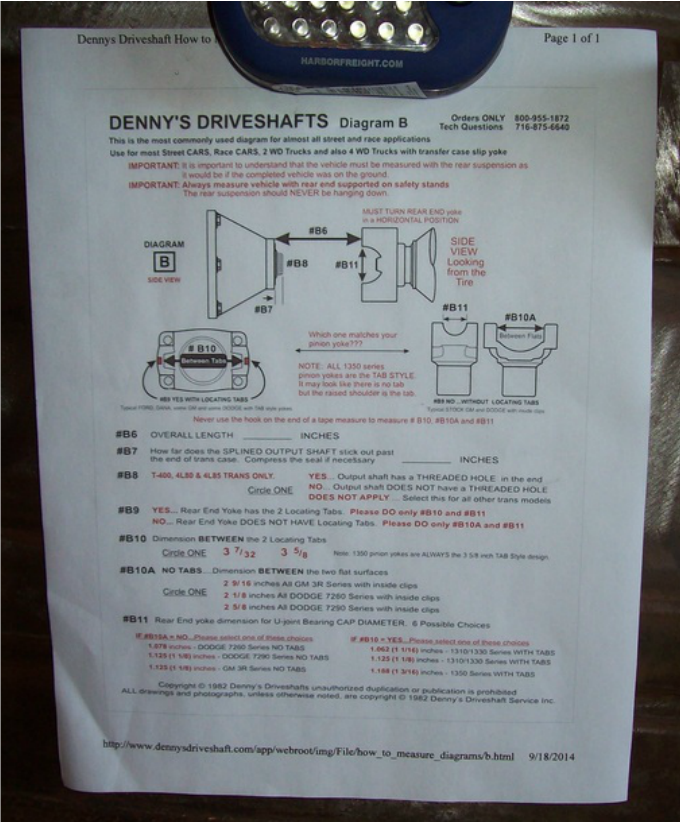 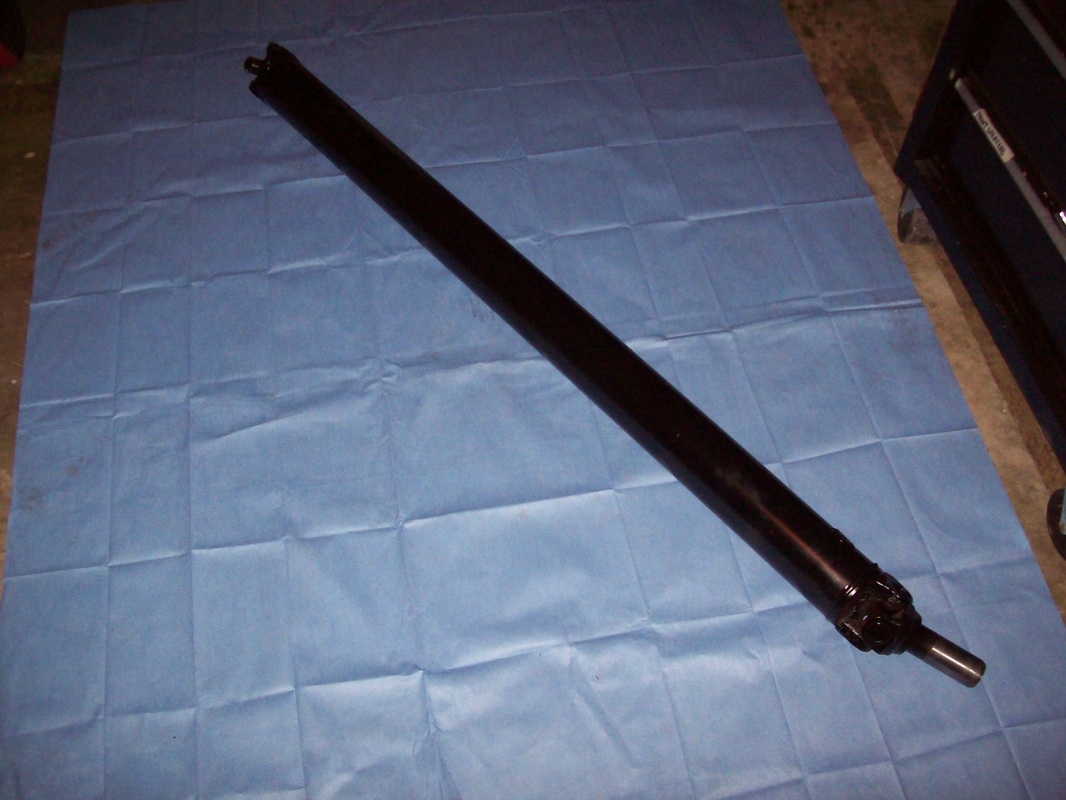 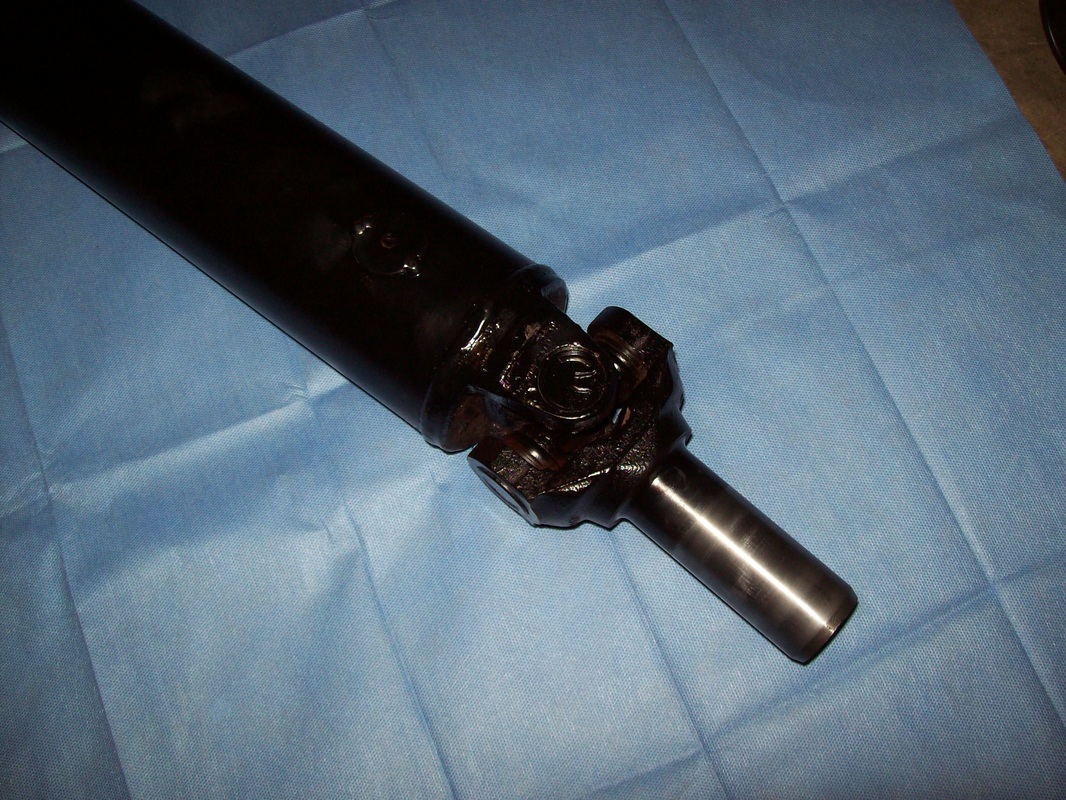 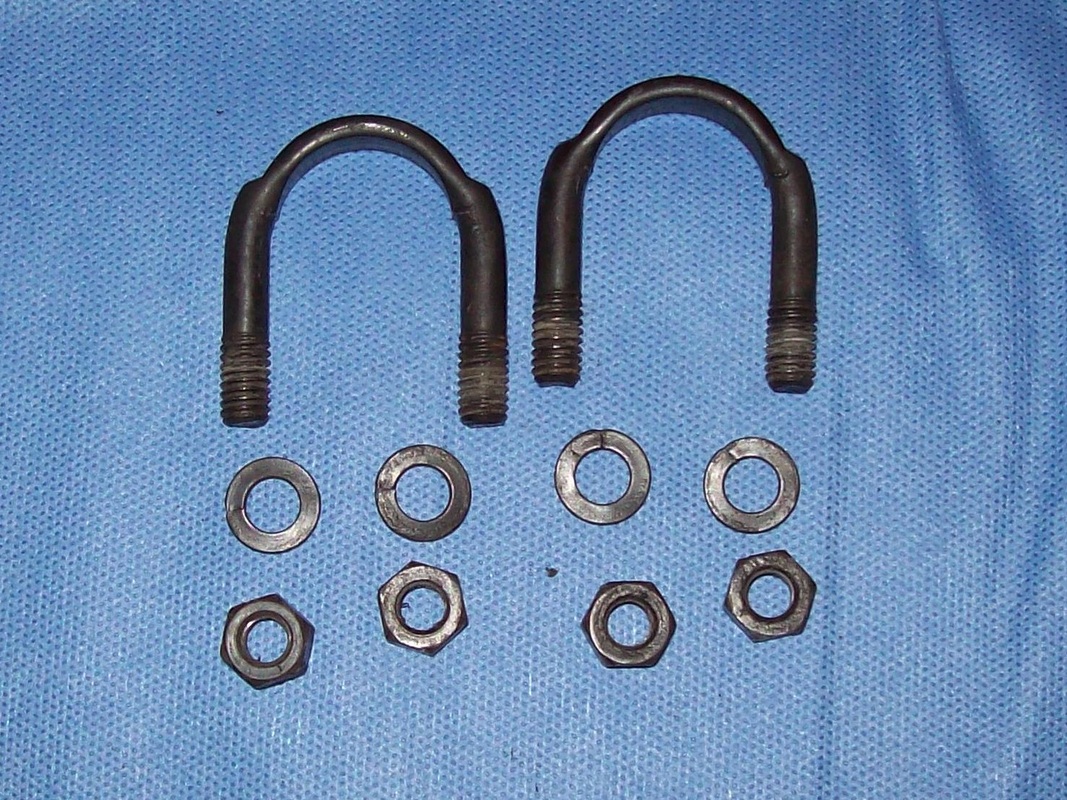 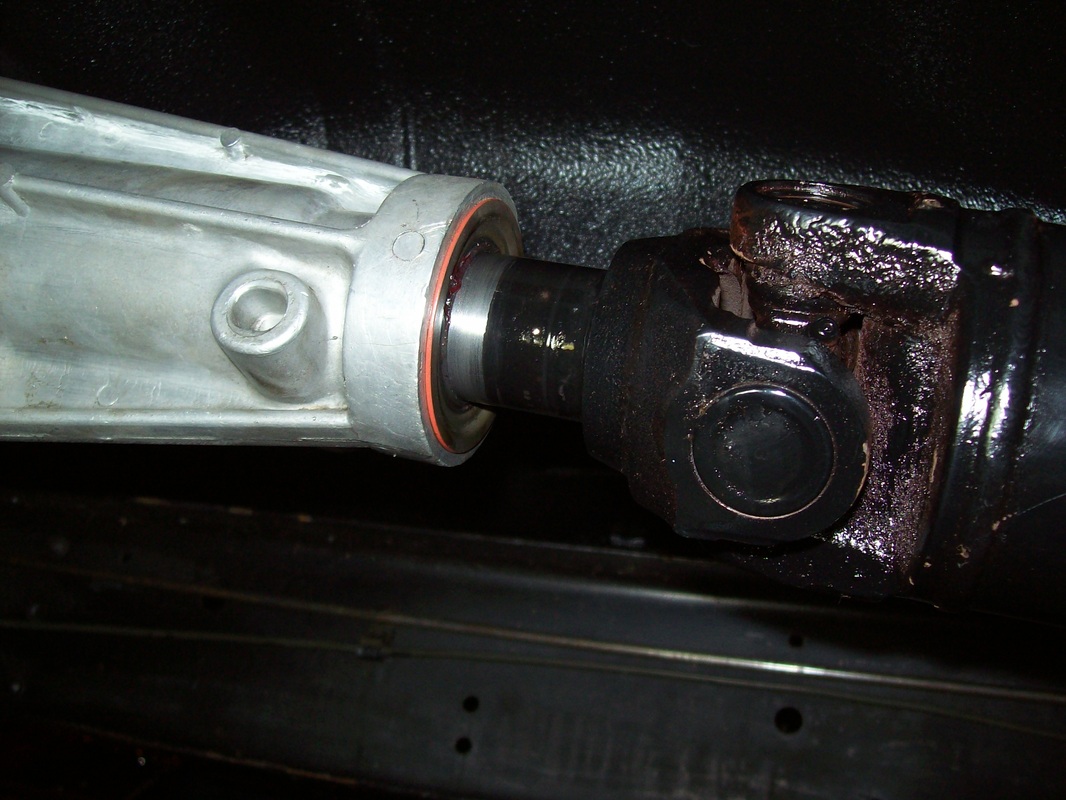 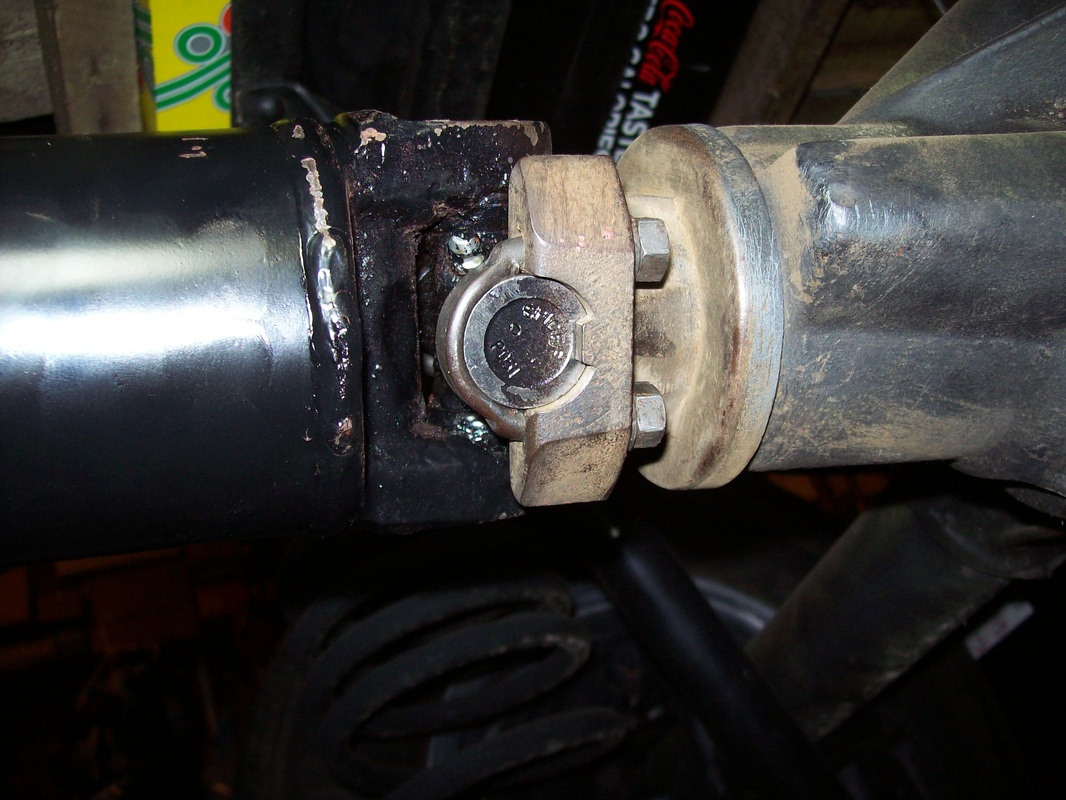 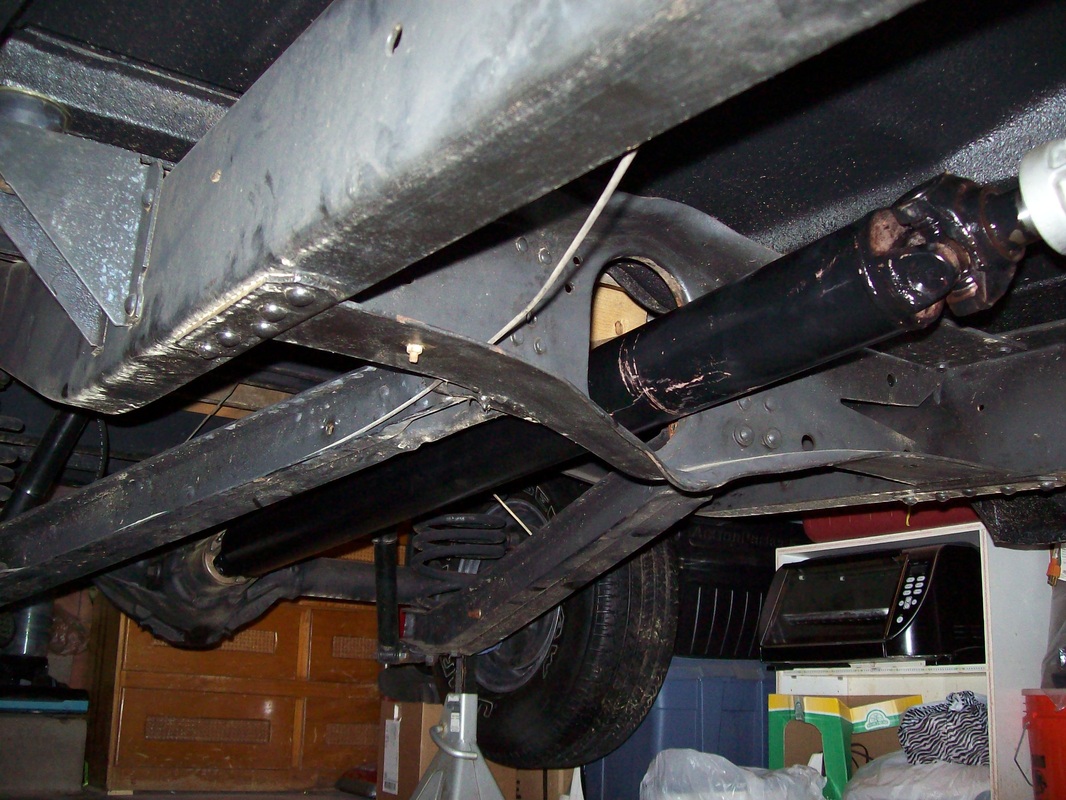 My original 1965 drive shaft is in really nice shape. Dirty, yes, but no dents or visible damage. I cleaned it up today and crawled under the truck to measure a few landmarks. The drive shaft shop will shorten the shaft and put the T5 yoke on. After it has been balanced it will be ready to install. 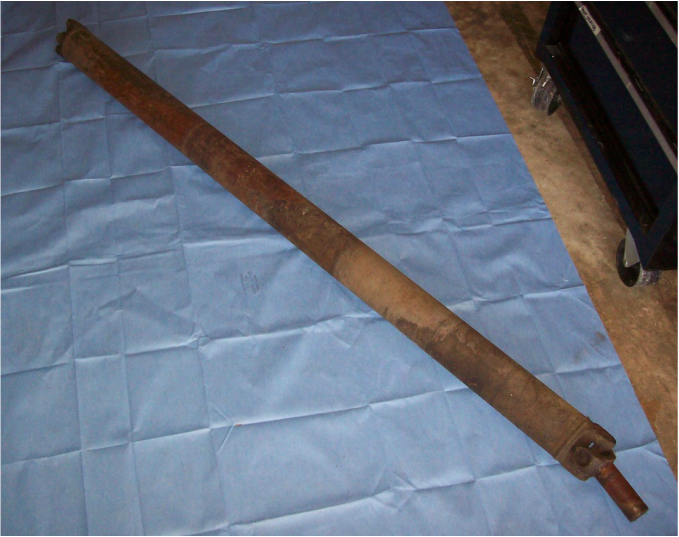 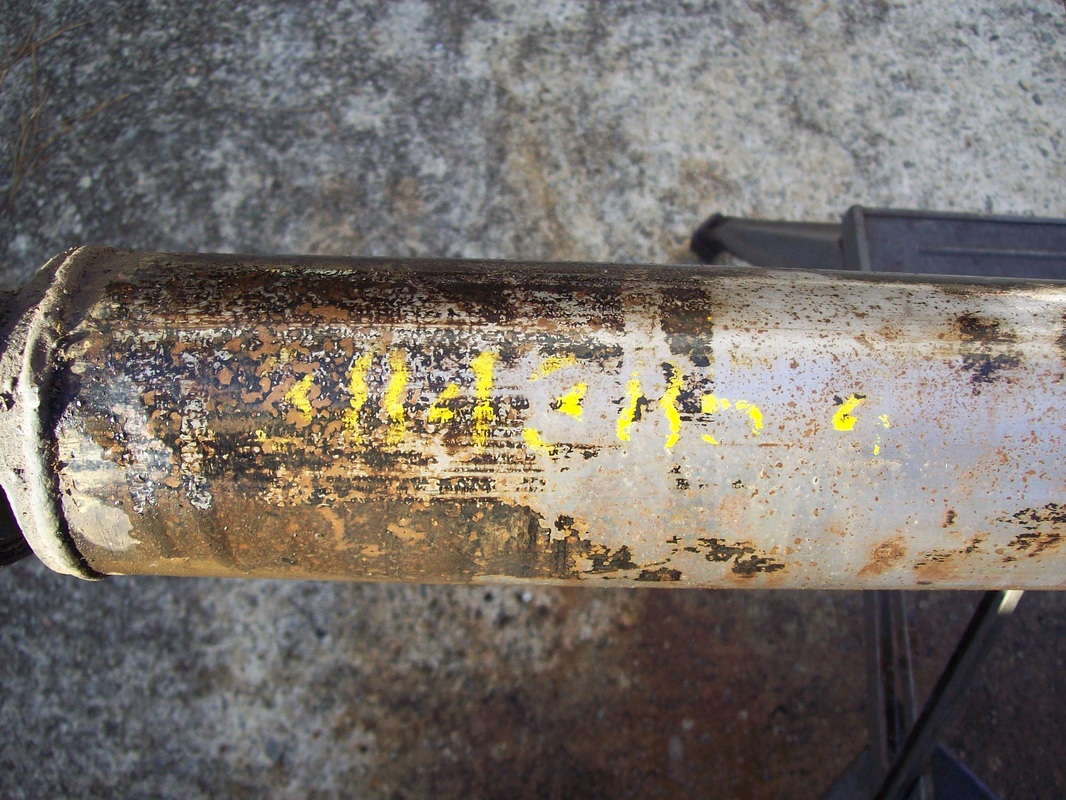  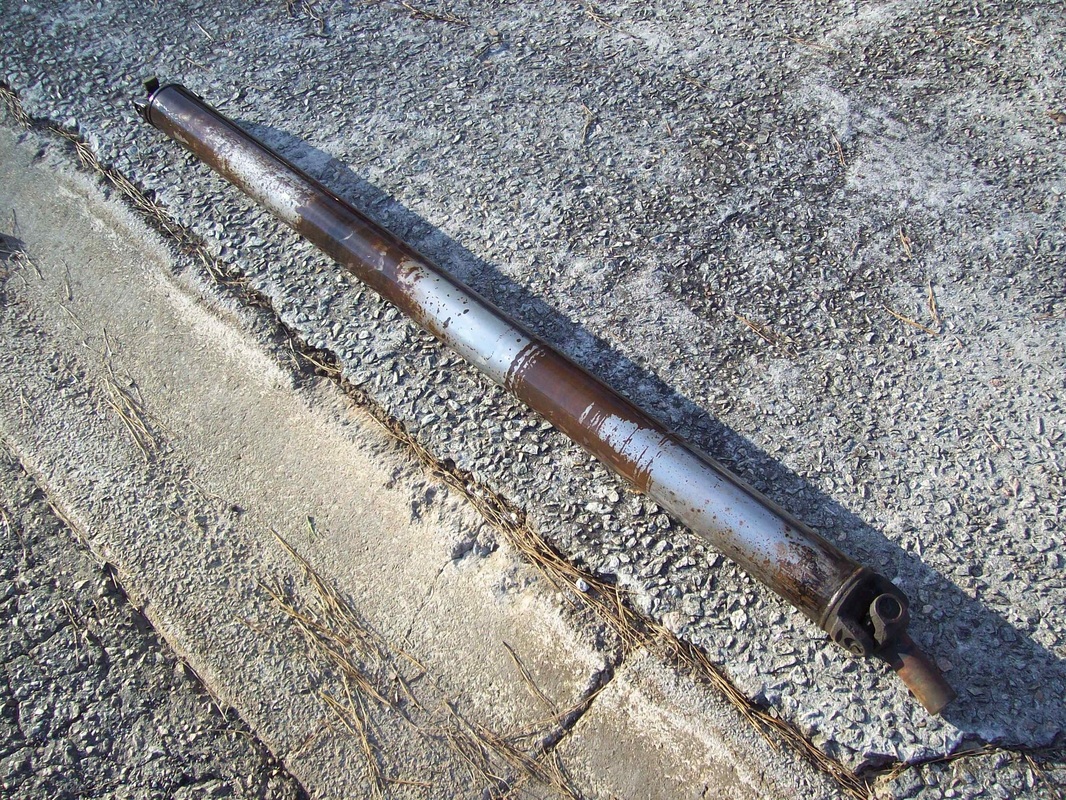 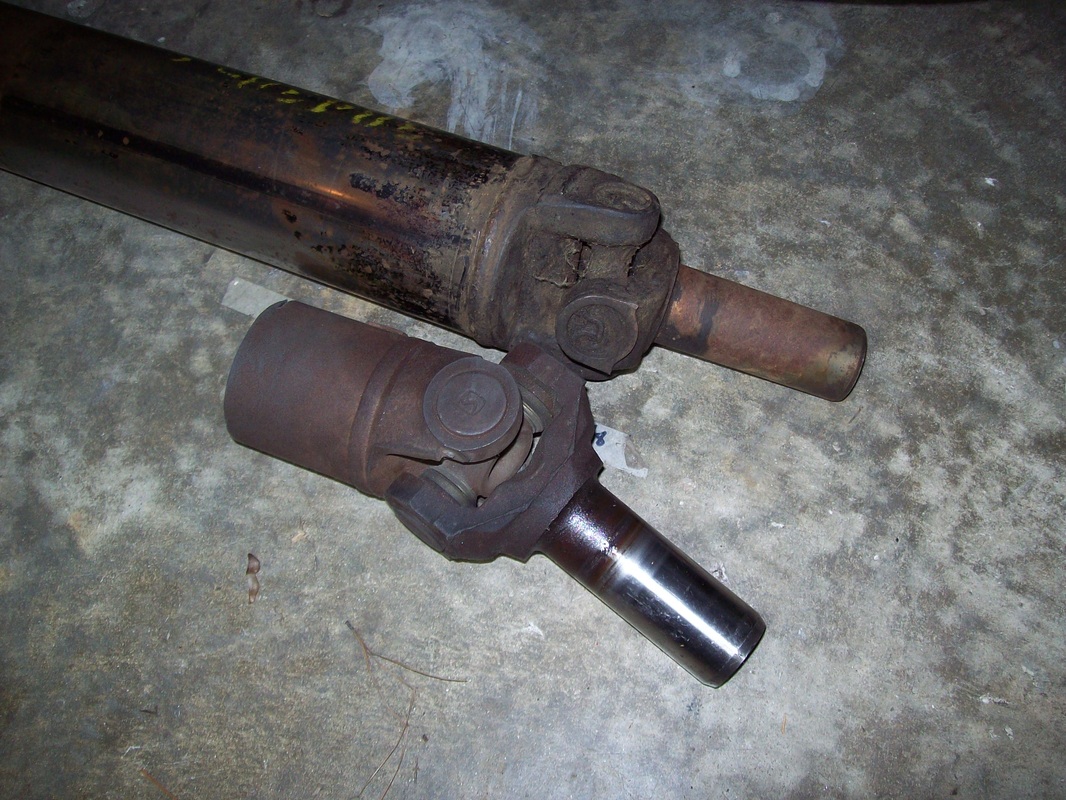 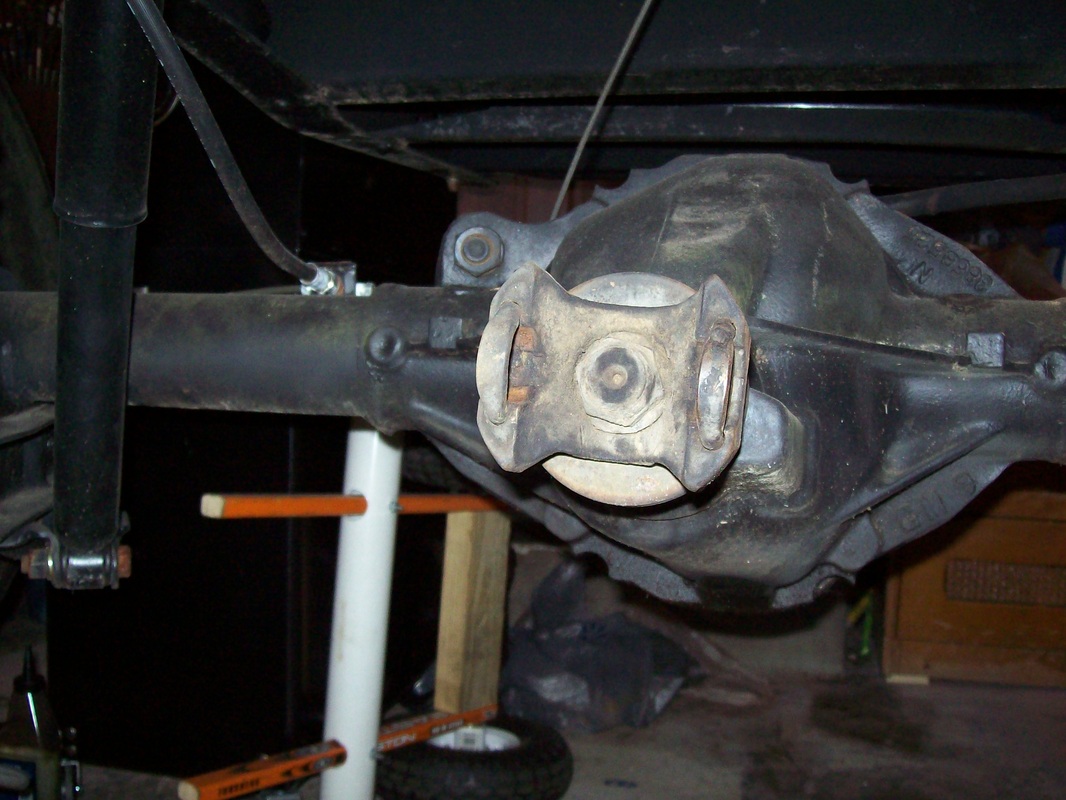 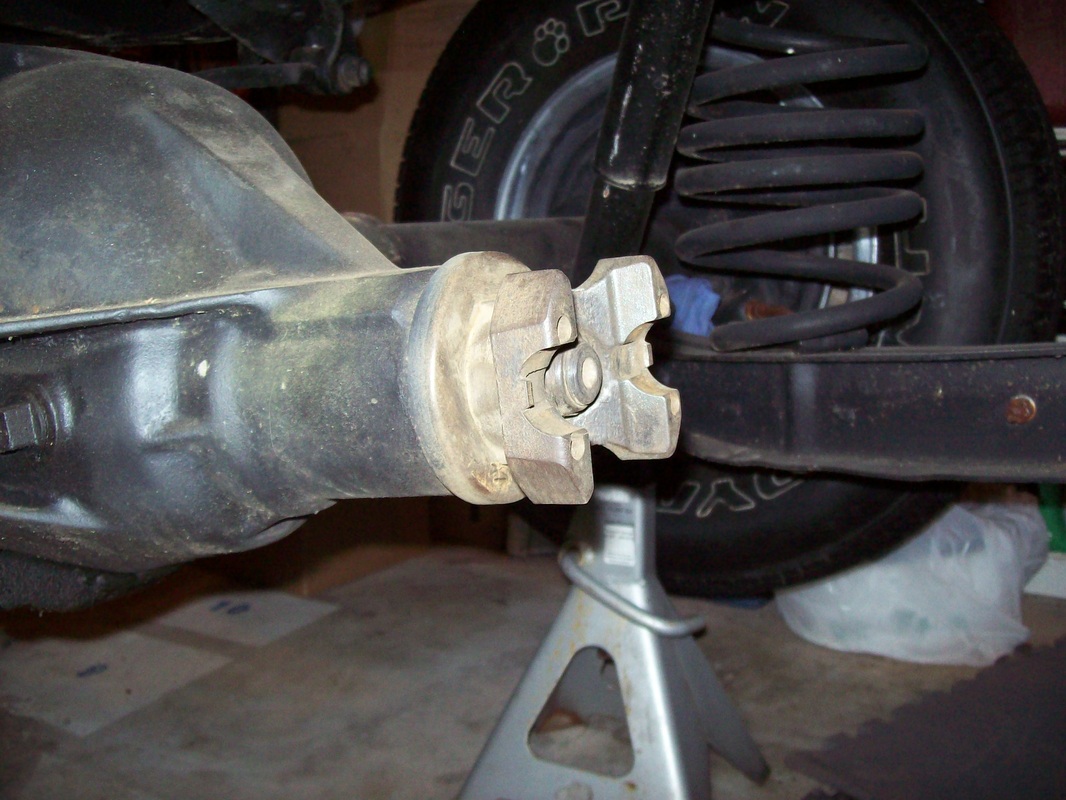 After work I installed my hybrid V8 Camaro NWC T5 transmssion. Things went smoothly. After it was bolted to the bell I adjusted the clutch linkage to ensure proper movement of the release bearing. My helper depressed the clutch pedal and I was able to turn the tail shaft by hand with the T5 in gear and unable to turn it when the pedal was released. That test confirms that the pressure plate is properly releasing the disc and that the pilot tip is not binding in the pilot bushing. Next is the drive shaft. I will be using Pennzoil Synchromesh as the lubricant for this NWC T5. 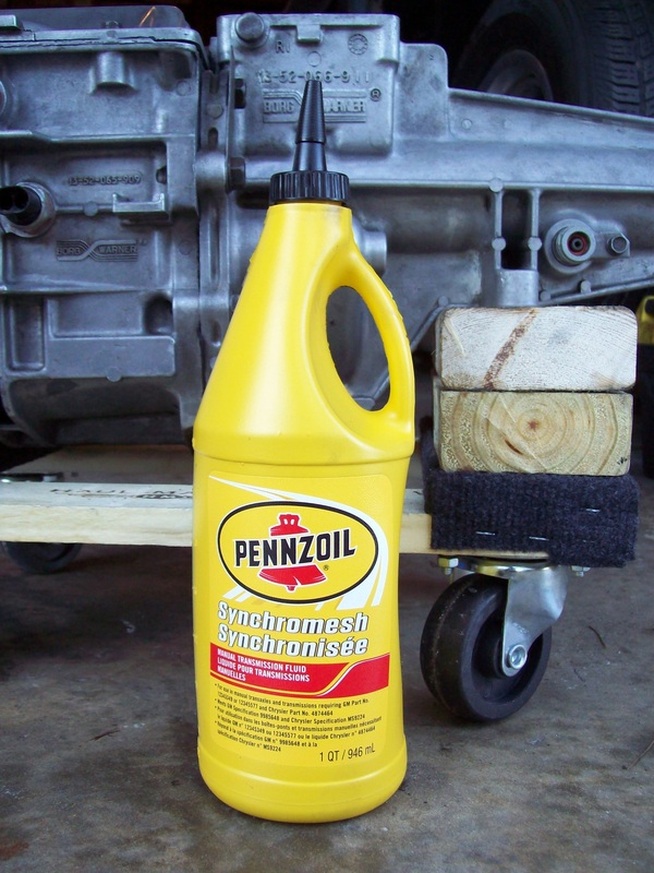 Release bearing in place on the clutch fork.  Secured to the bell with new bolts and washers.  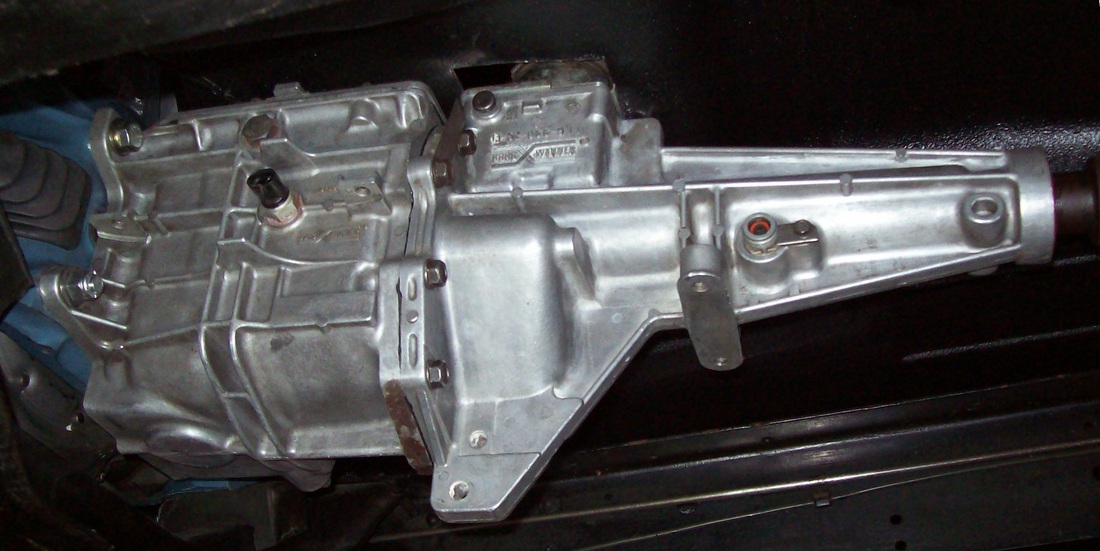 Clutch linkage adjustment is pretty simple. 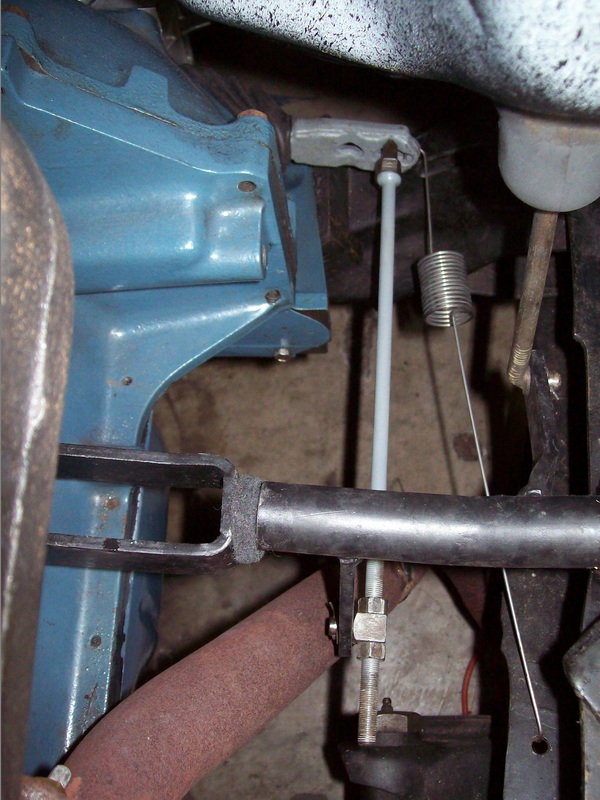 I got an incredible deal on some Gorilla chrome lug nuts on eBay. The wheels are gonna make the truck stand out. 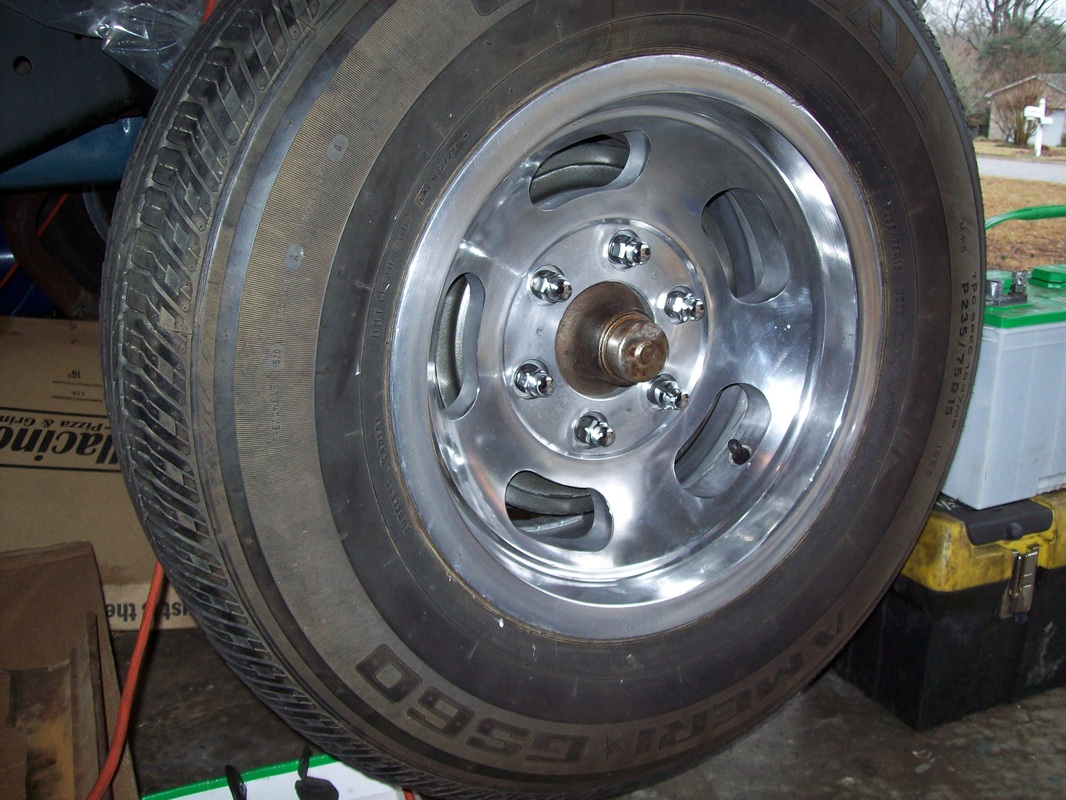
I bench bled the master cylinder today and attempted to bleed the air from the brake lines. I'll work on it again tomorrow. 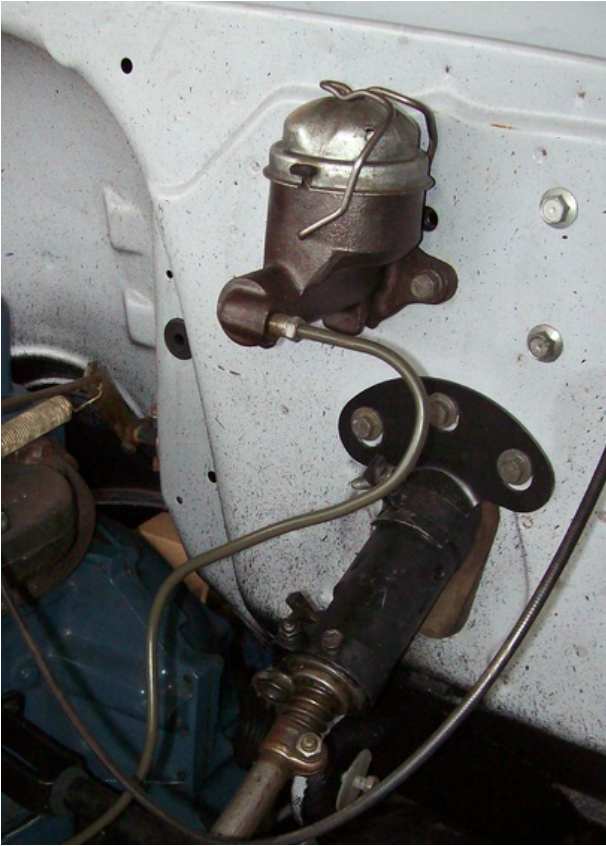
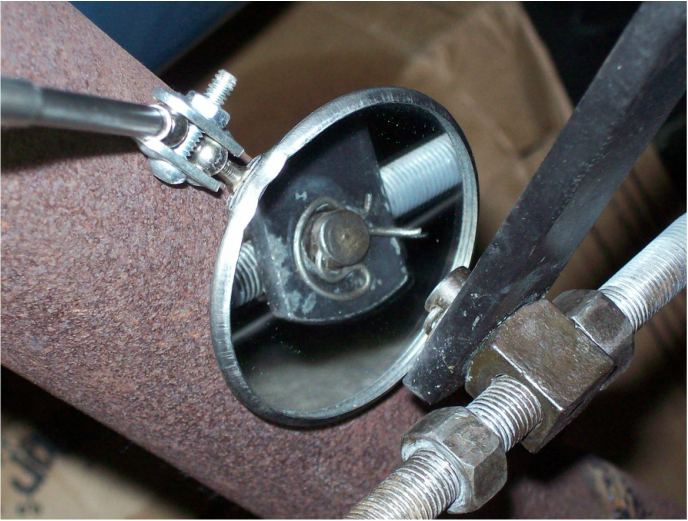
The reproduction clips I bought needed a little tweaking so they work properly. They are designed to hold the clutch linkage pieces together. They weren't quite the right shape to work properly so I bent the new clips as close to the shape of the originals as possible. The factory clip is on the bottom. 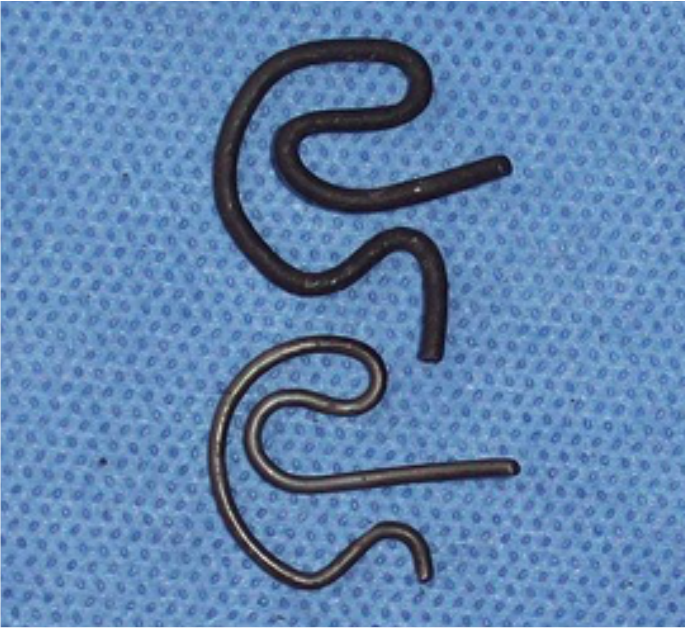
|
See my BLOG entries from prior months below:
April 2024
My Hobbies are:Auto Restoration Categories |
 RSS Feed

