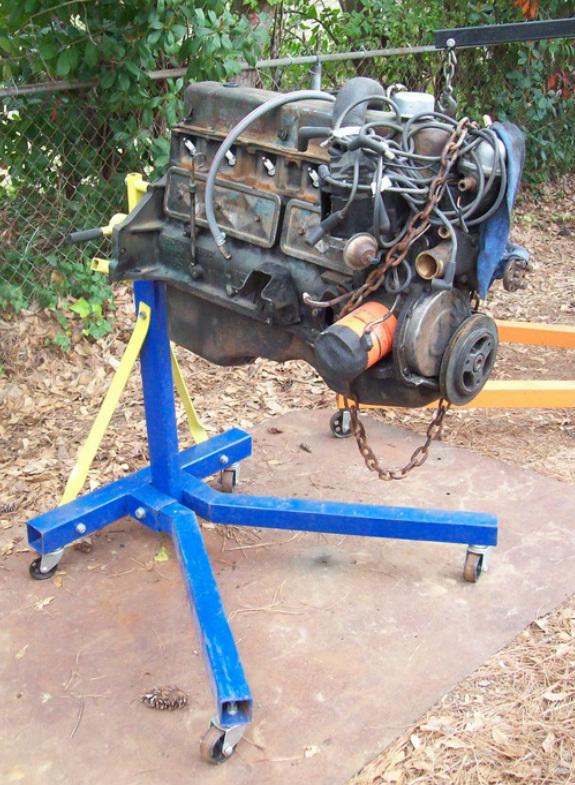
My engine stand is rated at 1250 pounds. Grade 8 bolts are needed. The sheet metal under the stand was removed from the bed of my C10. Nothing goes to waste in my yard! LOL!
|
My engine stand is rated at 1250 pounds. Grade 8 bolts are needed. The sheet metal under the stand was removed from the bed of my C10. Nothing goes to waste in my yard! LOL!
0 Comments
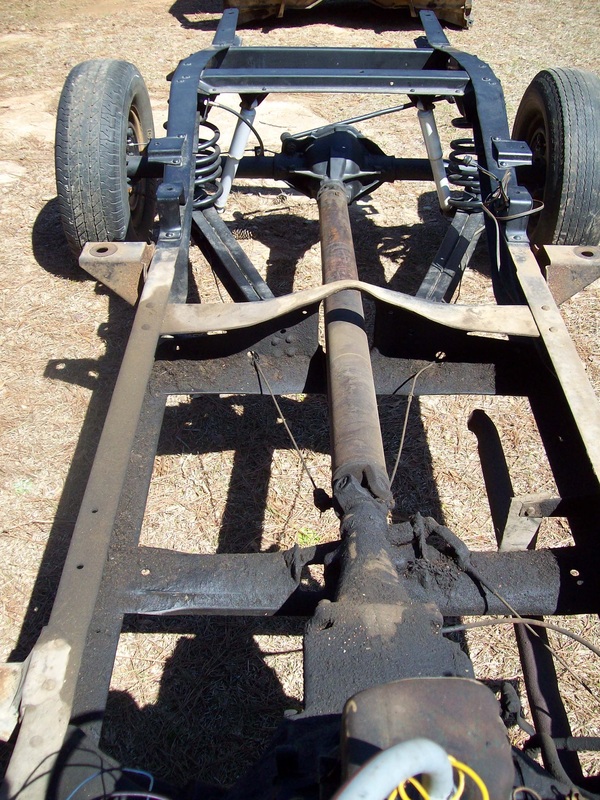
Today I used the engine hoist I bought about 2 months ago. It was easy to remove the engine with only the frame below. I don't think I could have removed it by myself if the truck was still all together. I plan to tear down the engine and hopefully learn why the compression tests were so bad. I'd like to rebuild it but the cost might not be something I can justify. We shall see. The final stage of frame restoration is under way. Everything behind the front cab mounts is already done. 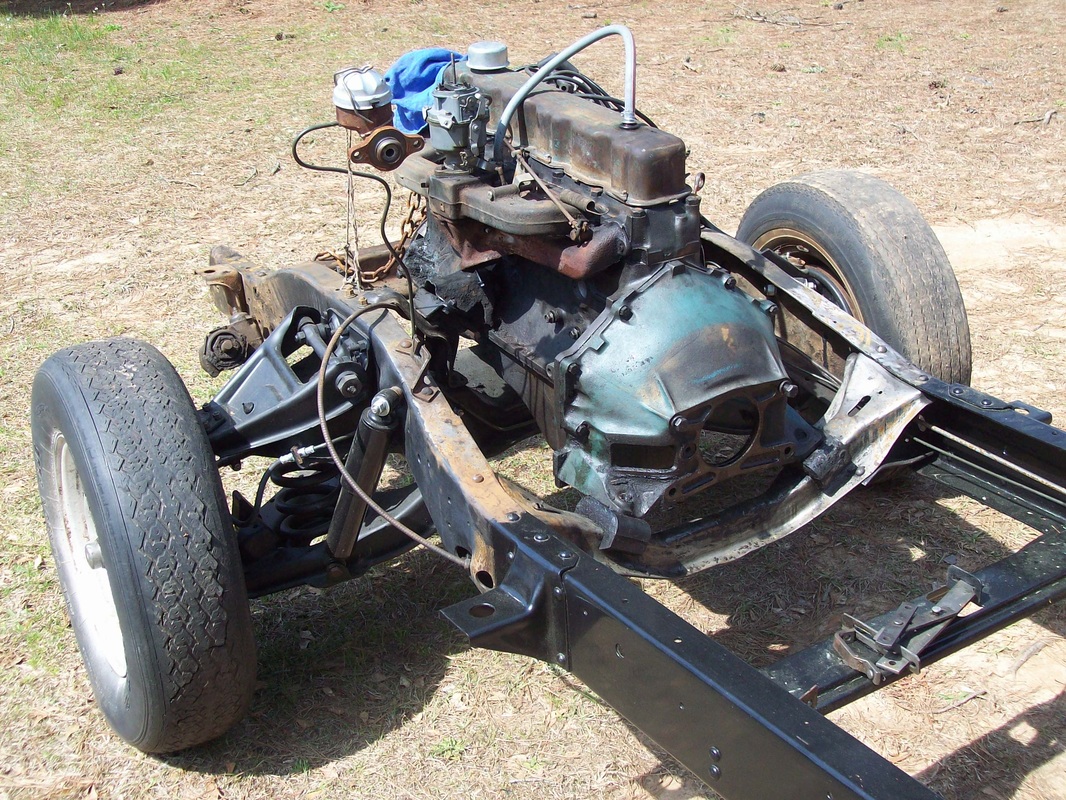 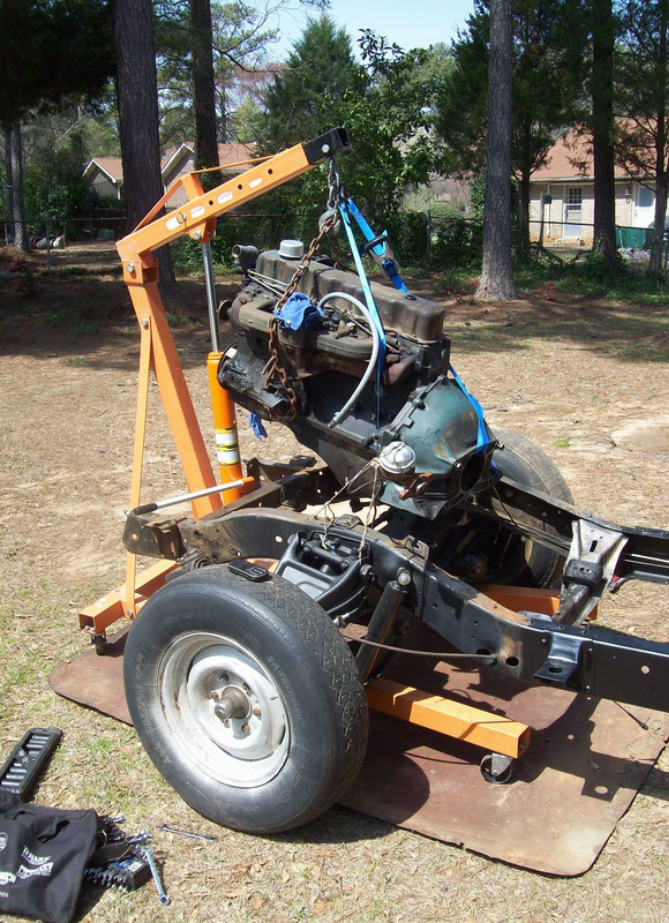 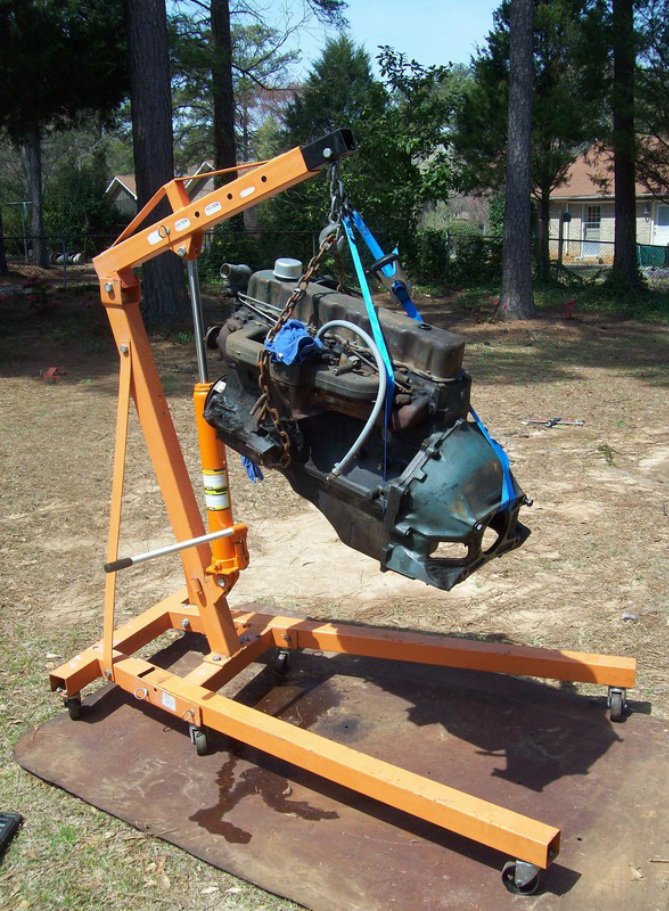 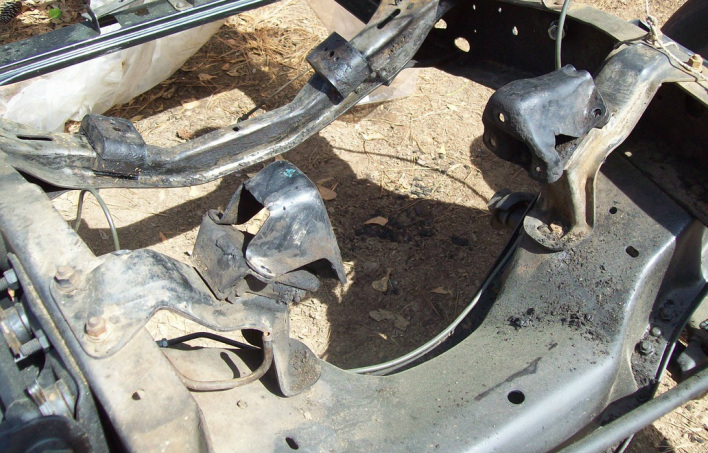 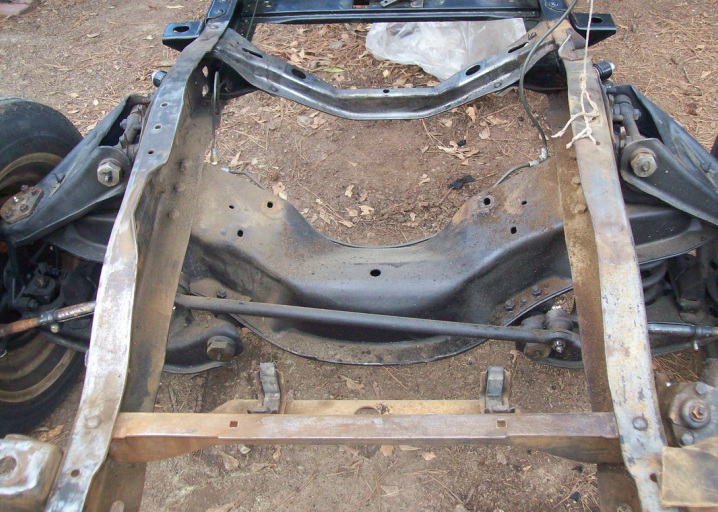 Tonight I removed the transmission, bell housing and contents, fan and radiator. The engine should lift off once I unbolt the motor mounts. 
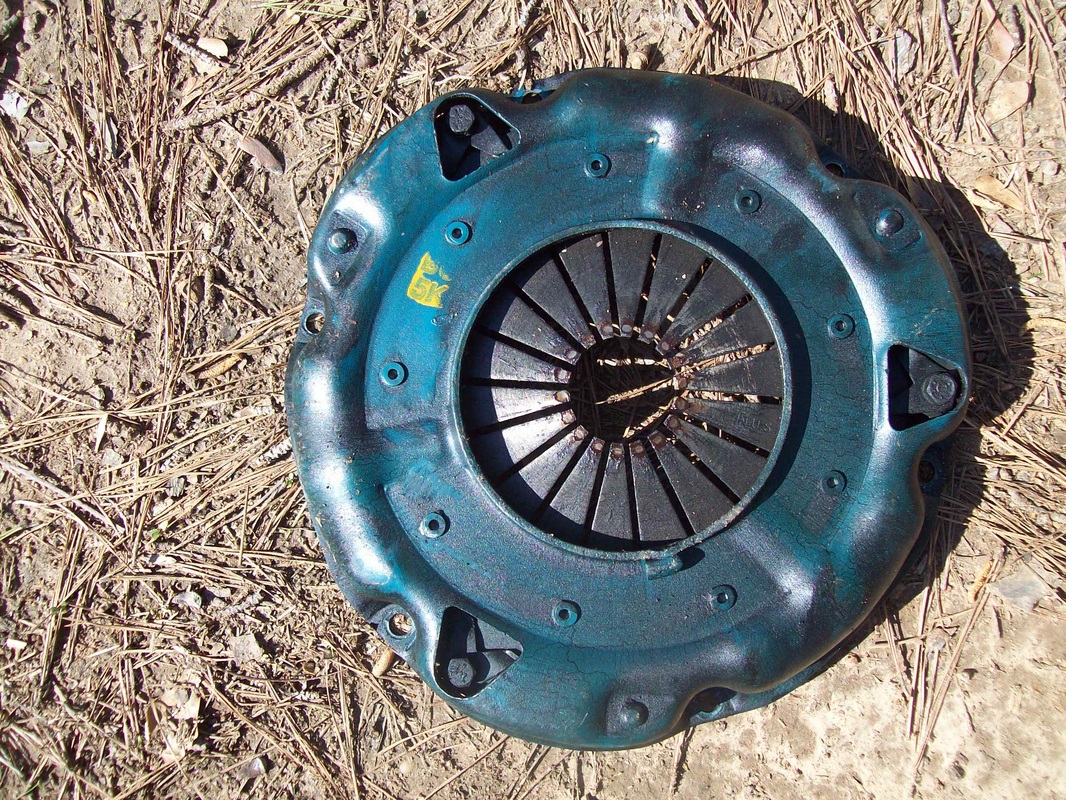
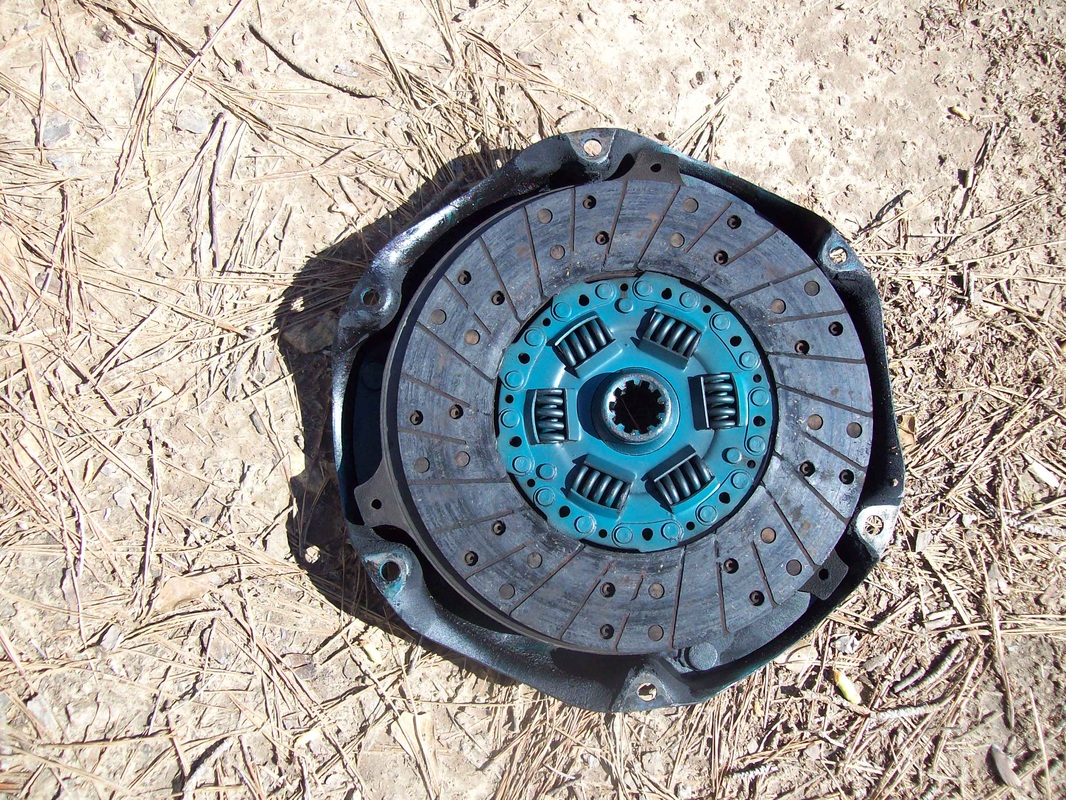
I knew better than to wait until now to do a compression test, so I will have to eat some crow here. I wrongly assumed that since I got the engine running and drove it up and down the road that the engine didn't have a big problem. Wrong! Here are the numbers after repeating the compression test X3 on each cylinder.
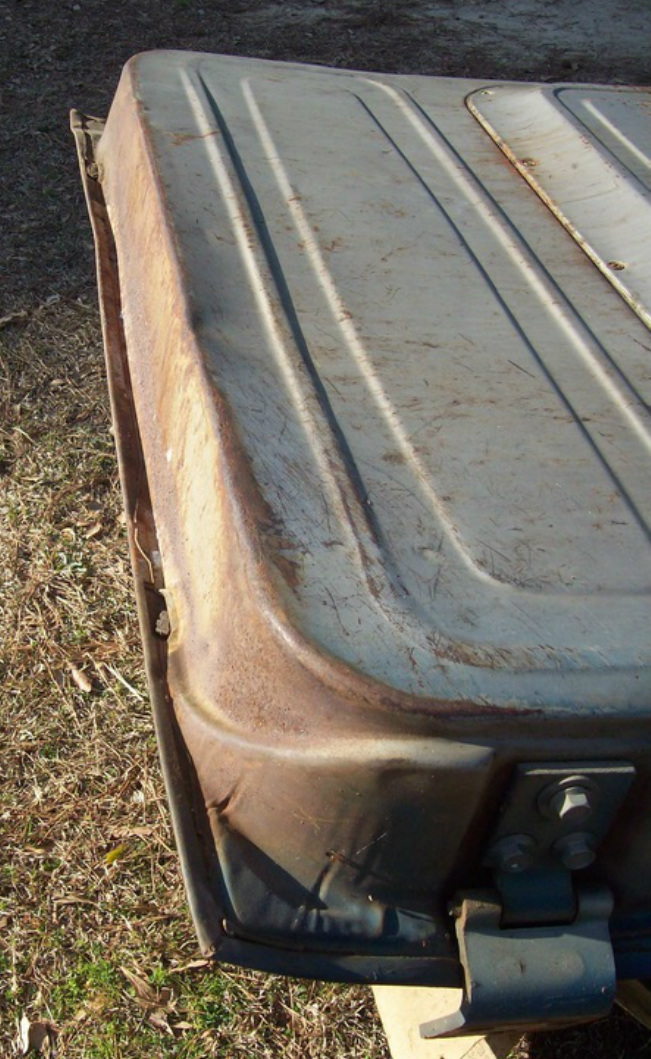
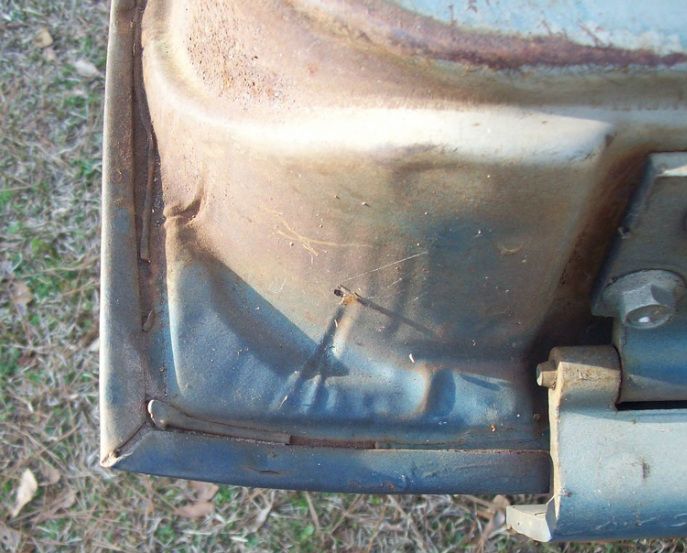
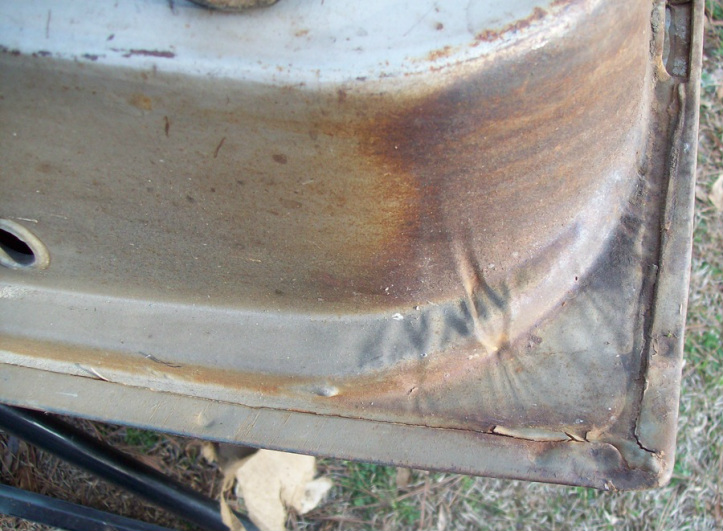
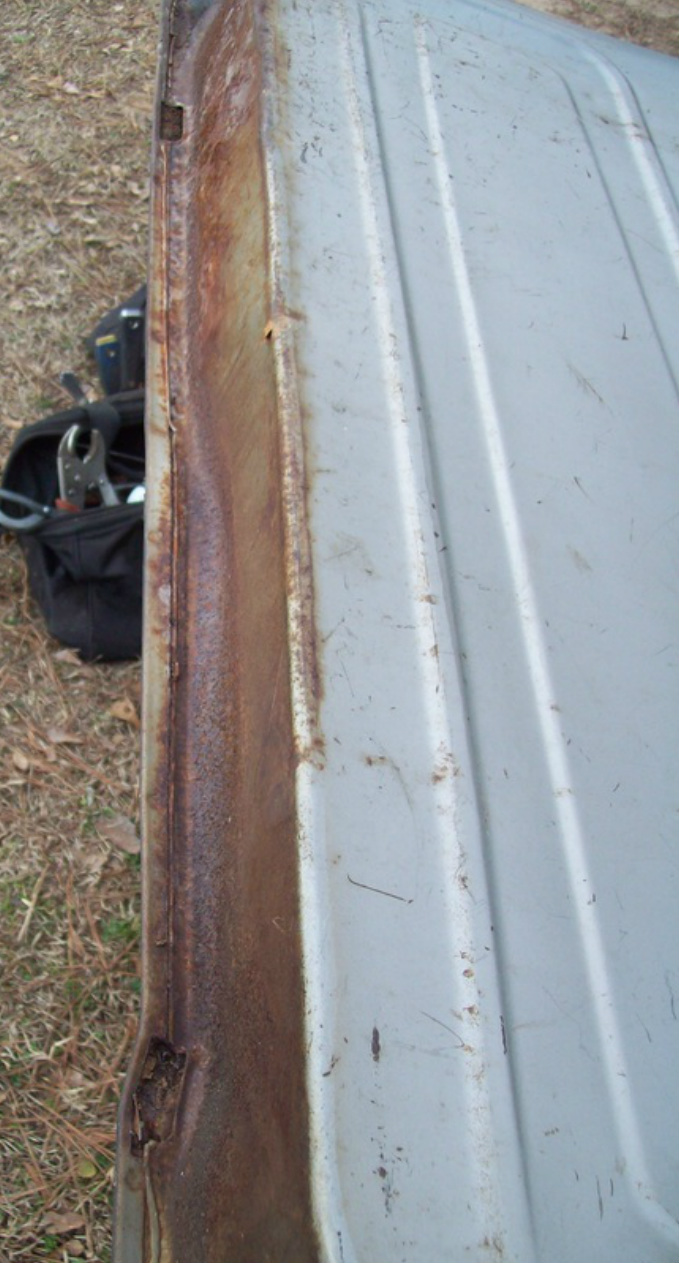
#1. 71,72,73 #2. 30,29,27 #3. 35,35,35 #4. 135,130,135 #5. 115,120,120 #6. 130,135,130 On #4, #5 & #6 I could get it 5 higher with 6 or 7 needle bumps. Just for fun, I squirted oil into #3 and repeated = no difference. My original doors are pretty beat up on the outside but the inner door shells are in good shape. Better than most I see. I think the DS door is destined to be a donor for the patches I need to fix a door I got at the salvage yard. However, the PS door can probably be saved with a new outer door skin. Driver Door 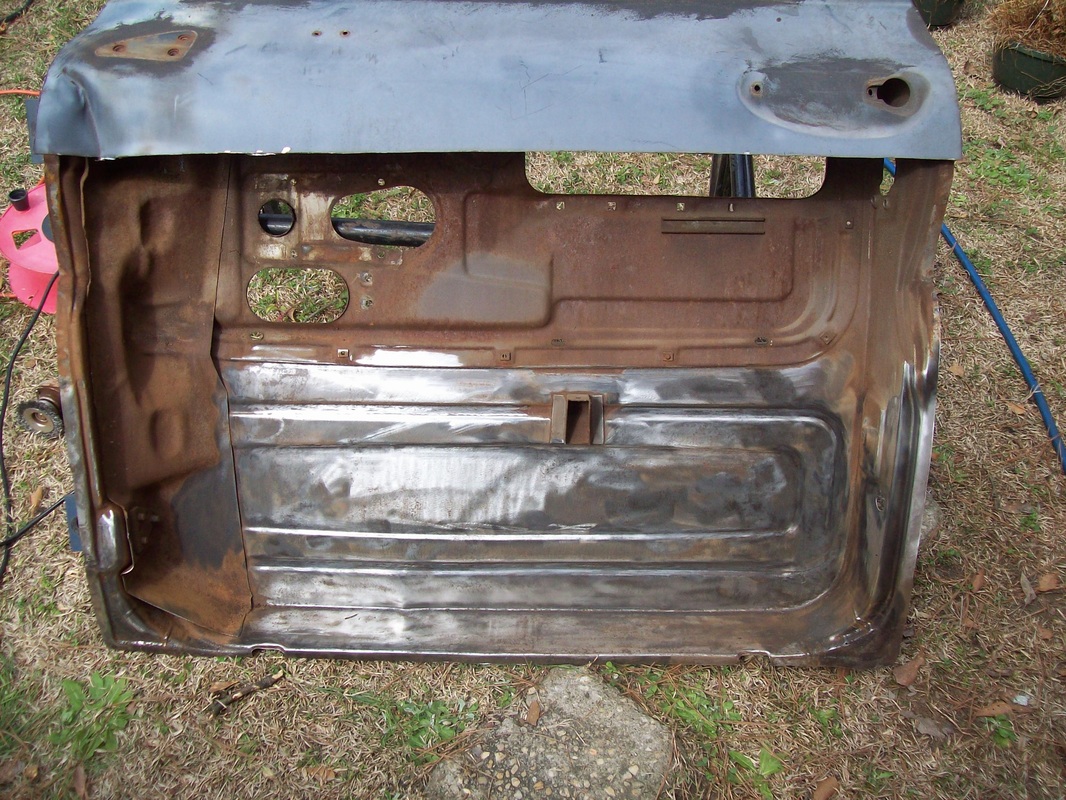 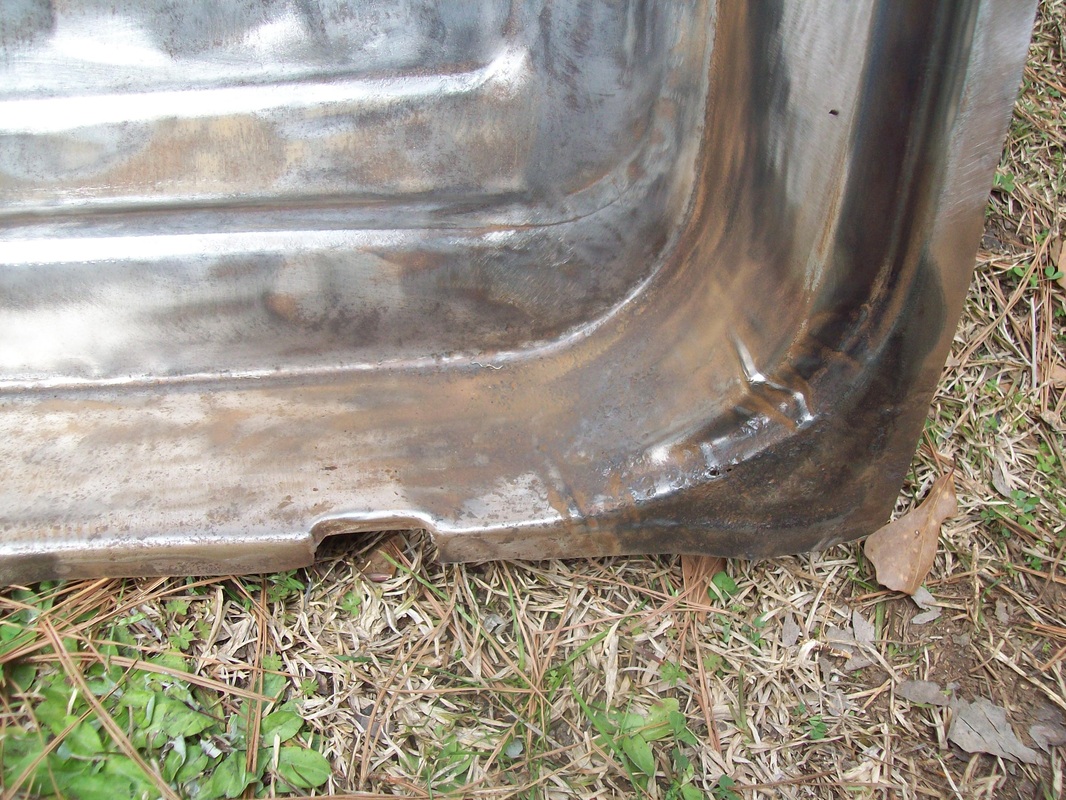 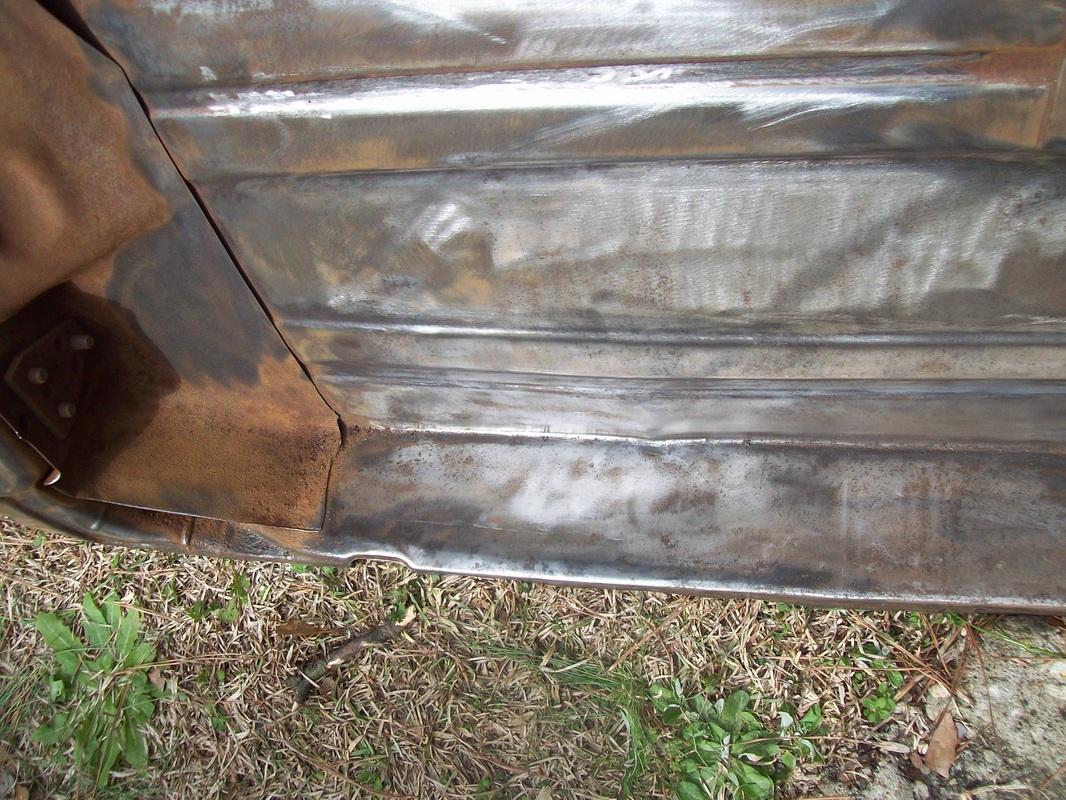 Passenger Door 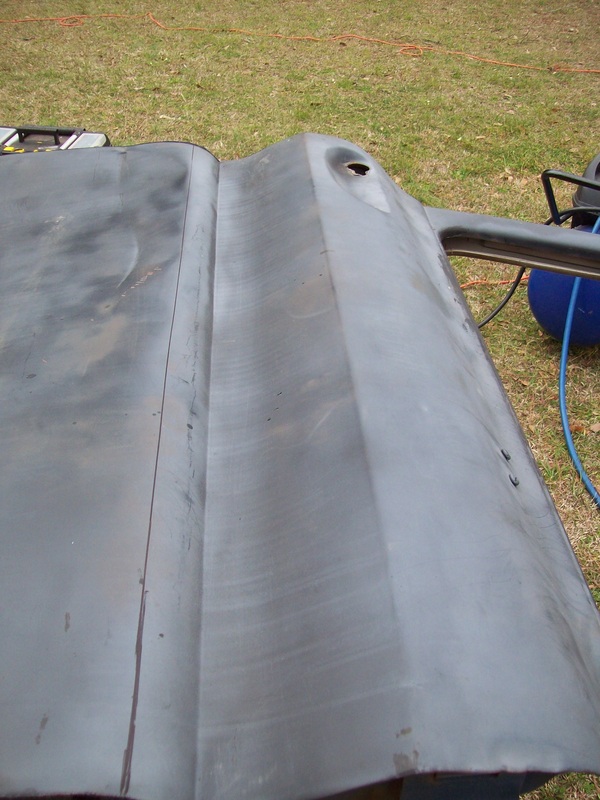  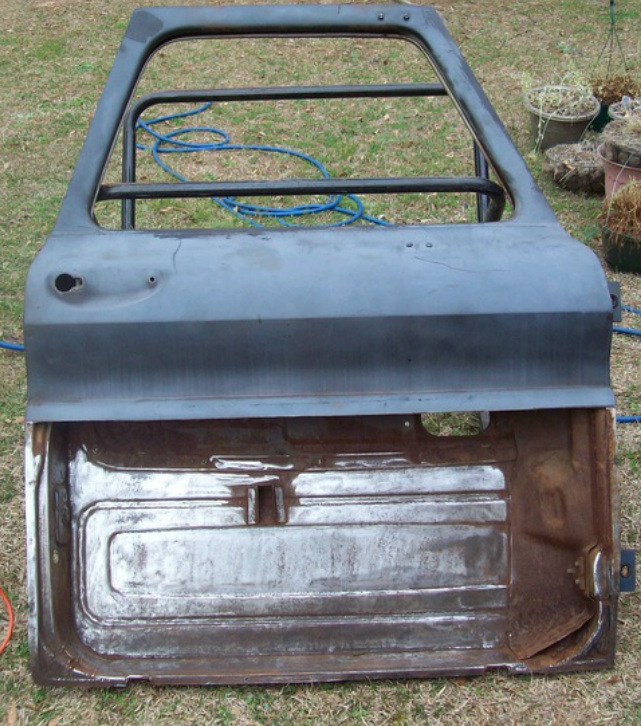 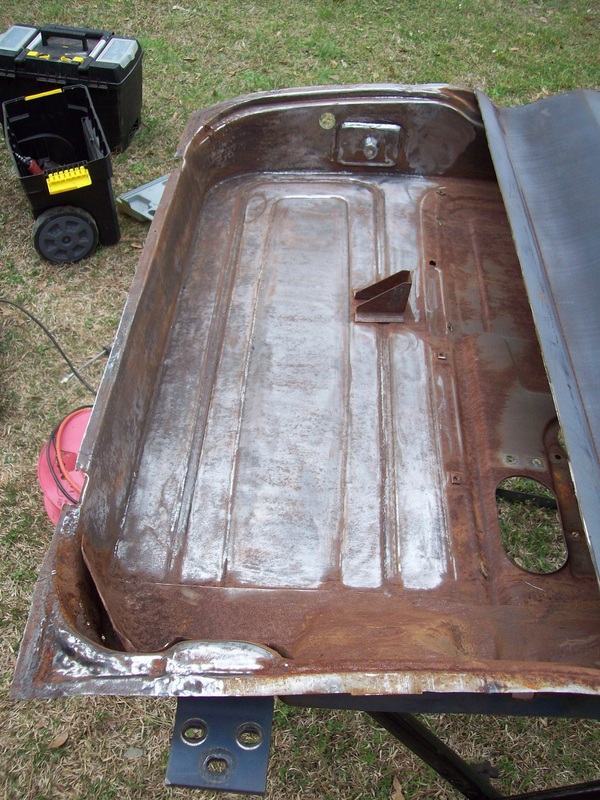 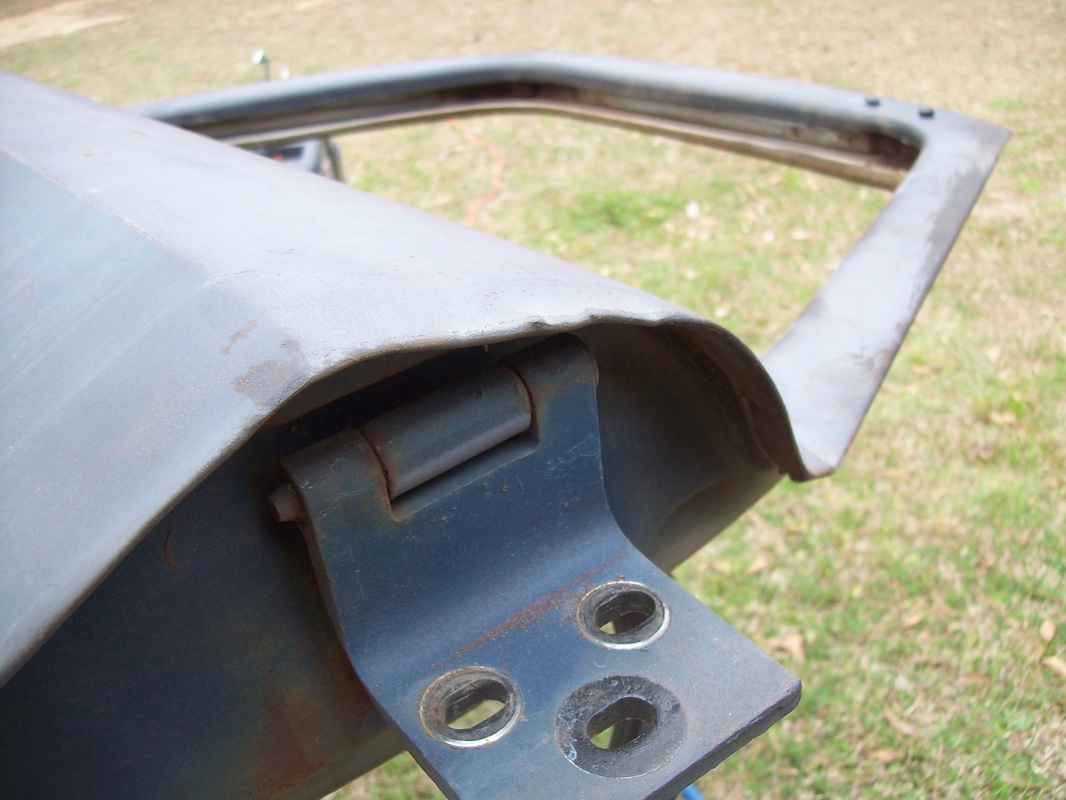 I'm trying to figure out if my 230ci engine is any good or not. I was surprised to get some low compression numbers Tuesday night. I need to check some additional things before I give up on it. It might just have some stuck valves. Today, I applied POR15 to the middle portion of the frame. The front 1/3 will be done once the engine is pulled. Since my original driver's door is badly dented, I decided to pull the door skin off and look inside. The inner door frame is also damaged, but the lower half is in good condition and will be used as a patch panel for my replacement door. 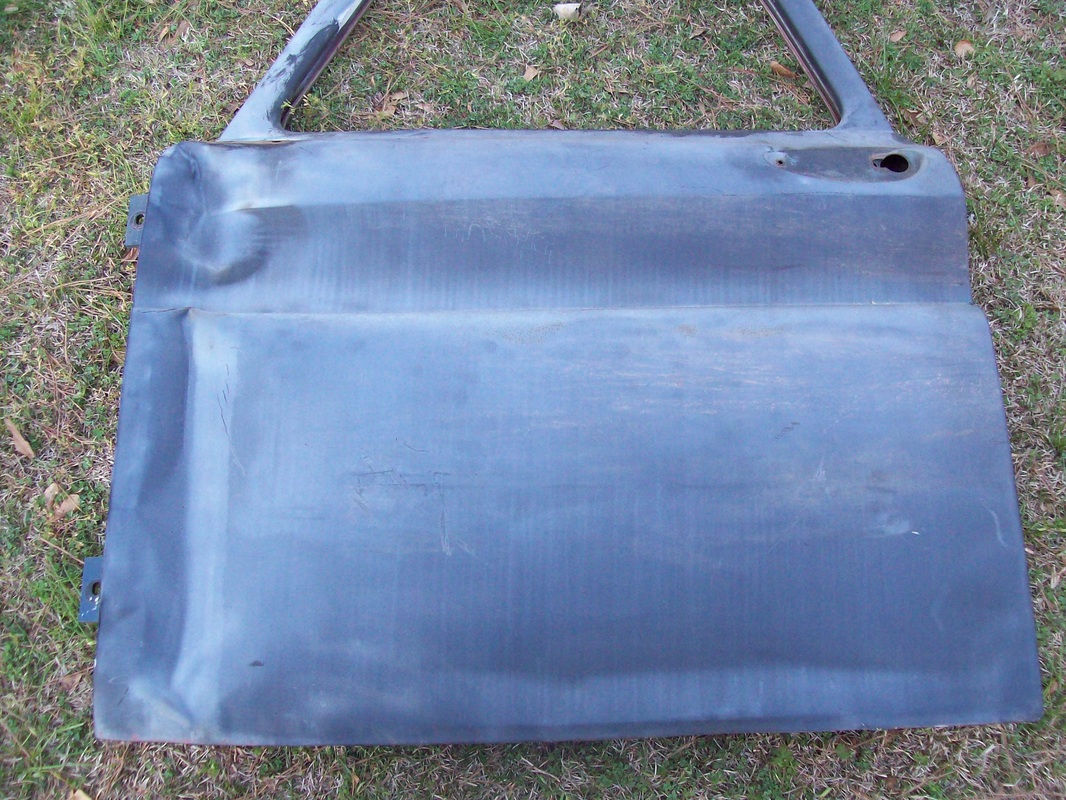
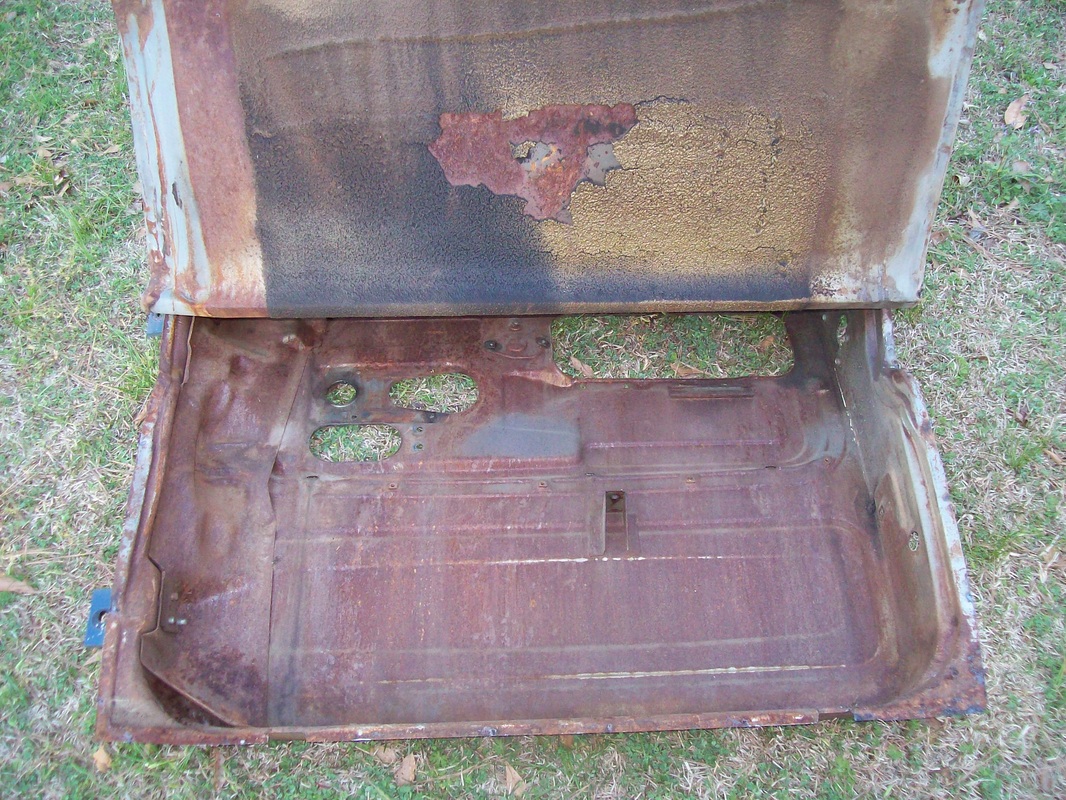
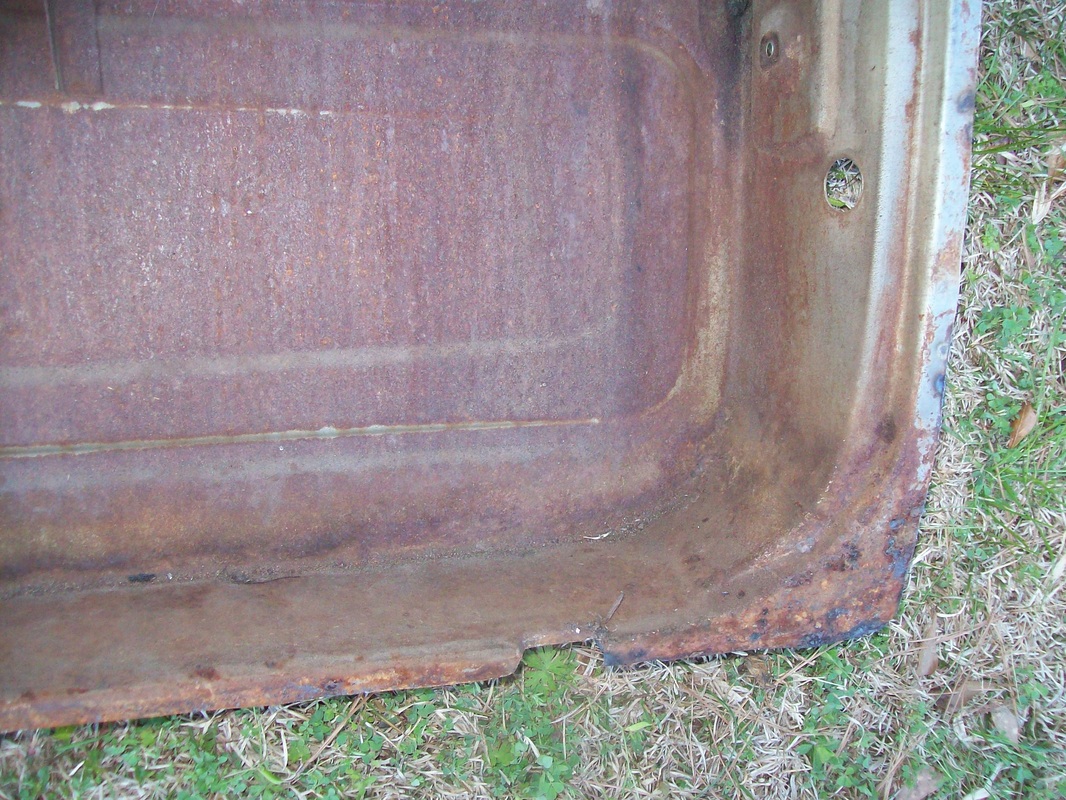
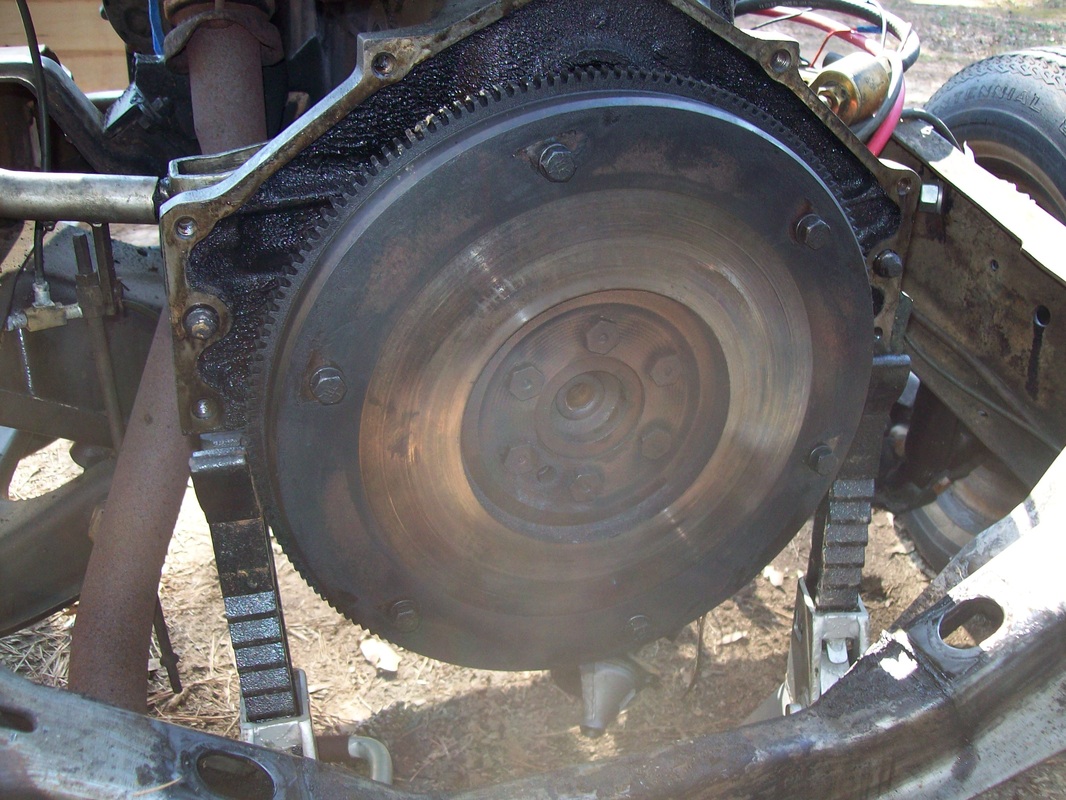
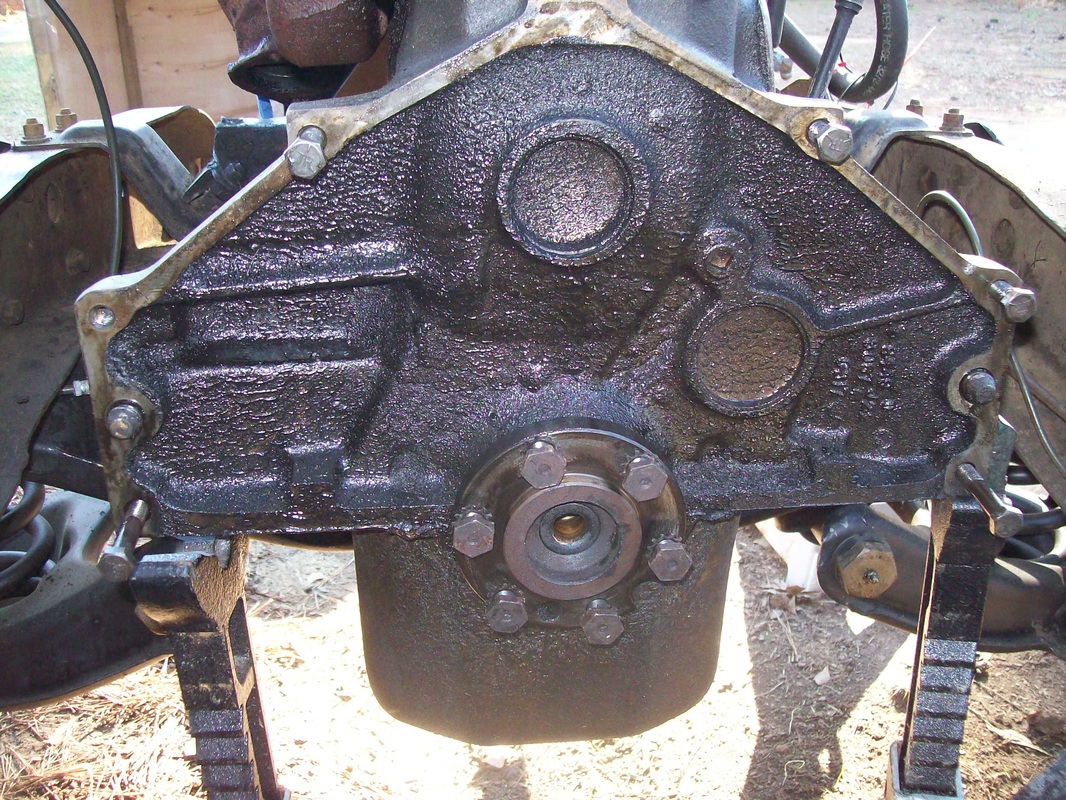
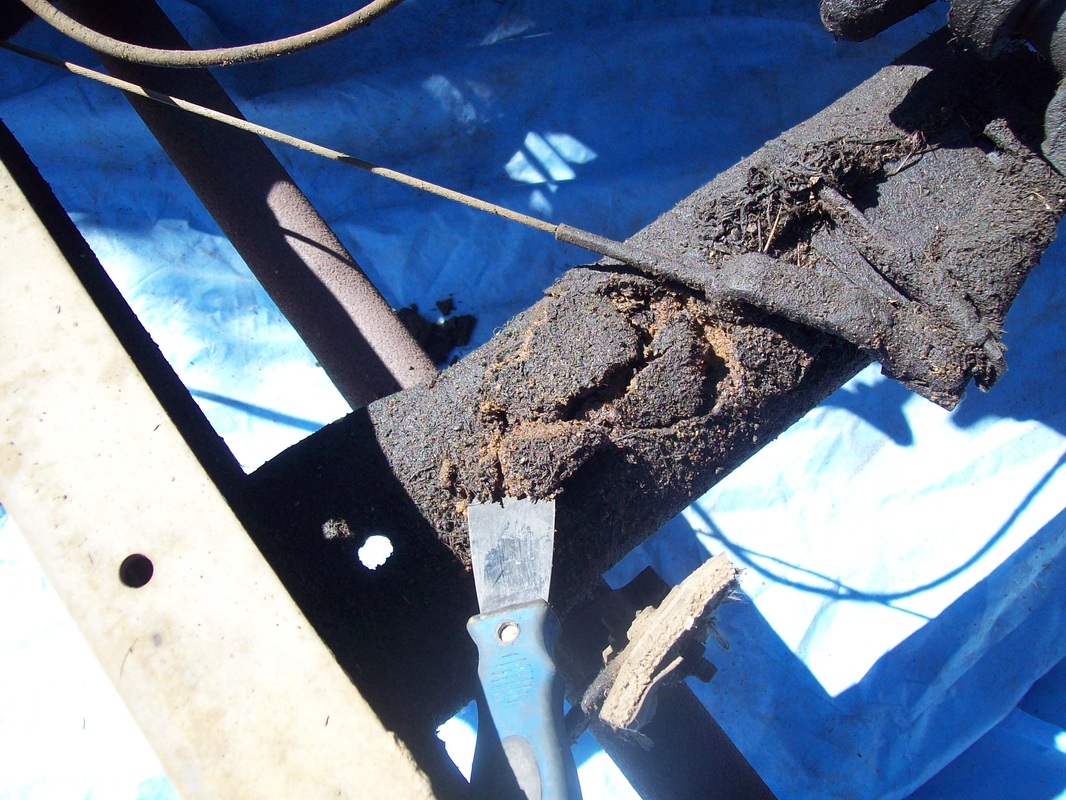
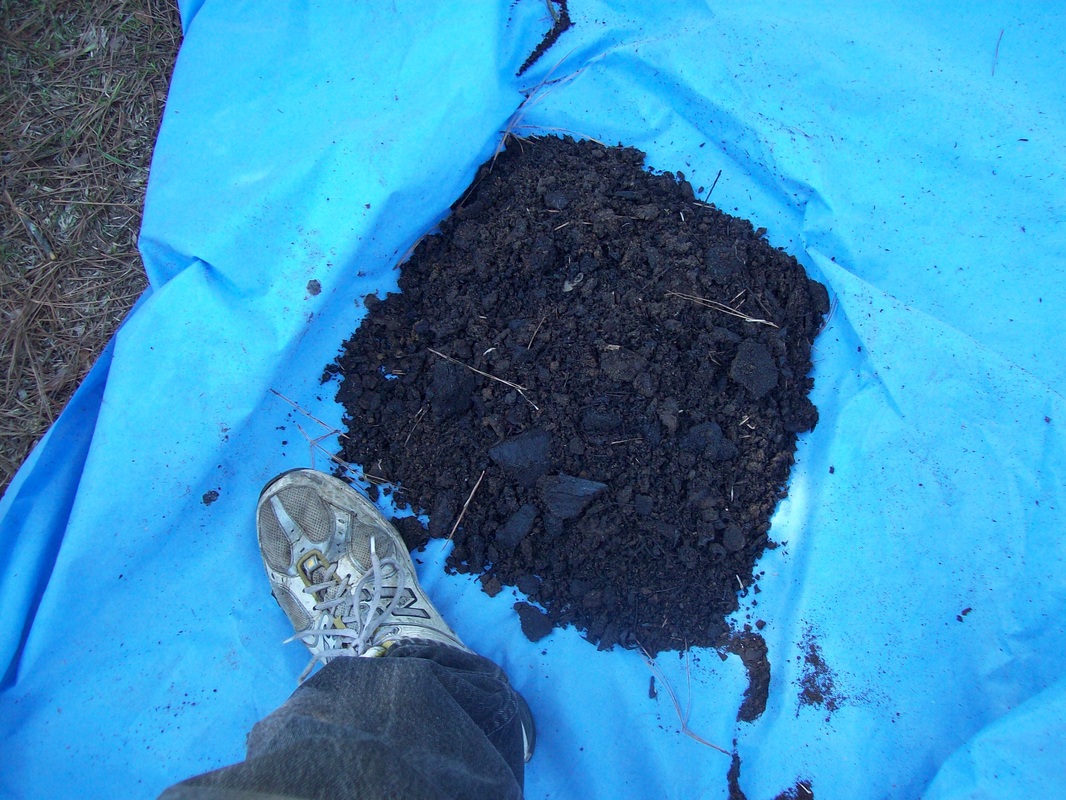
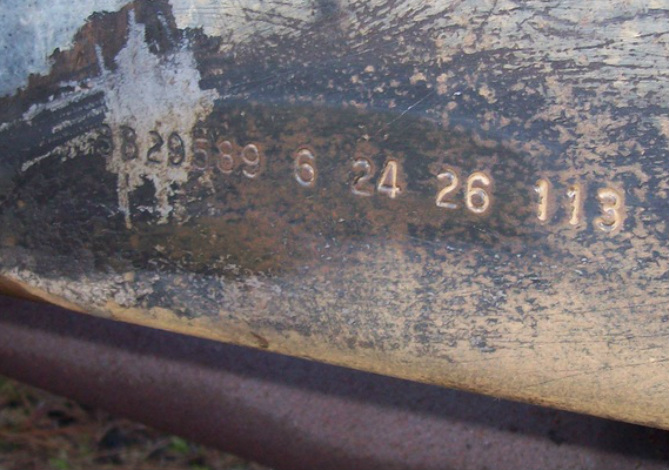
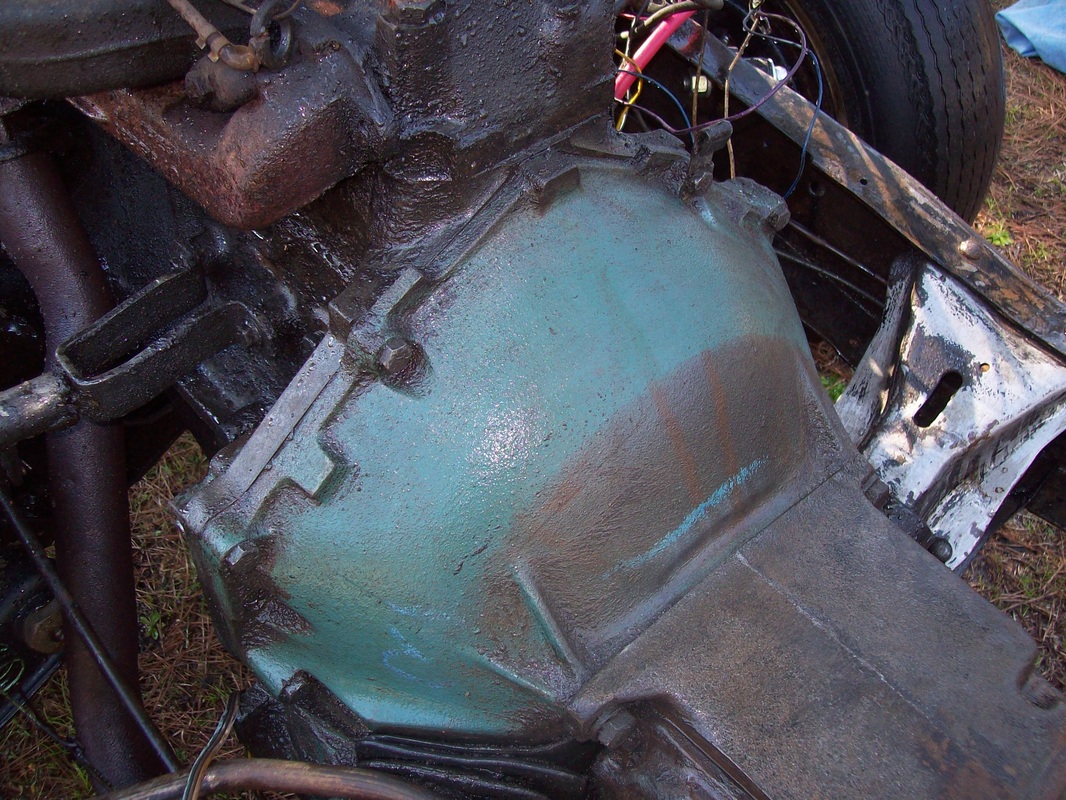
Cleaning the frame by hand is hard work. Unfortunately, I have no other choice. Soon I'll have everything on the frame from the front cab mount back protected with POR15. I found a few numbers stamped onto the frame. 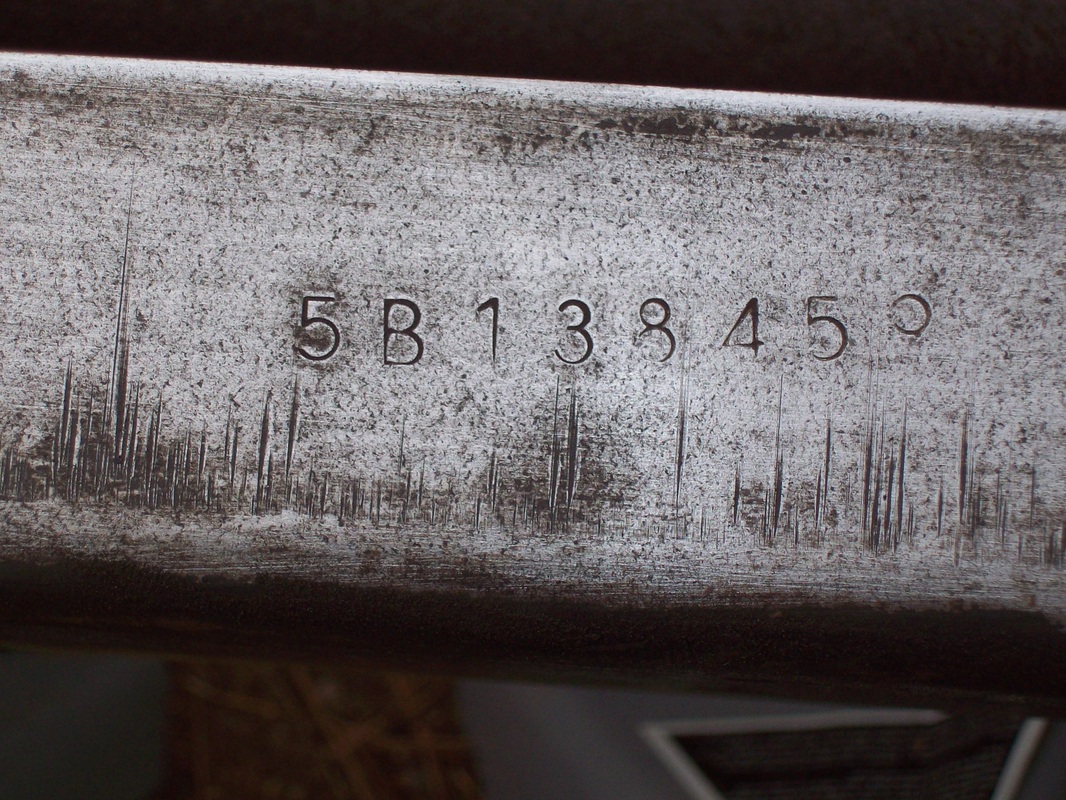 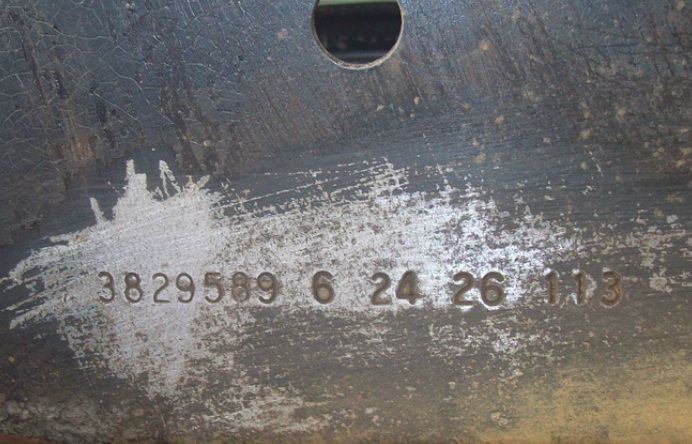 I removed the driveshaft and drained the tranny tonight. My plan to check the compression in each cylinder was delayed by rain until tomorrow. 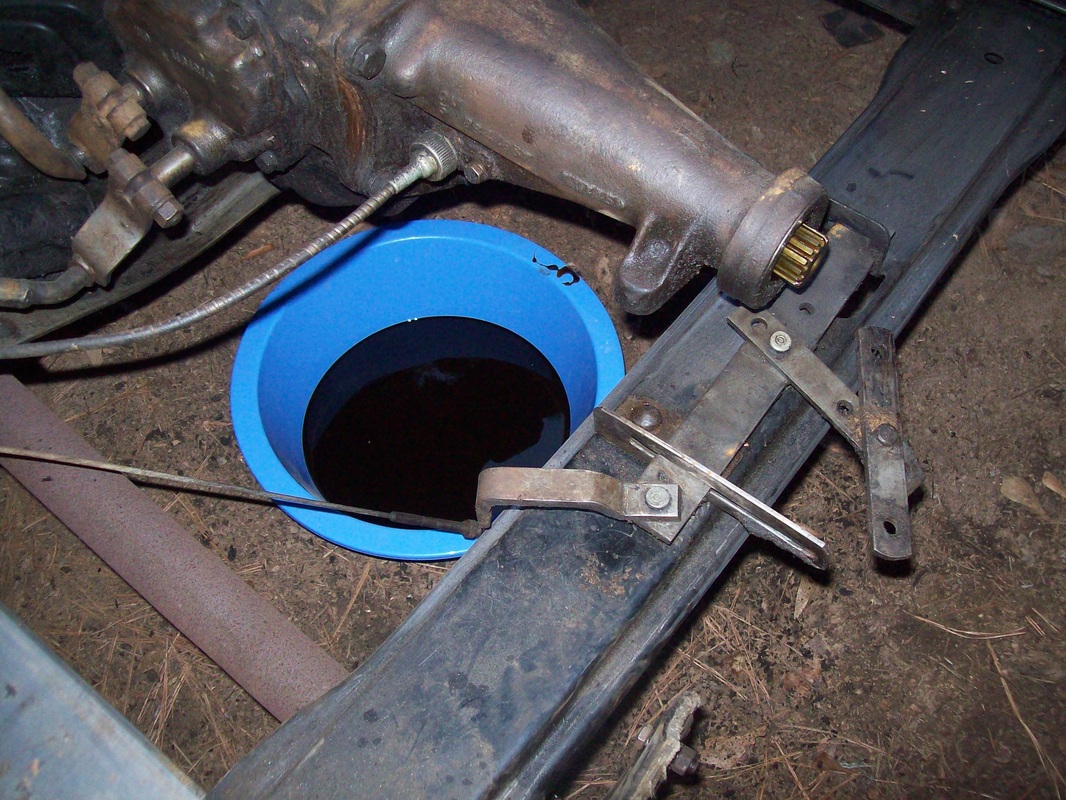 It's a bit surprising to see what the factory bell housing and transmission look like after 47 years of grease and dirt are removed. The markings and paint are probably still pretty close to the original factory color. My truck was built in the Baltimore assembly plant. 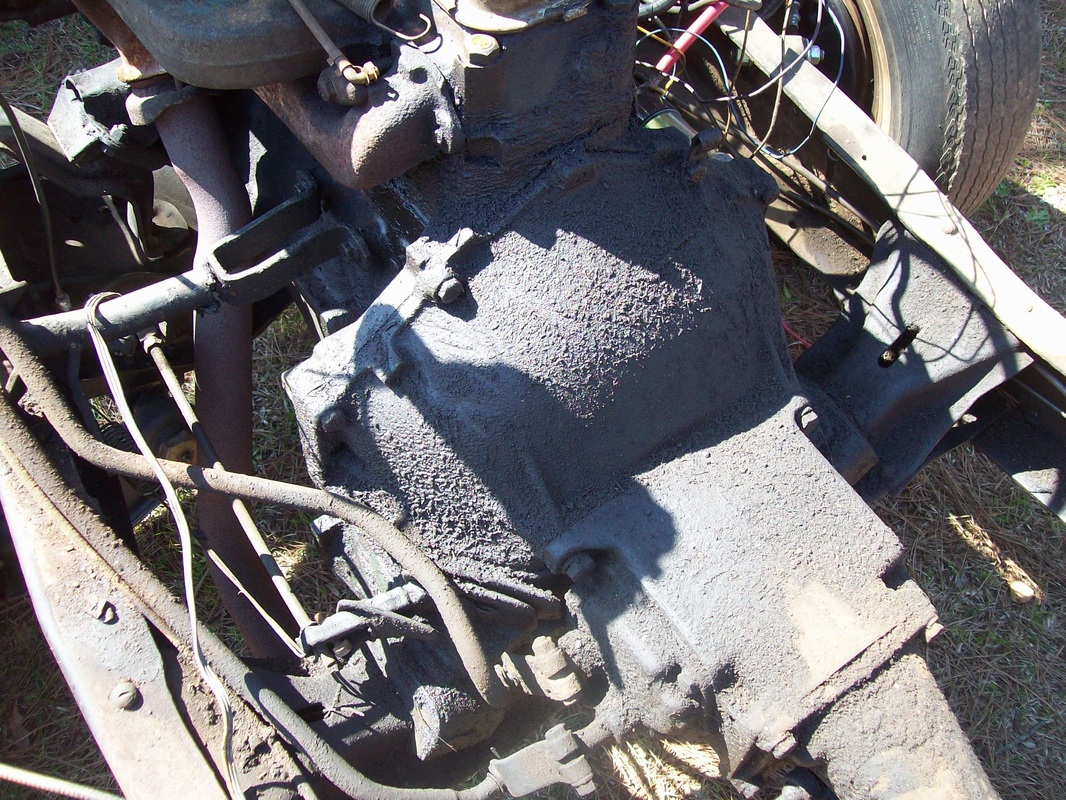 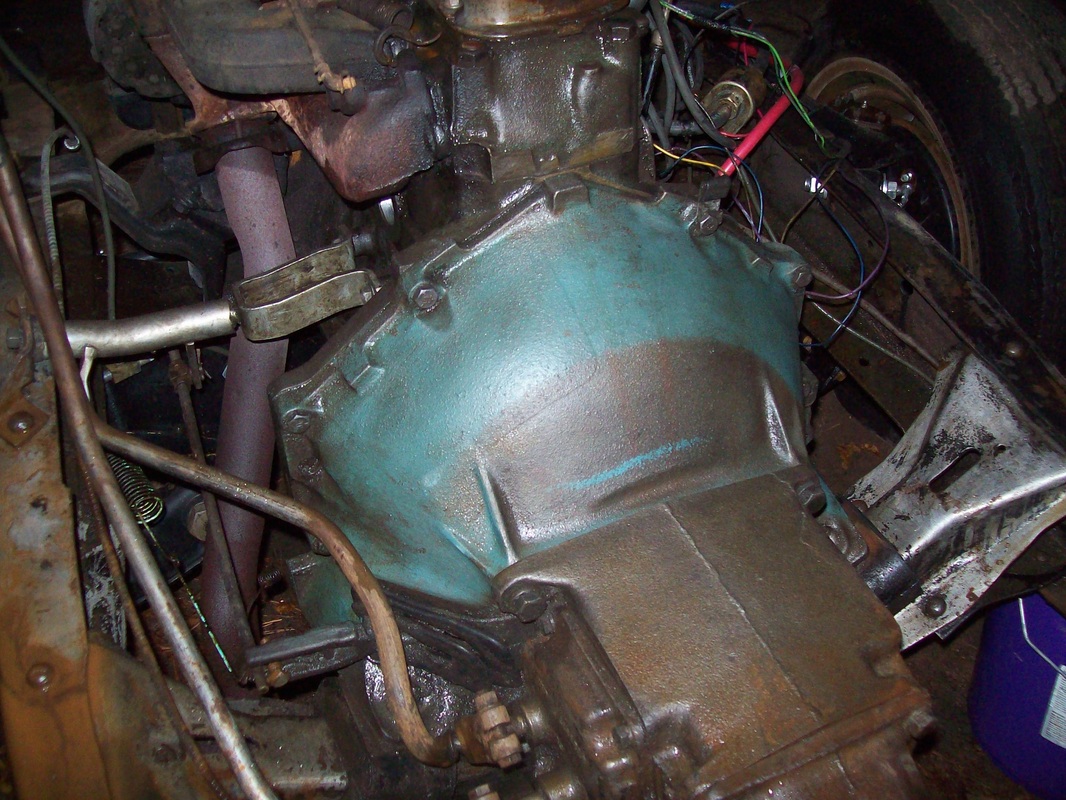 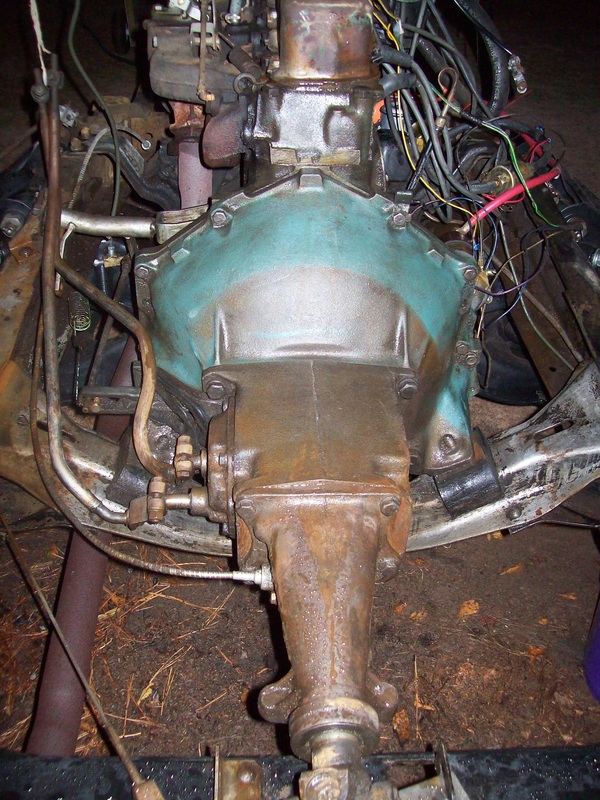 Today I pushed the cab into the back of the yard and covered it up with plastic and tarps. It will have to wait until I get the frame and drivetrain completed. I had about 2 hours so I disassembled my 2 original doors. Interestingly, the best part of my original doors is the area that usually rusts out. Maybe the passenger door can be saved, but I think I would rather use these door bottoms as donors for the patches that are needed on my doors from the salvage yard. Driver Door 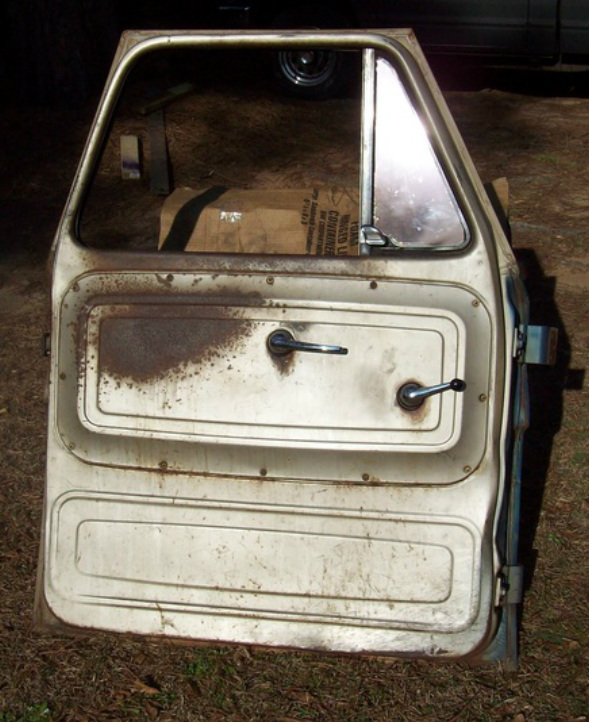
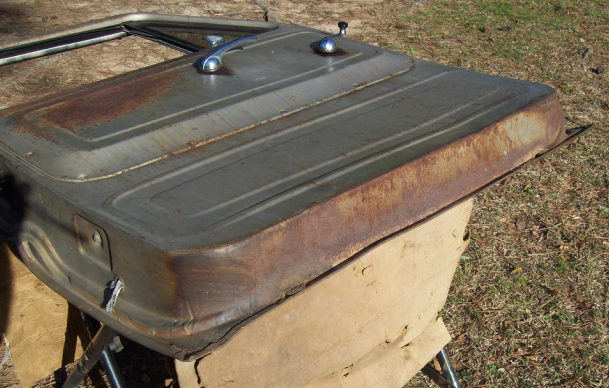
Passenger Door 
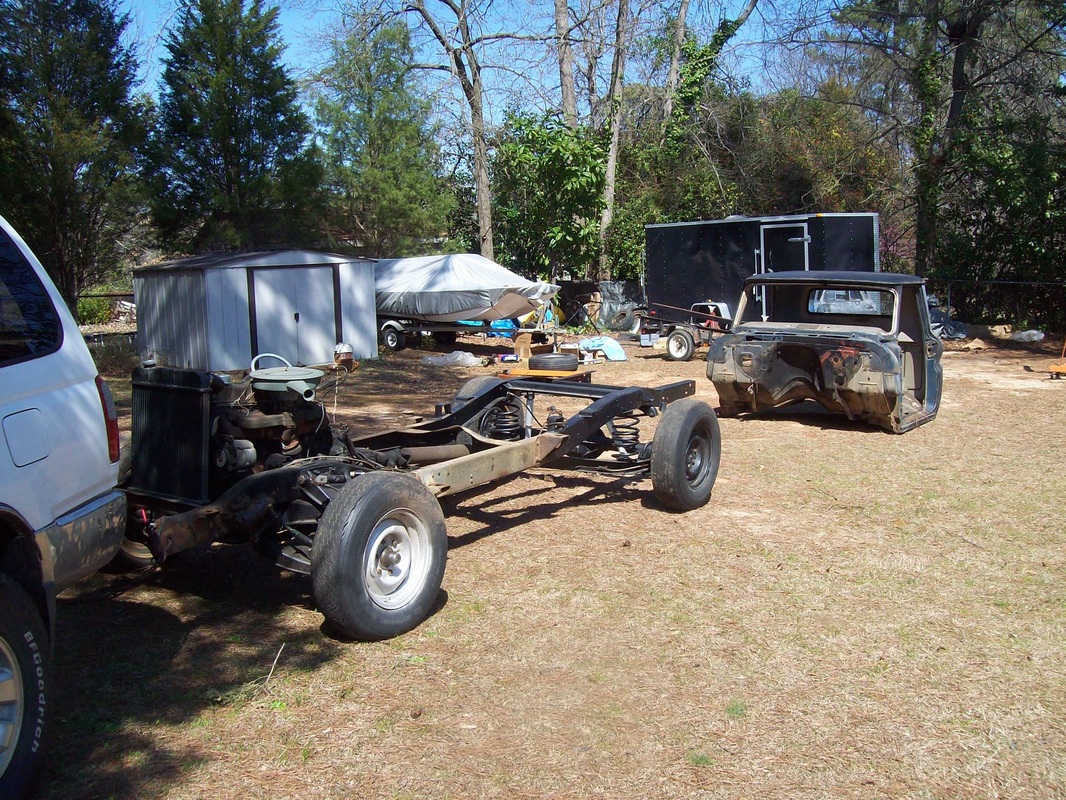
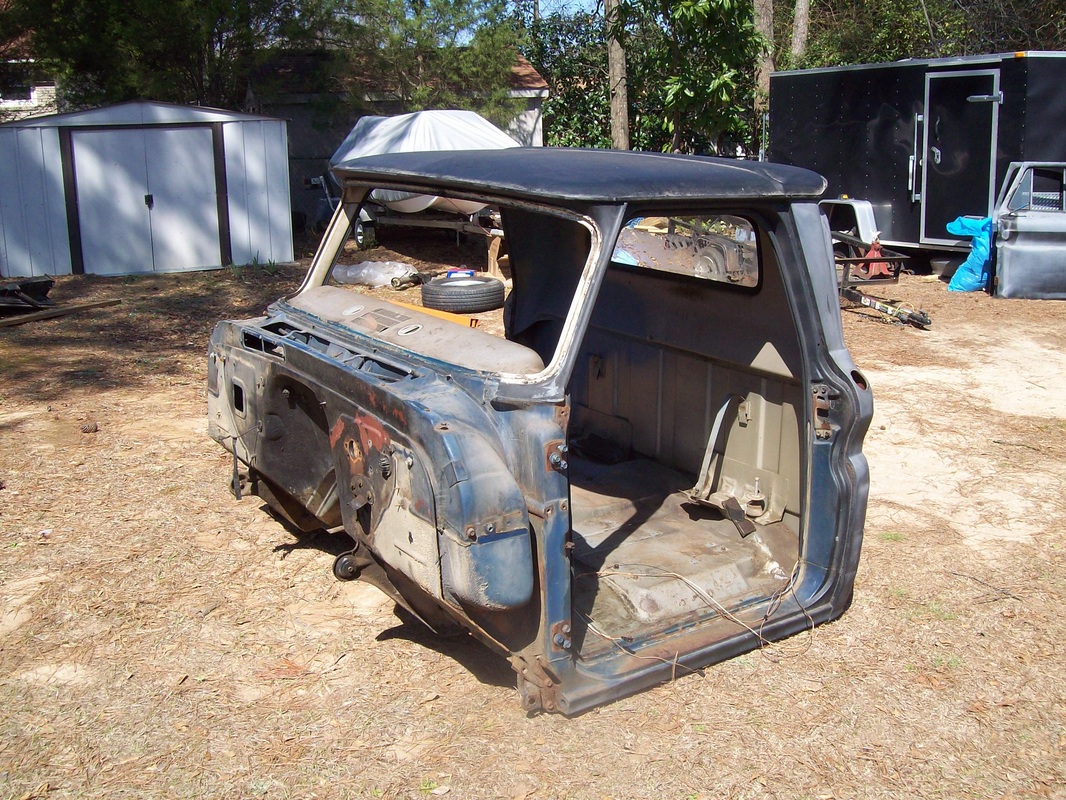
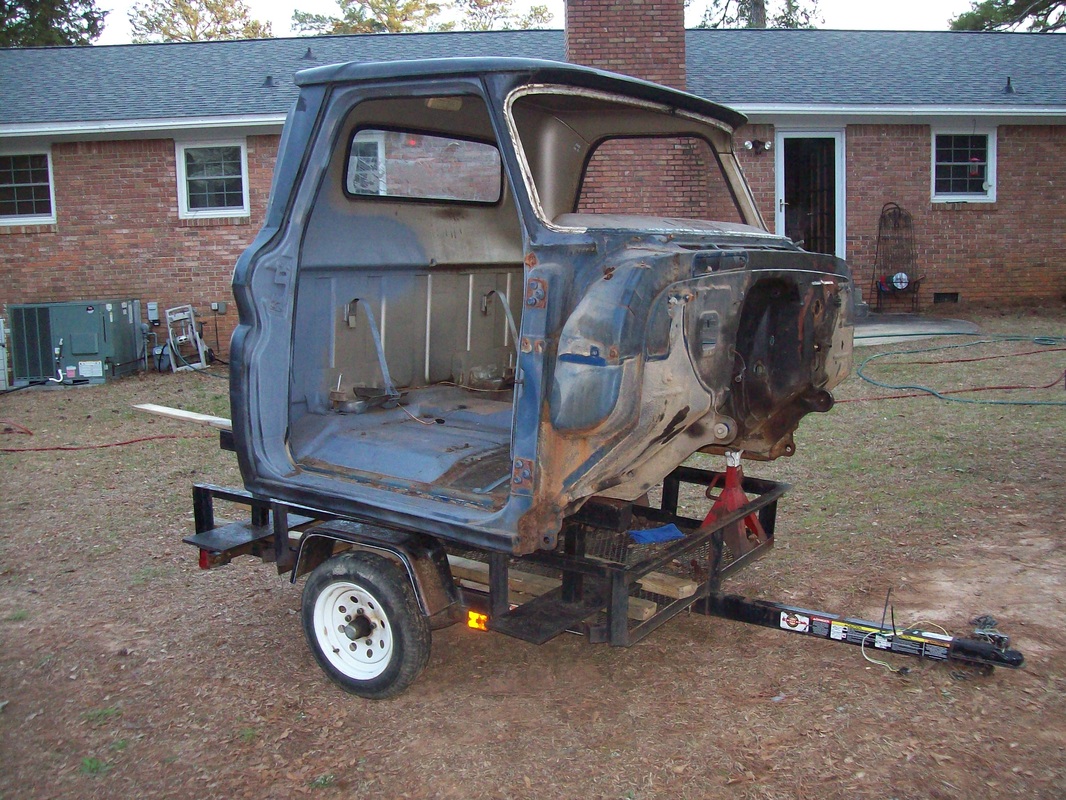
My son and I carefully rolled the cab sideways onto the rocker. Then while he balanced it, I pulled the frame away from the cab. Slidinig it up onto the trailer was another 2 person job, but I had things set up pretty good so it didn't take too long. The frame under the cab had a lot of grease and dirt. Things are moving forward at a good pace and I'm excited. 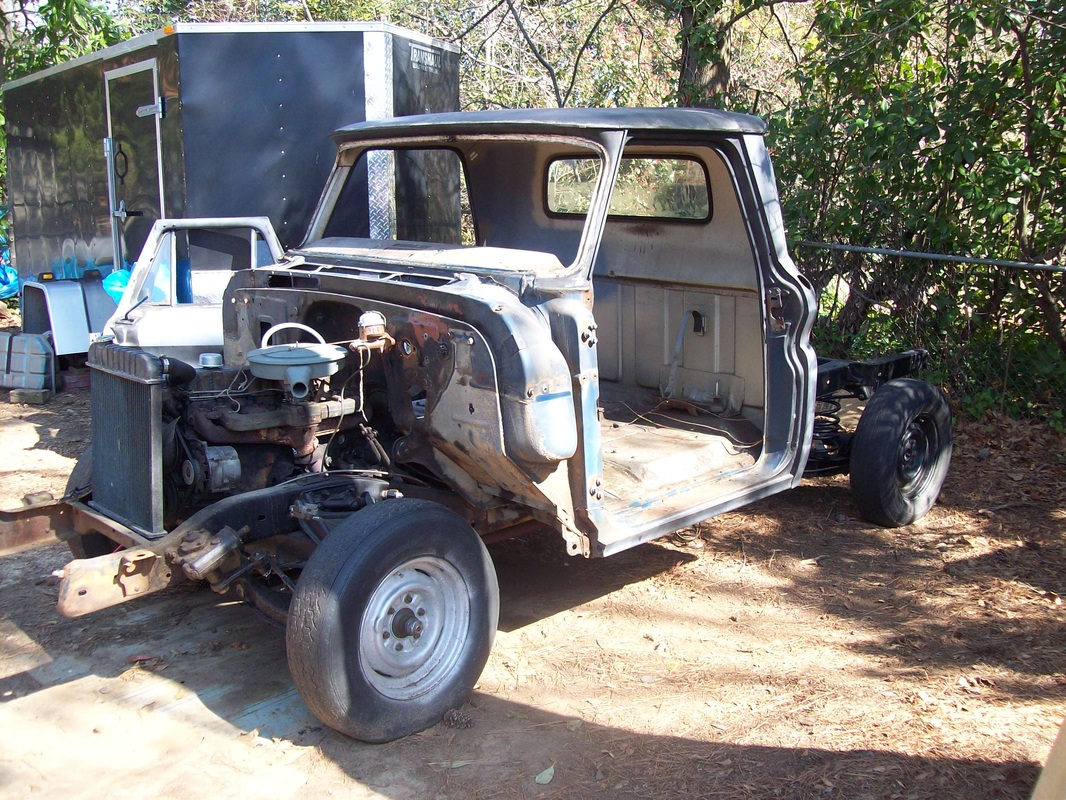
|
See my BLOG entries from prior months below:
April 2024
My Hobbies are:Auto Restoration Categories |
1963engineonrunstand |

|
 RSS Feed
