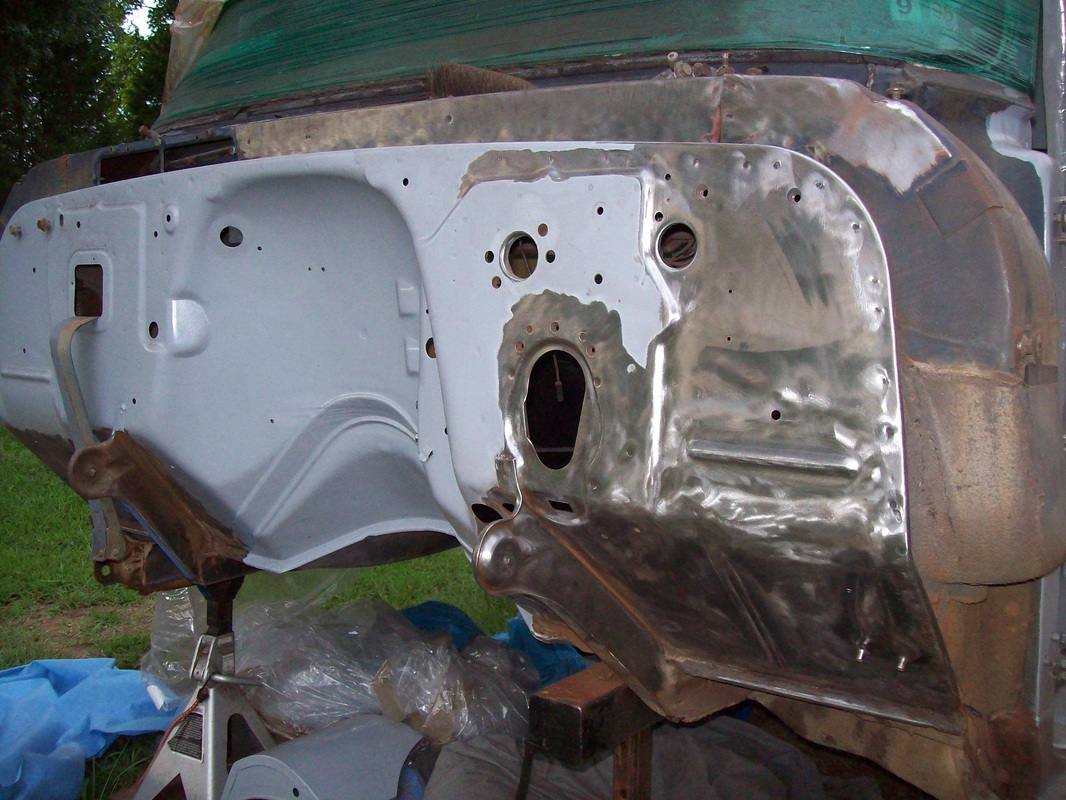
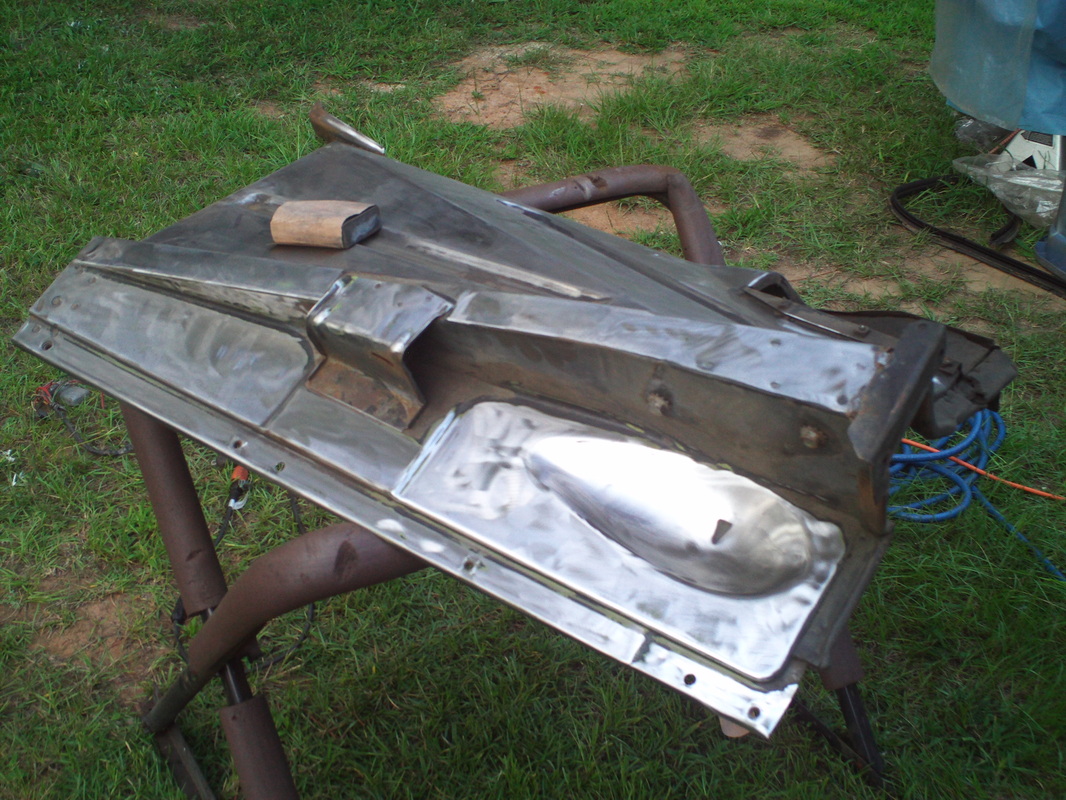
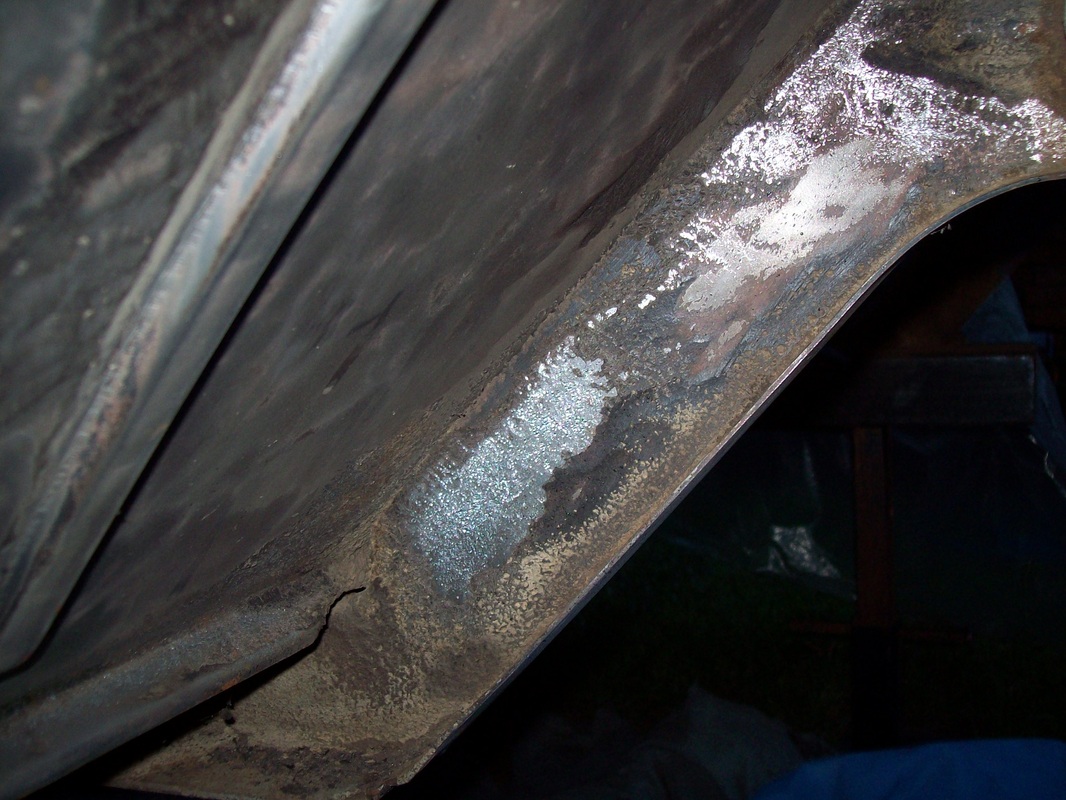
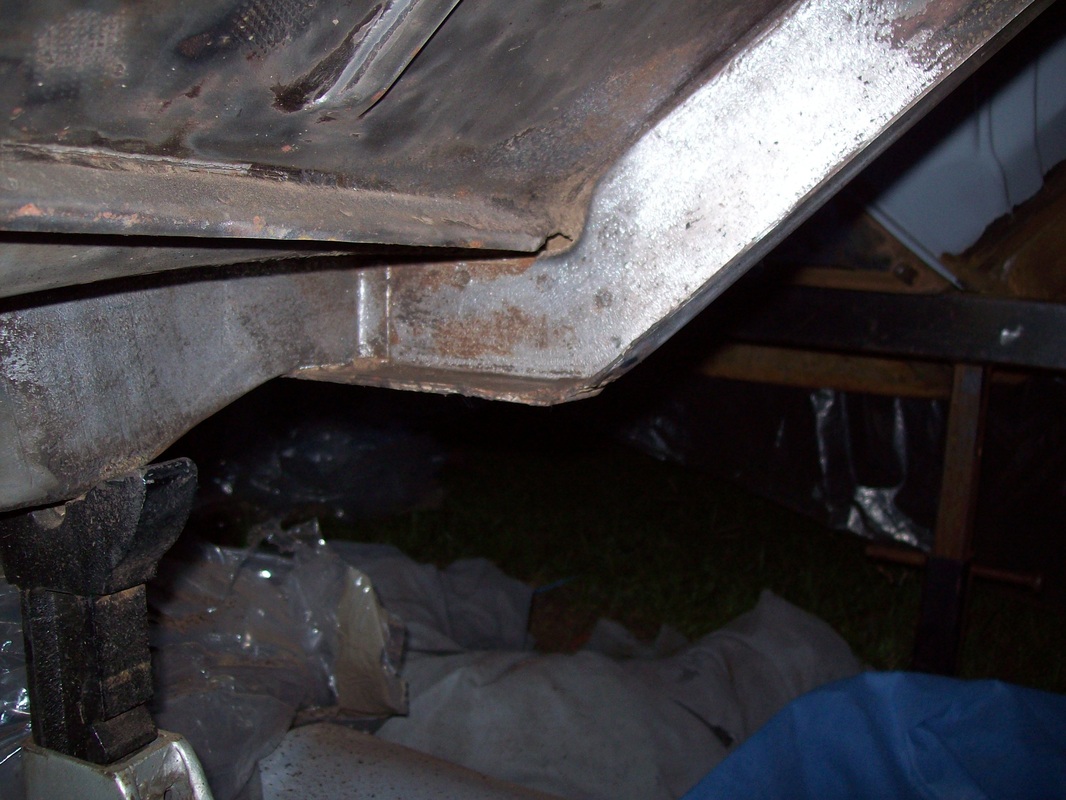
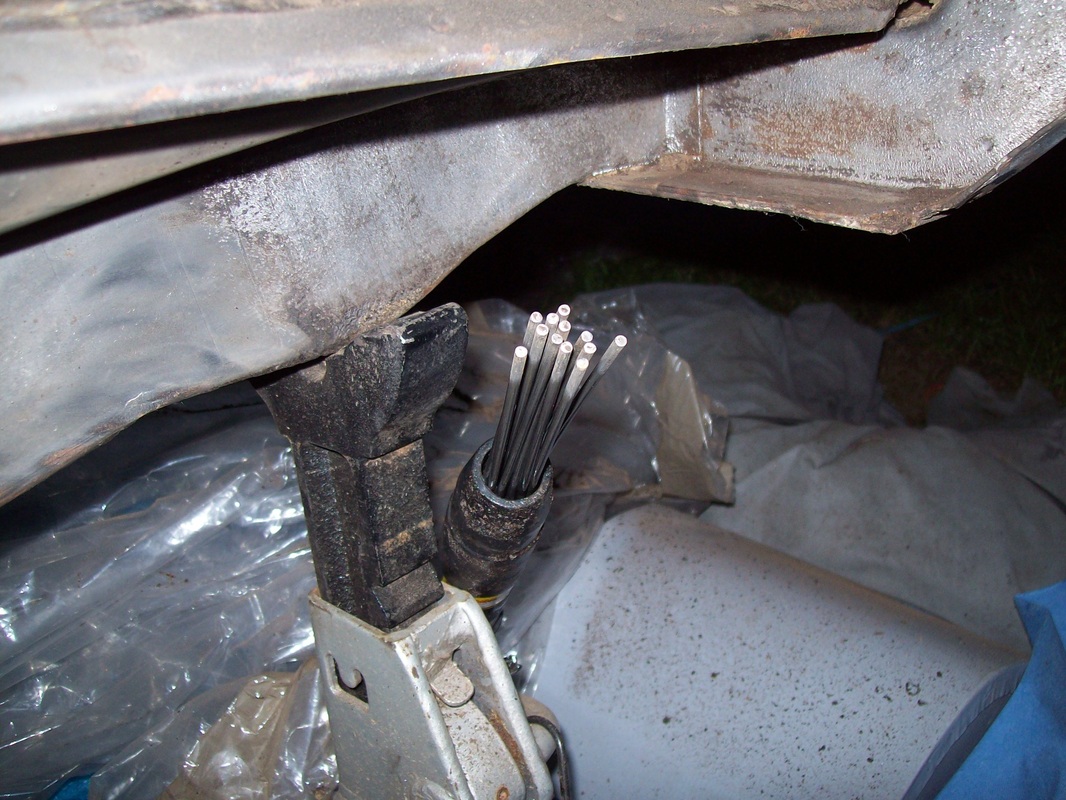
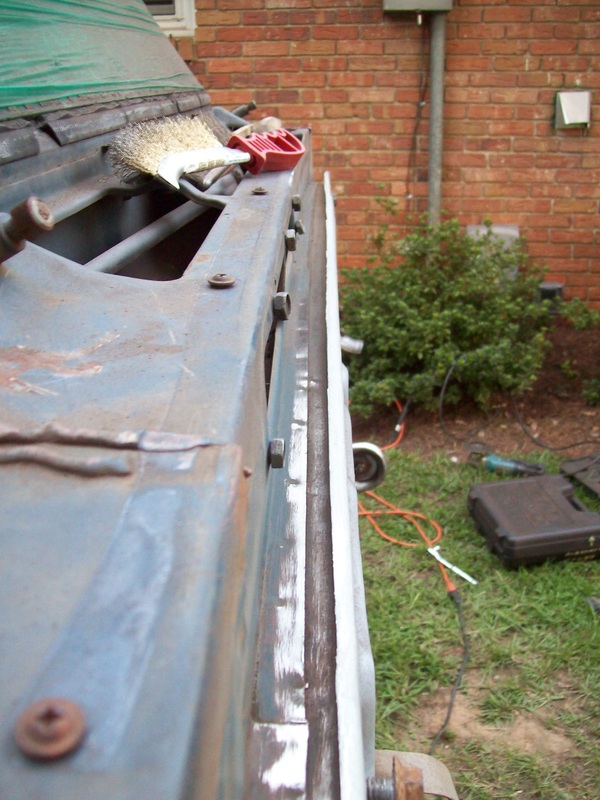
If you own a 60-66 Chevy truck, then you know there can be some serious rust between the roof line and the windshield as well as anywhere along the windshield flange. Today I stripped that area down to bare metal and there is NO RUST. I can't tell you how happy that made me! I also stripped the top of the dash. More sanding tomorrow and then more epoxy primer.
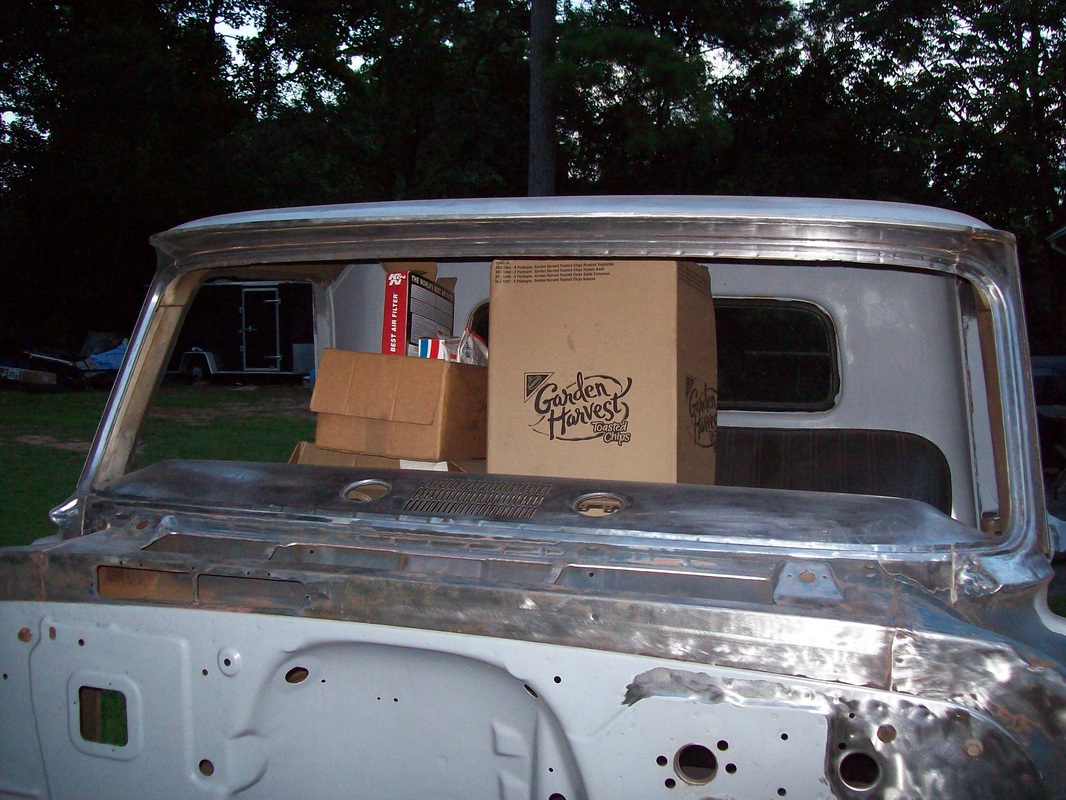
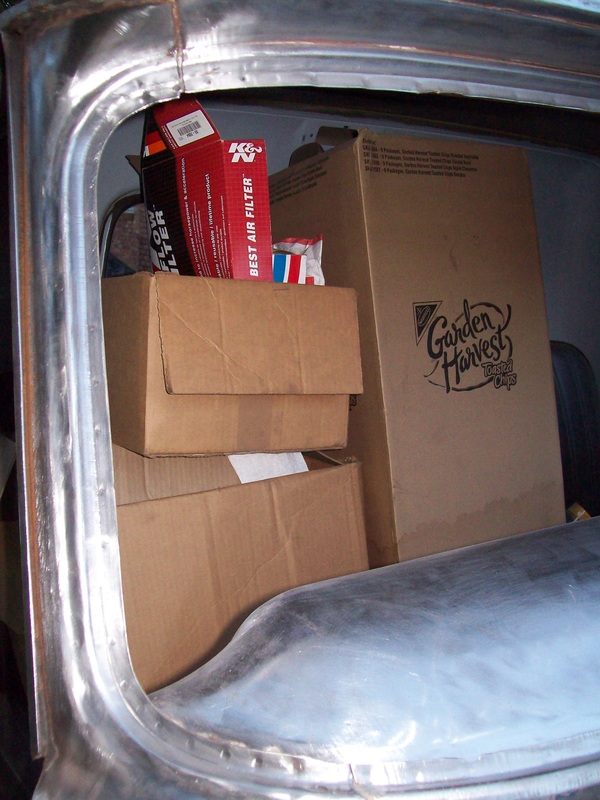
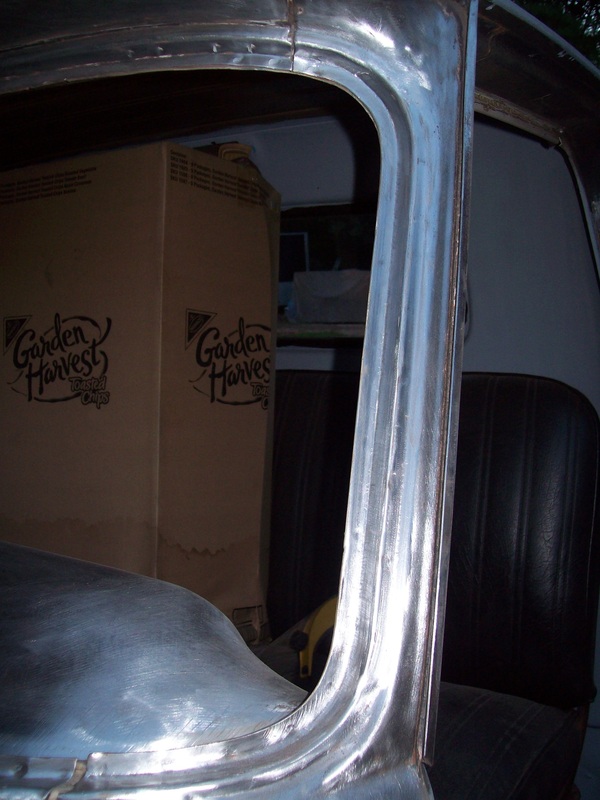
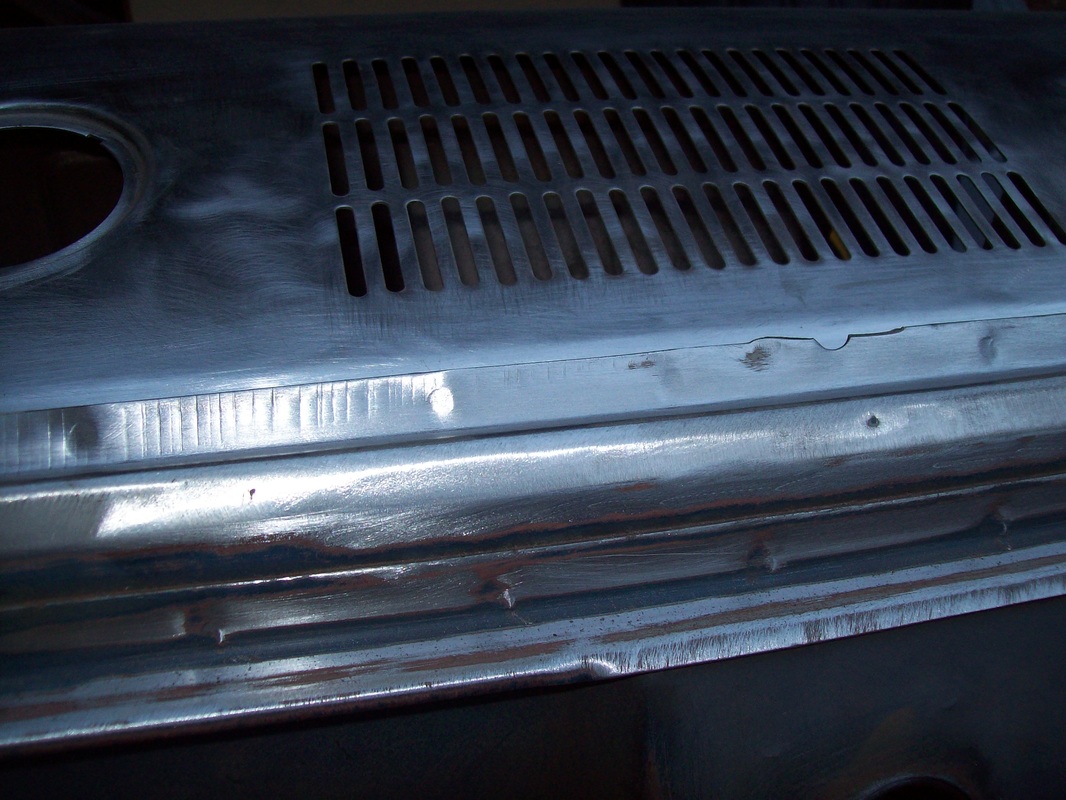
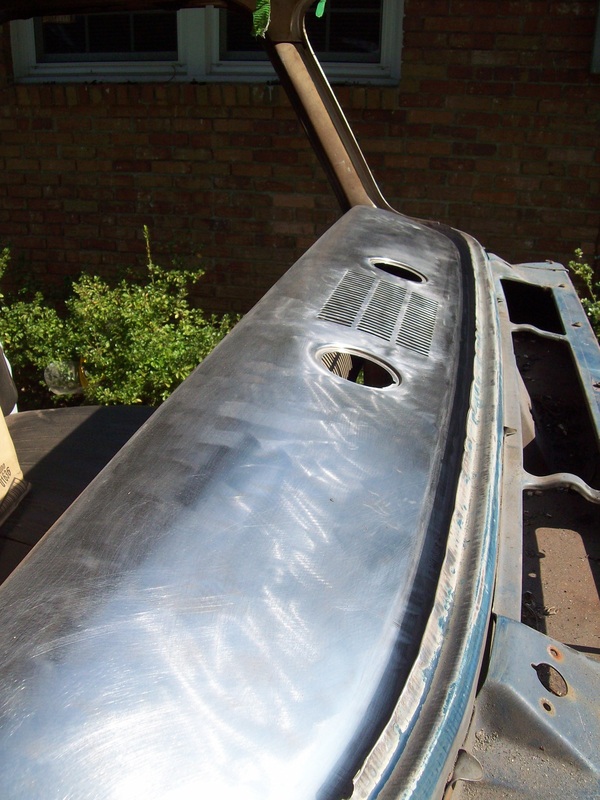
Cleaning this took a lot less time than I thought because I used my new tool - the needle scaler. It removes undercoating much faster than anything else I've tried. It works REALLY FAST! My poor little compressor can barely keep up. The wire wheel and wire brush cleans up the little stuff after the needle scaler removed 99% of the undercoating. I was surprised it even removes undercoating from the rubber pieces without damaging them. Another couple of hours and I will have this piece finished.
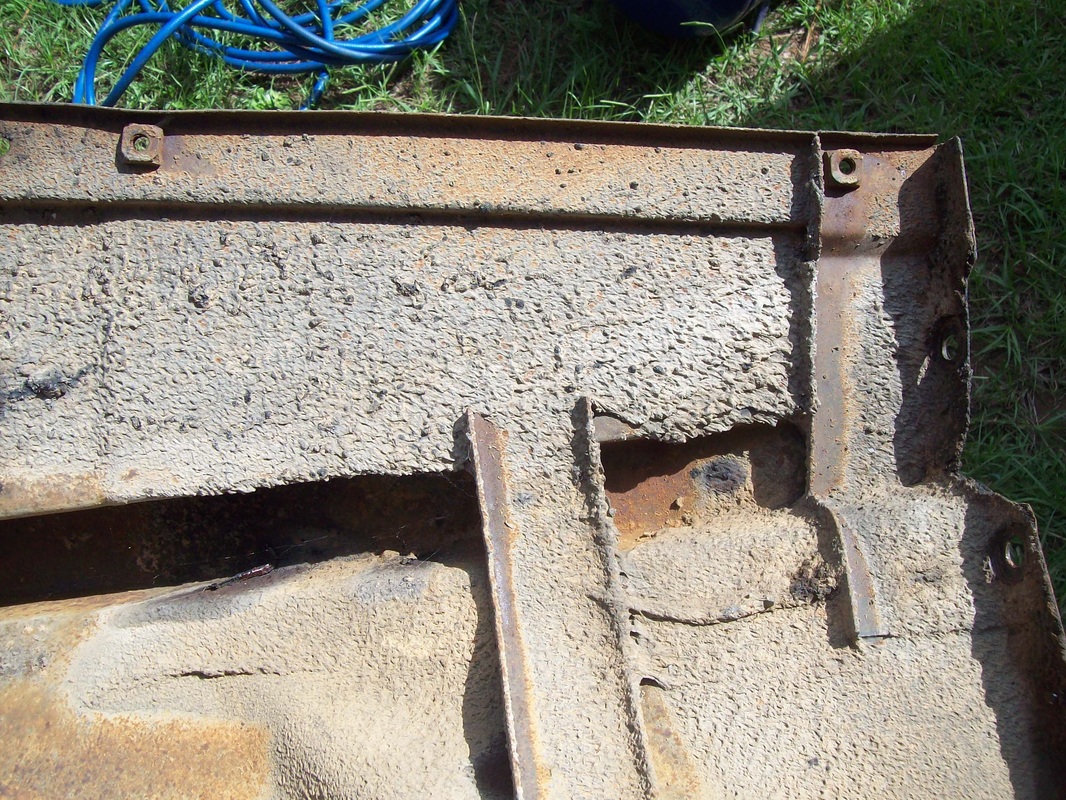
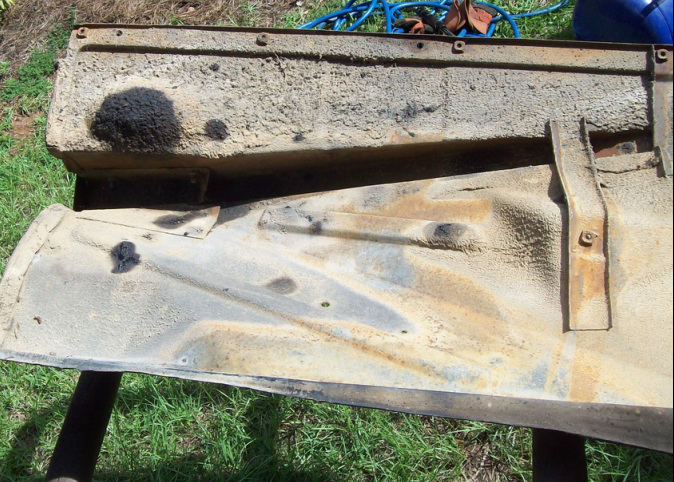
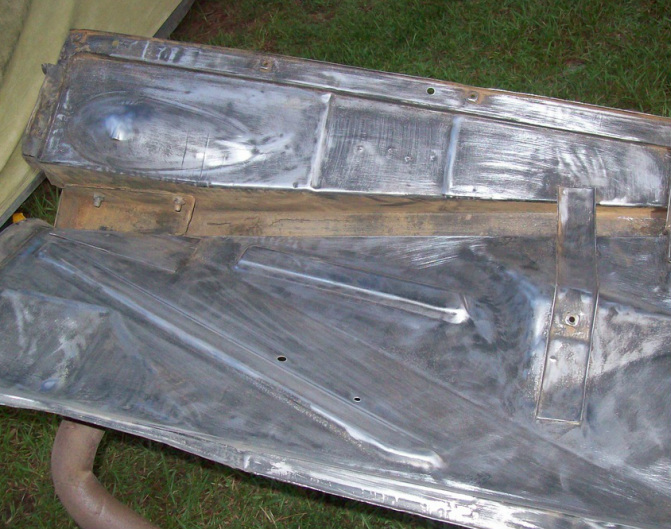
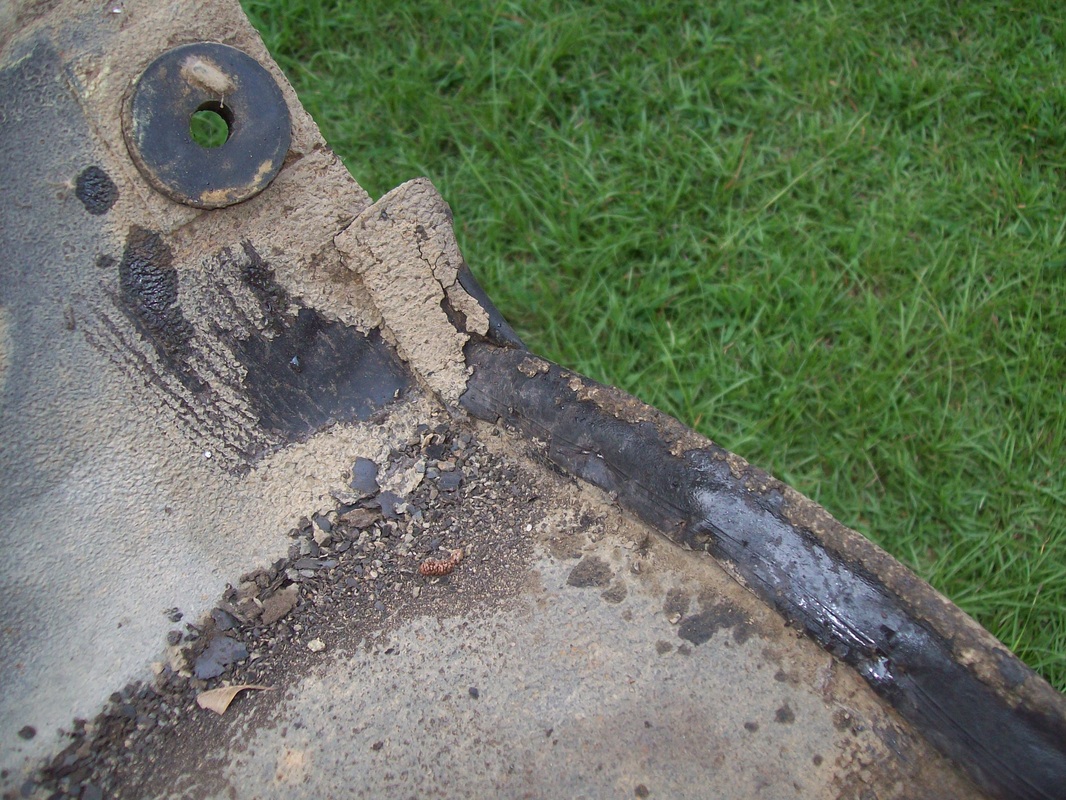
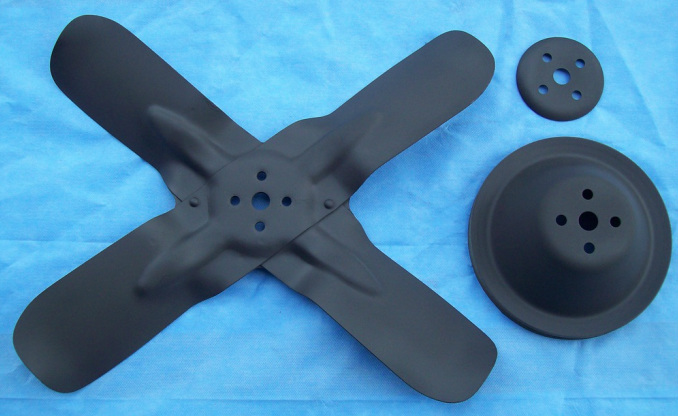
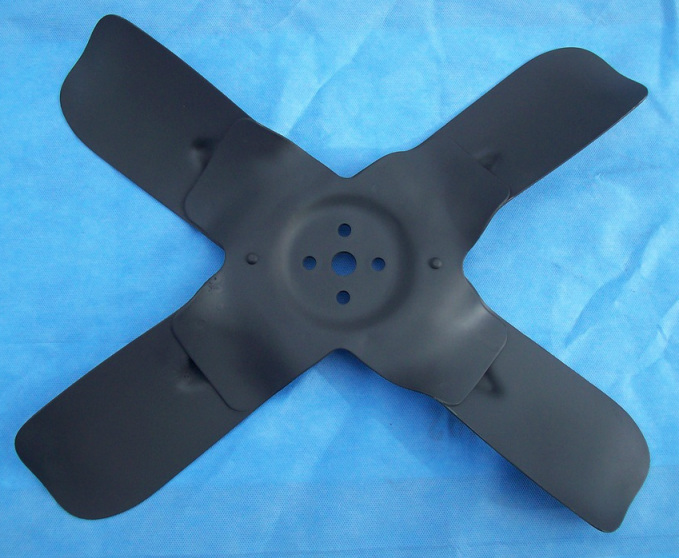
I decided to spend some time working on something other than the cab. The weather
cooperated, so I did some mediablasting. Last fall, I made a dual-purpose box that serves as a "mini-garage" and covers my engine on the frame from the elements. I also have a sheet of plastic covering the engine, but the mini-garage adds extra protection. I designed it with wheels so I can roll it into place all by myself. It has another purpose too. I just flip it onto the front side and it becomes my sandblast cabinet for larger items. It helps me capture blast media so I can use it over again. It truly is a dual purpose tool. The first 3 photos were taken last fall, before the cab and engine had been removed from the truck frame. 
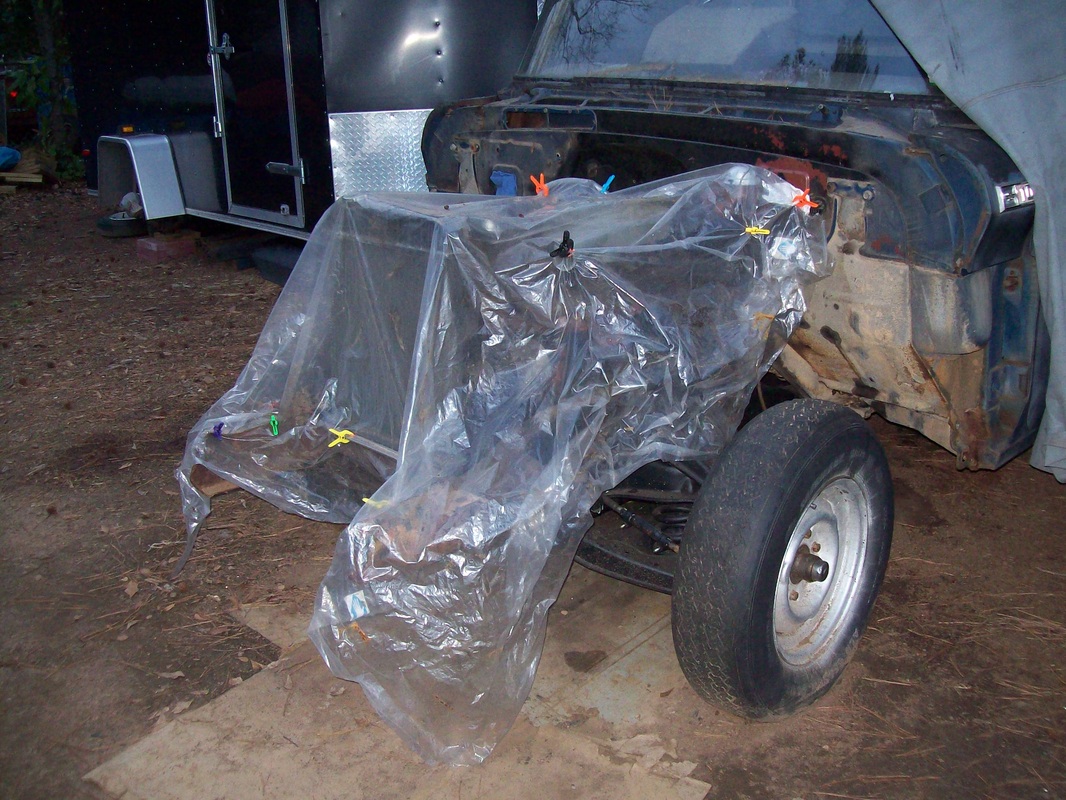
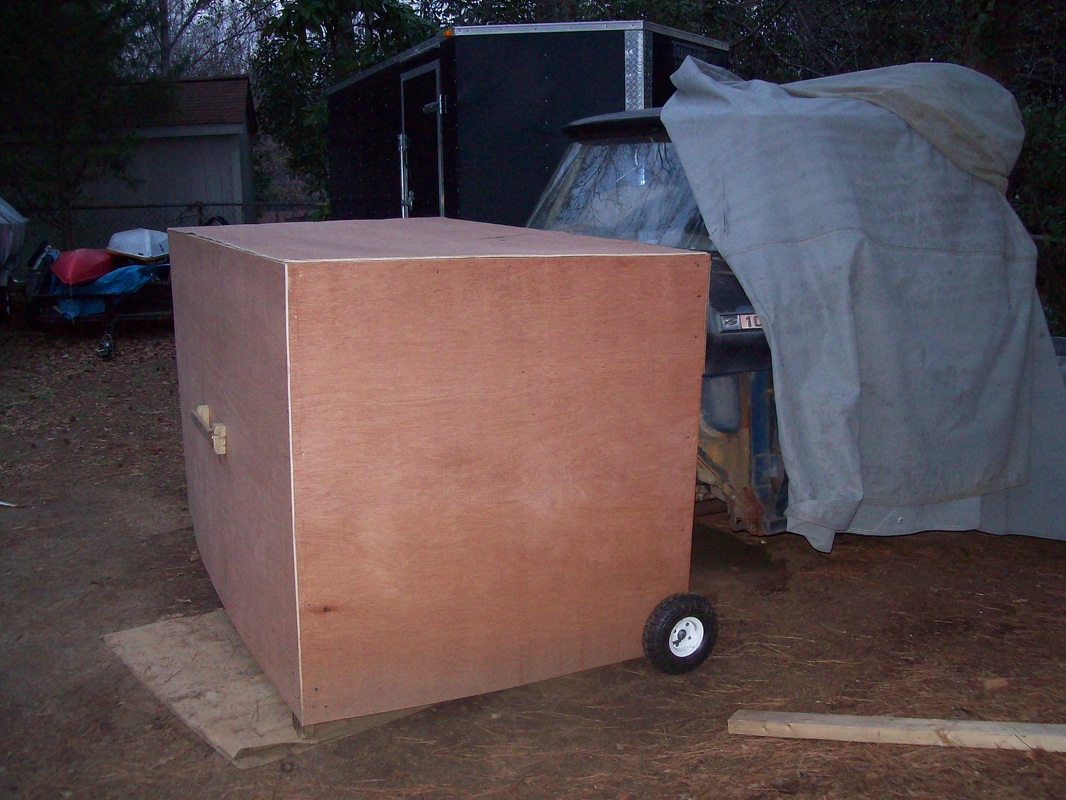
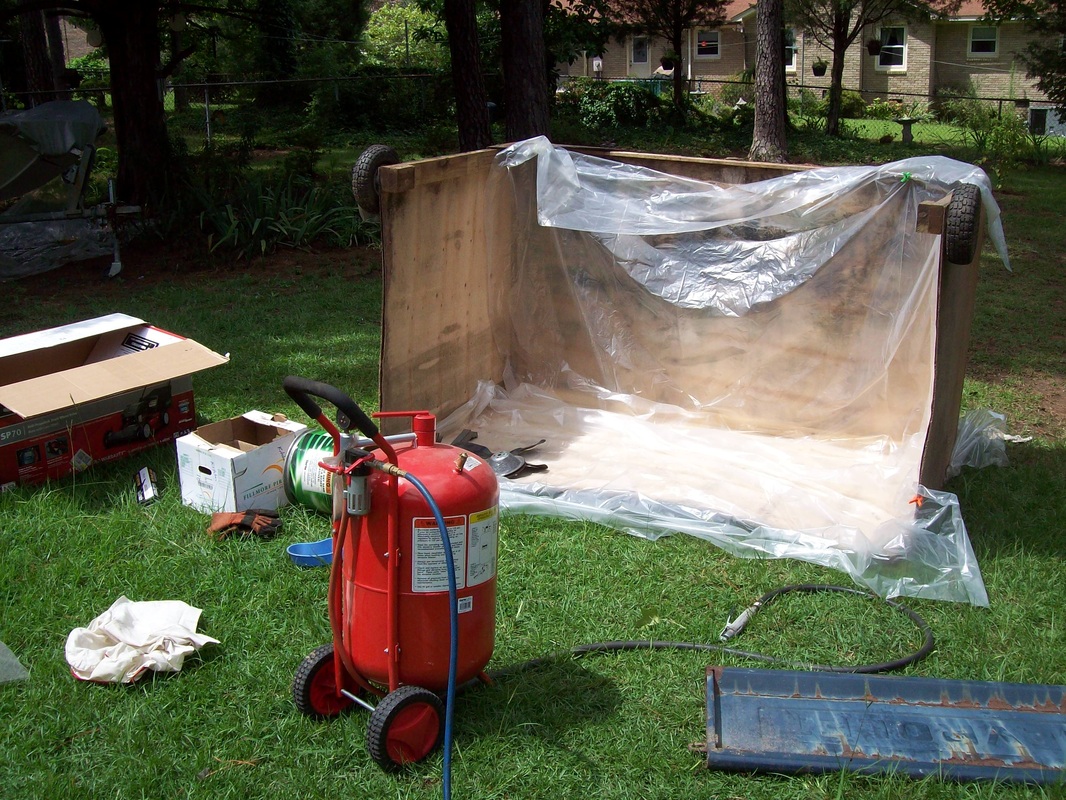
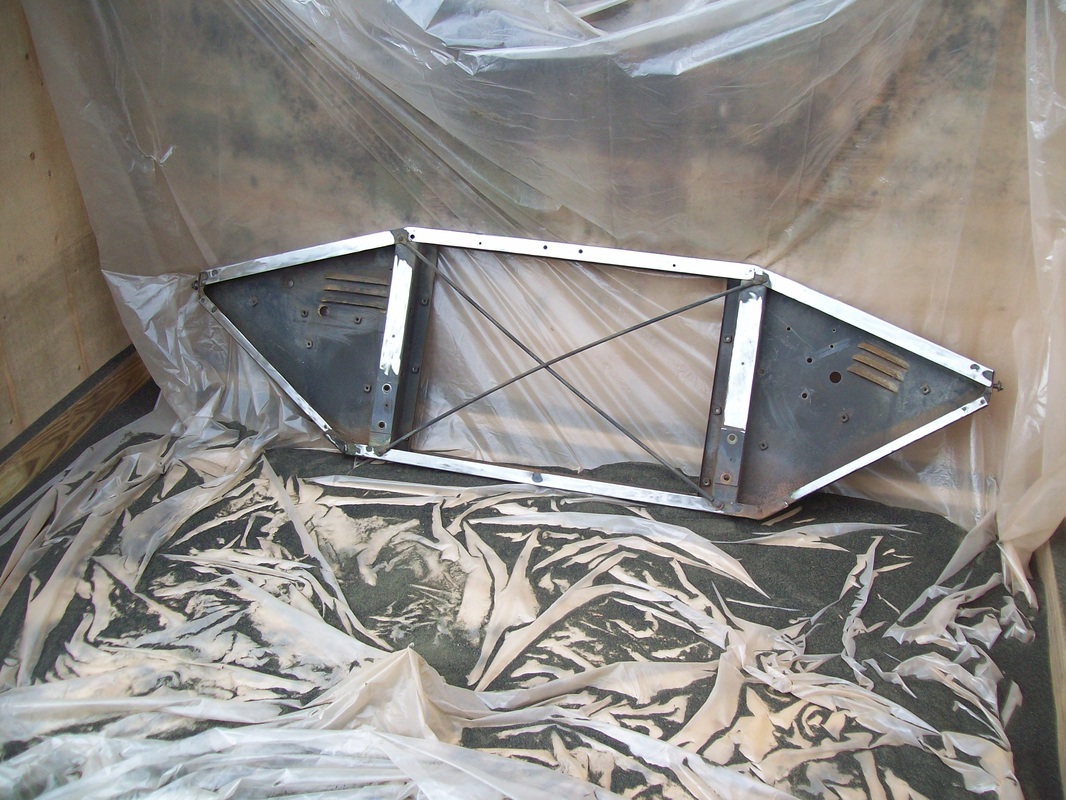
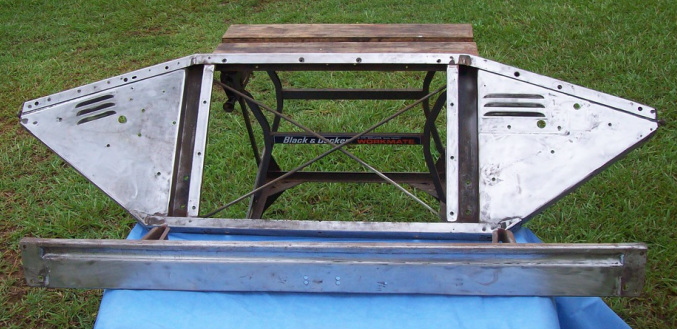
Several months ago a friend recommended this tool. I bought one today because I was having trouble finding a way to remove the hard undercoating in tight areas and corners where my wire wheel and discs can't reach. This thing works great. It will save me hours of work time and it works really fast too. It chips away at hardened crusty stuff and leaves the metal fairly clean and ready for sandblasting or other final prep before sealing the metal. Here are some of my before and after photos. The YouTube video shows how well it works on undercoating. I had to attend a job related conference so I didn't get anything done for a whole week. At least the conference was in a nice place! After I get the firewall done, then comes the dash and the rest of the interior.
Yep! You guessed right. More epoxy primer. Got the rest of the floor, fuel tank saddles and the rear cab wall done.
|
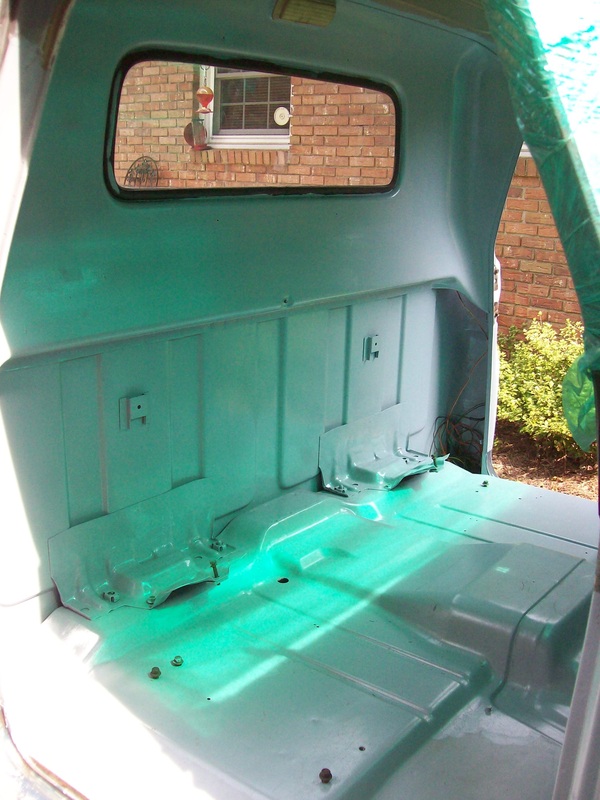
See my BLOG entries from prior months below:
April 2024
My Hobbies are:Auto Restoration Categories |
- Main BLOG Page
- Steering Column Page
-
T5 Info Page
- Thinking about installing a T5? READ THIS FIRST
- My T5 videos
- Making a Custom Shifter
- Complete T5 Driveline - Installation from Engine to Rear Axle
- S10 T5 Transmission Jeep Shaft Swap - DIY and skip the adapter plate.
- Camaro Drive Gear Relocation
- T5 Tail Stock with a Cable Speedo Connection
- World Class and Non-World Class versions of the T5 - How to tell them apart.
- How to determine the T5 gearing
- A possible solution for cable speedometers.
- T5 Transmission Identification - What the Tags and Markings Mean
- What's the difference between a Camaro T5, an S10 T5, and an Astro T5?
- T5 Transmission Tear Down
- T5 S10 Transmission Rebuild
- T5 Transmission Rebuild
- T5 pre-purchase inspection and questions
- T5 Resource List
- T5 Case Inspection
- Bell housing differences
- T5 Drive Gear and Driven Gear Combinations
- A Camaro T5 with the S10 Conversion
-
Tips & Tricks Section
- DIY Wiring Tips
- Oil Pump Priming Tool
- Piston Stop Tool
- Broken Bolt Extraction
- DIY 3 Point Seat Belt Installation
- 1963 Chevy C10 Steering Column Removal
- 1963 Chevy C10 Steering Column Disassembly
- 1963 Chevy C10 Steering Column Rebuild
- 1963 Chevy C10 Steering Column Installation
- Easy Clutch Pedal Adjustment
- Making the Steering Column Safer
- Power Steering
- How to improve gauge cluster lighting.
- Stripping Paint - Polycarbide Abrassive Wheel
- Jeep Cherokee Door Check Modification - Very Simple
- Keeping the hood aligned
- DIY All Cable Ebrake System for 1963-1972 C10
- Alignment Tools - Easier than you think
- Conversion to dual master cylinder brakes 1963-1966 C10.
- Steering column modification
- A simple way to remove old control arm bushings.
- An easy way to adjust brake shoes
- How to remove a pilot bushing from the crankshaft.
- Cutting spot welds
- E-brake clip removal made easy
- Harmonic Balancer Installation - Tapping threads in the crank
- POR 15 with less mess.
- Engine Run Stand
- Engine Dolly - EZ to make
- Steering Wheel Restoration Page
- Sway Bar Info
- Power Brake Booster Page
-
Other Projects
- 1934 Chevy Coupe Build Page
- 1934 Chevy Master 5 Window Coupe
- 1963 Body repairs
- Anvil
- Hot Rod 283 SBC Build
- Grand Cathedral Game
- 1968 C10 Short Fleet
- Rockwell Drill Press
- 283ci SBC Engine
- Safety Stand for Lift
- Coat Hook
- Engine Run Stand
- 1963 Short Fleet Project
- Metal sculpture figures
- Shop Project
- Shop Sign
- Lean-to Shop Addition
- Air Compressor Project
- 2 Post Automotive Lift
- 1963 Chevy Custom C10 SBFS BBW
- Metal Top Outdoor Work Table
- Bearings to grenade
- Bar Stool Go Kart
- Special Bolts Plaque
- Vise Stand
- Grinder Stand
-
Random Pics
- 2021 Stovebolt Jamboree Pictures
- 1963 Custom Comfort Seat
- Flywheel differences
- Carb spacer
- Bimini 2019
- T5 shifter ideas
- Engine Torque and HP
- LUGNUTZ DIY Shop
- Alaska 2018
- 2019 ODSS Homecoming
- Chevy 3 speed transmission ID
- 2018 Stovebolt Homecoming Pics
- Anvil
- Pallet Rack Shelving
- Reference PICS
- shop plywood walls
- Welding Stuff