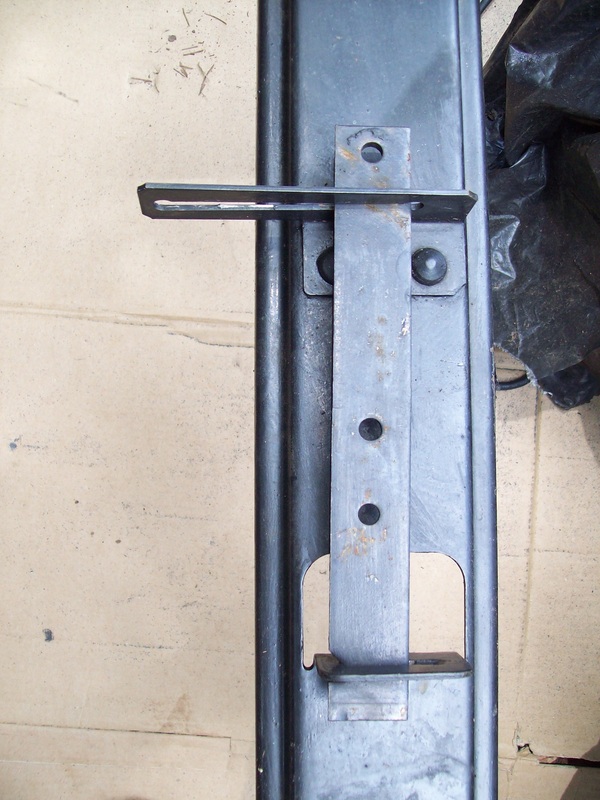
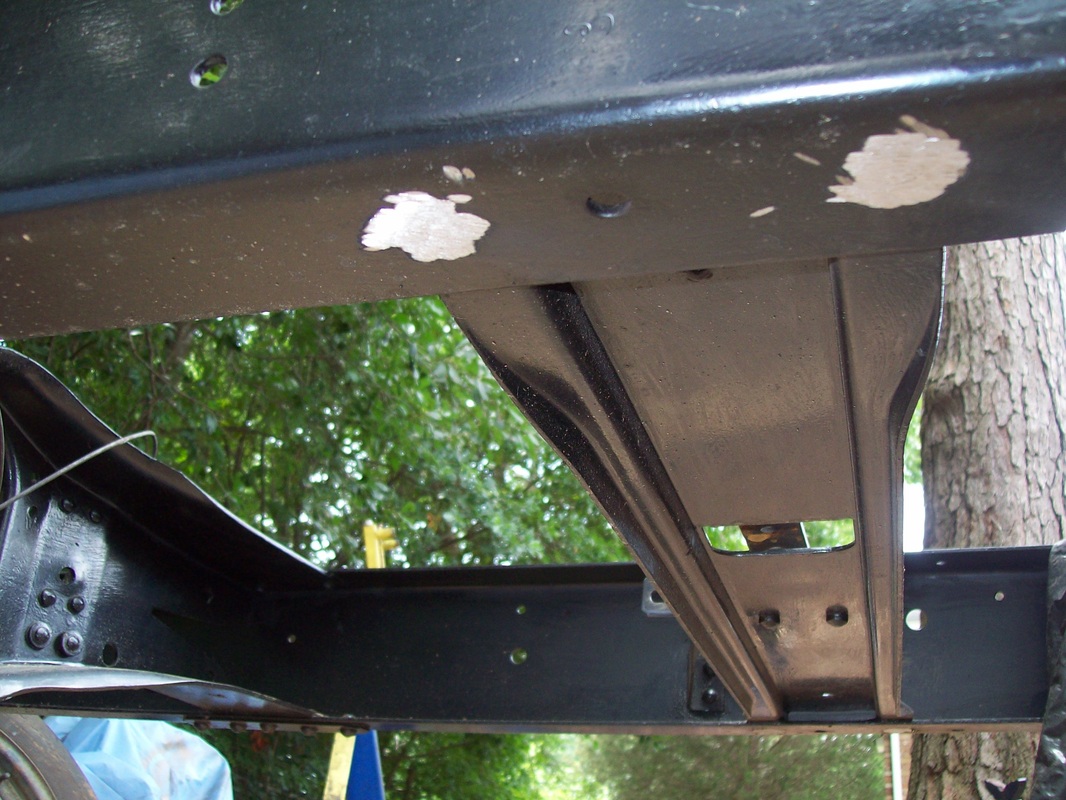
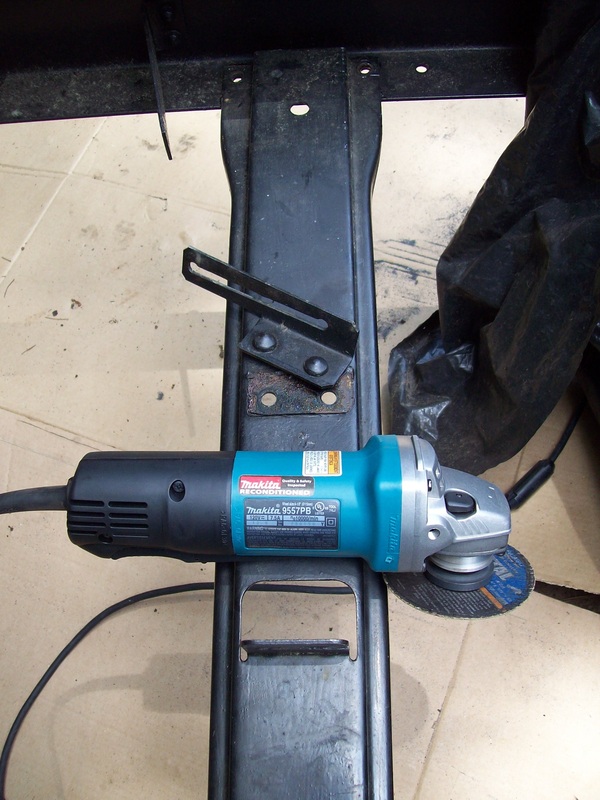
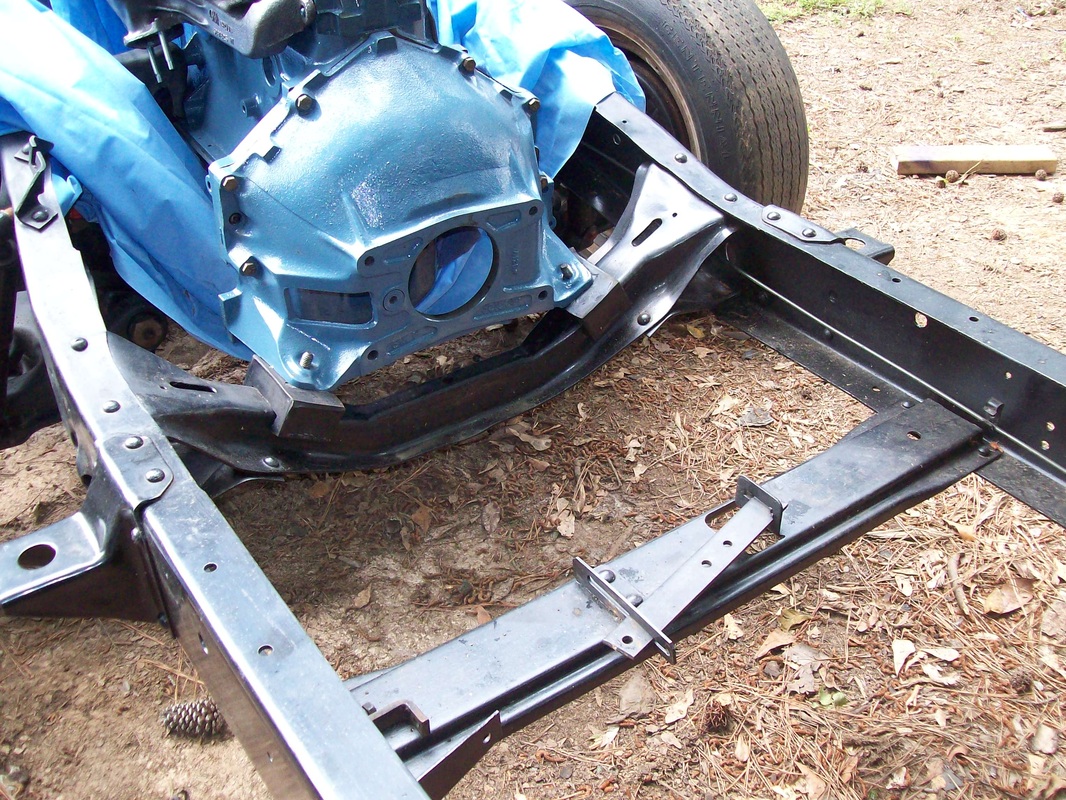
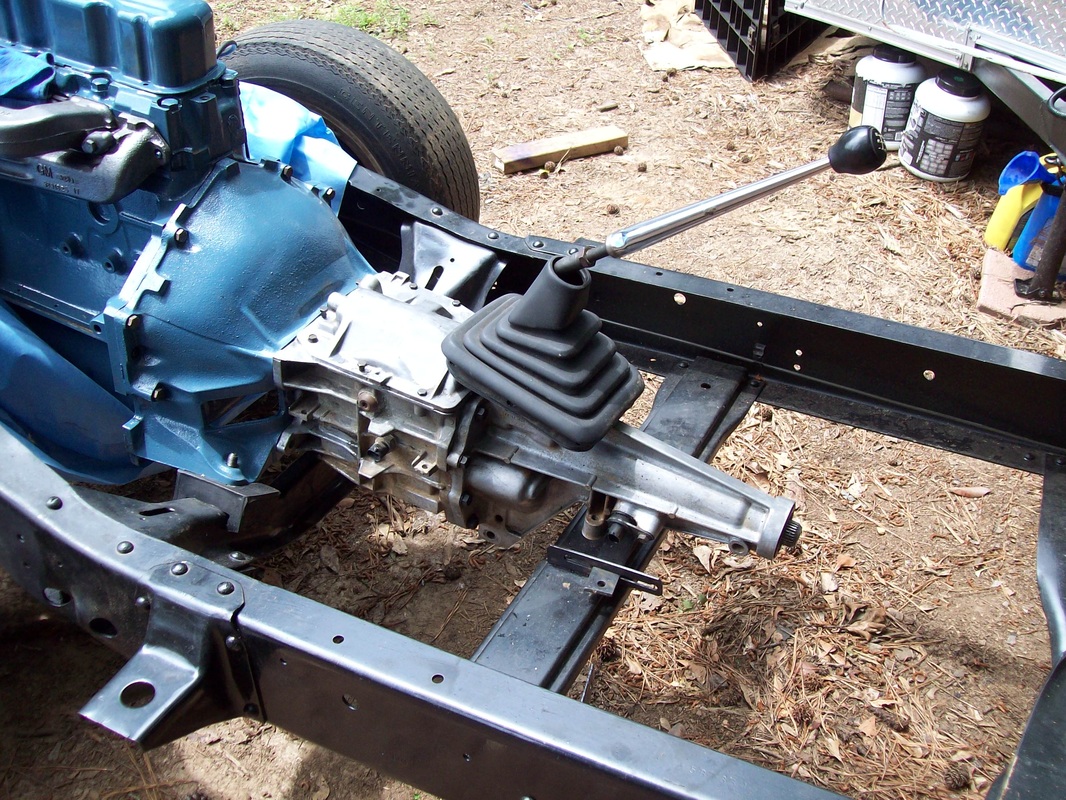
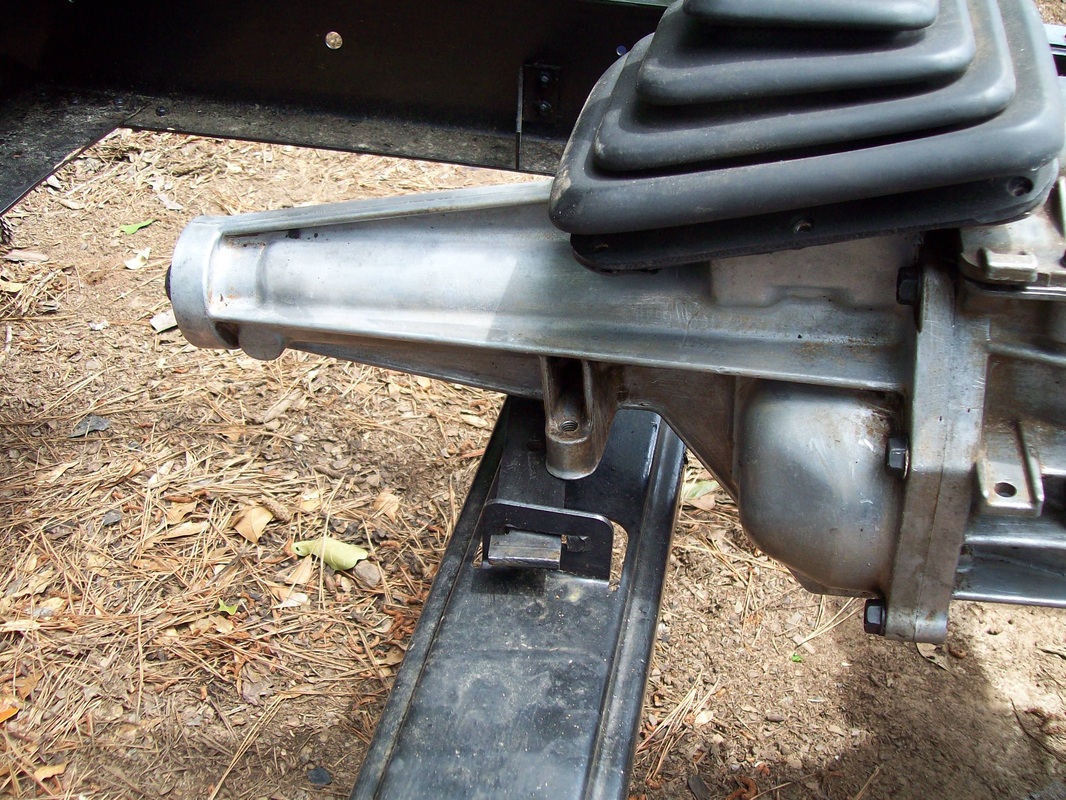
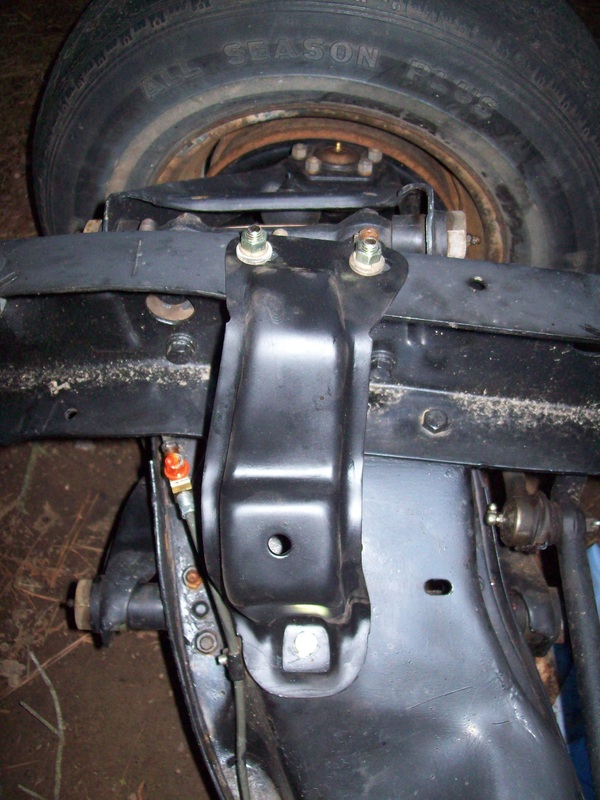
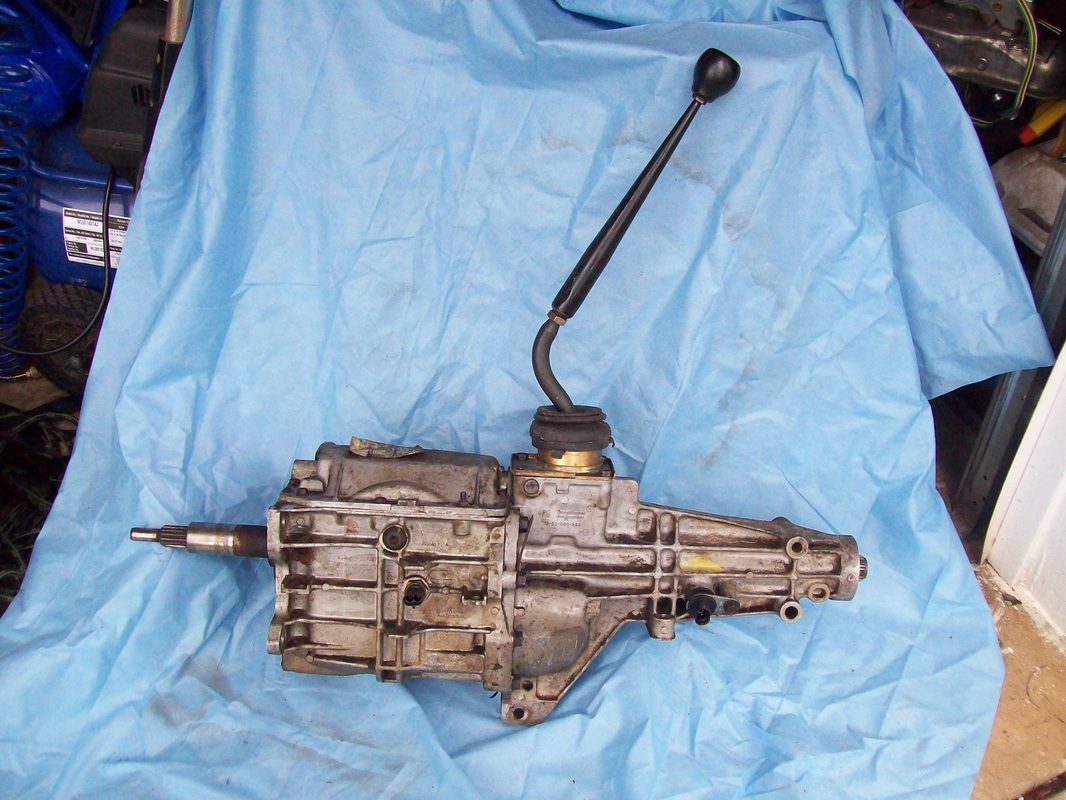
I used my new Makita grinder to grind off rivets and remove the e-brake crossmember. I'll use the crossmember as a support for my T5 transmission instead. It will be re-installed using bolts so I can remove it again in the future. I plan to upgrade the e-brake to the 1966 version from my parts truck.
0 Comments
My 17year old son an I moved the cab from the utility trailer to a location in the yard where I will have access to power for welding. We slowly wiggled it off the trailer and onto the ground. Then we tipped it up onto the PS rocker and slid in the long bar with 2 supports beneath the DS. I then lifted the PS up and set up the jack stands to support the PS. It's now ready for some bodywork. I took my 1988 Camaro T5 out for a test fit. It looks like the crossmember for the e-brake is in the correct location to serve as a support for the T5 tailshaft. The rivets that hold the crossmember to the frame will be replaced with bolts so that the crossmember can be removed in the future.
A friend stopped over and showed me how to set the valve lash. I then installed the side covers, coil, dizzy and finally the manifolds. I had a machine shop install heli-coils in my exhaust manifold with new studs.
I don't (or rather CAN'T) do things like most normal folks. I have to move my engine around in the yard in the bed of my pickup truck. Then I hoist the engine in one spot in the yard and then push the frame under it. Most folks have a shop where they can just push the hoist around.
Tonight I installed the oil pan, centered the timing cover using a crank socket and lifted the engine off the stand and into my Nissan daily driver pickup bed. Hopefully tomorrow I will lower it onto the frame. Things are moving slower than I'd like but rain and work have altered my schedule a bit.
It rained today, so I didn't work on my truck. However, I went to the salvage yard and pulled a T5 tranny from a 1993 S10 with only 90K miles. The tag says 1352 -232. It has a 3.97 1st gear and OD is 0.72 (I confirmed all this using the method described in the T5 info page above).
I replaced the rear main seal today. It was not as hard as I thought. The water pump and the timing cover are back on too.
|
See my BLOG entries from prior months below:
March 2024
My Hobbies are:Auto Restoration Categories |
- Main BLOG Page
- Steering Column Page
-
T5 Info Page
- Thinking about installing a T5? READ THIS FIRST
- My T5 videos
- Making a Custom Shifter
- Complete T5 Driveline - Installation from Engine to Rear Axle
- S10 T5 Transmission Jeep Shaft Swap - DIY and skip the adapter plate.
- Camaro Drive Gear Relocation
- T5 Tail Stock with a Cable Speedo Connection
- World Class and Non-World Class versions of the T5 - How to tell them apart.
- How to determine the T5 gearing
- A possible solution for cable speedometers.
- T5 Transmission Identification - What the Tags and Markings Mean
- What's the difference between a Camaro T5, an S10 T5, and an Astro T5?
- T5 Transmission Tear Down
- T5 S10 Transmission Rebuild
- T5 Transmission Rebuild
- T5 pre-purchase inspection and questions
- T5 Resource List
- T5 Case Inspection
- Bell housing differences
- T5 Drive Gear and Driven Gear Combinations
- A Camaro T5 with the S10 Conversion
-
Tips & Tricks Section
- DIY Wiring Tips
- Oil Pump Priming Tool
- Piston Stop Tool
- Broken Bolt Extraction
- DIY 3 Point Seat Belt Installation
- 1963 Chevy C10 Steering Column Removal
- 1963 Chevy C10 Steering Column Disassembly
- 1963 Chevy C10 Steering Column Rebuild
- 1963 Chevy C10 Steering Column Installation
- Easy Clutch Pedal Adjustment
- Making the Steering Column Safer
- Power Steering
- How to improve gauge cluster lighting.
- Stripping Paint - Polycarbide Abrassive Wheel
- Jeep Cherokee Door Check Modification - Very Simple
- Keeping the hood aligned
- DIY All Cable Ebrake System for 1963-1972 C10
- Alignment Tools - Easier than you think
- Conversion to dual master cylinder brakes 1963-1966 C10.
- Steering column modification
- A simple way to remove old control arm bushings.
- An easy way to adjust brake shoes
- How to remove a pilot bushing from the crankshaft.
- Cutting spot welds
- E-brake clip removal made easy
- Harmonic Balancer Installation - Tapping threads in the crank
- POR 15 with less mess.
- Engine Run Stand
- Engine Dolly - EZ to make
- Steering Wheel Restoration Page
- Sway Bar Info
- Power Brake Booster Page
-
Other Projects
- 1934 Chevy Coupe Build Page
- 1934 Chevy Master 5 Window Coupe
- 1963 Body repairs
- Anvil
- Hot Rod 283 SBC Build
- Grand Cathedral Game
- 1968 C10 Short Fleet
- Rockwell Drill Press
- 283ci SBC Engine
- Safety Stand for Lift
- Coat Hook
- Engine Run Stand
- 1963 Short Fleet Project
- Metal sculpture figures
- Shop Project
- Shop Sign
- Lean-to Shop Addition
- Air Compressor Project
- 2 Post Automotive Lift
- 1963 Chevy Custom C10 SBFS BBW
- Metal Top Outdoor Work Table
- Bearings to grenade
- Bar Stool Go Kart
- Special Bolts Plaque
- Vise Stand
- Grinder Stand
-
Random Pics
- 2021 Stovebolt Jamboree Pictures
- 1963 Custom Comfort Seat
- Flywheel differences
- Carb spacer
- Bimini 2019
- T5 shifter ideas
- Engine Torque and HP
- LUGNUTZ DIY Shop
- Alaska 2018
- 2019 ODSS Homecoming
- Chevy 3 speed transmission ID
- 2018 Stovebolt Homecoming Pics
- Anvil
- Pallet Rack Shelving
- Reference PICS
- shop plywood walls
- Welding Stuff