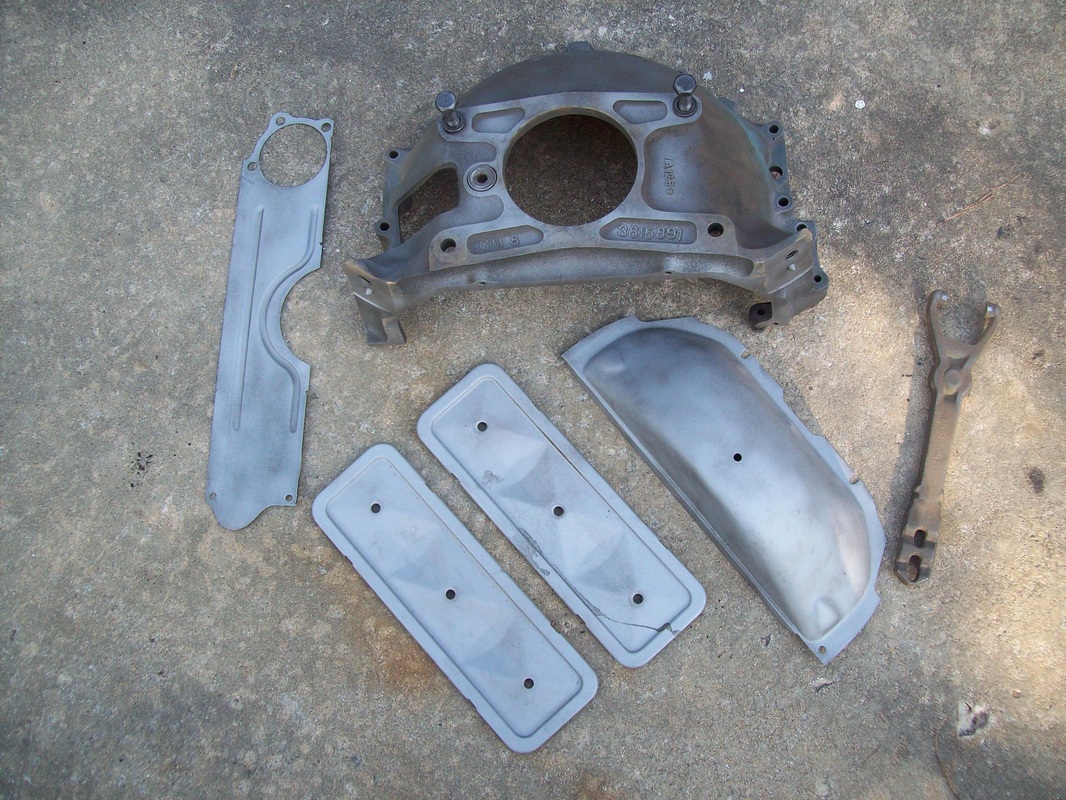
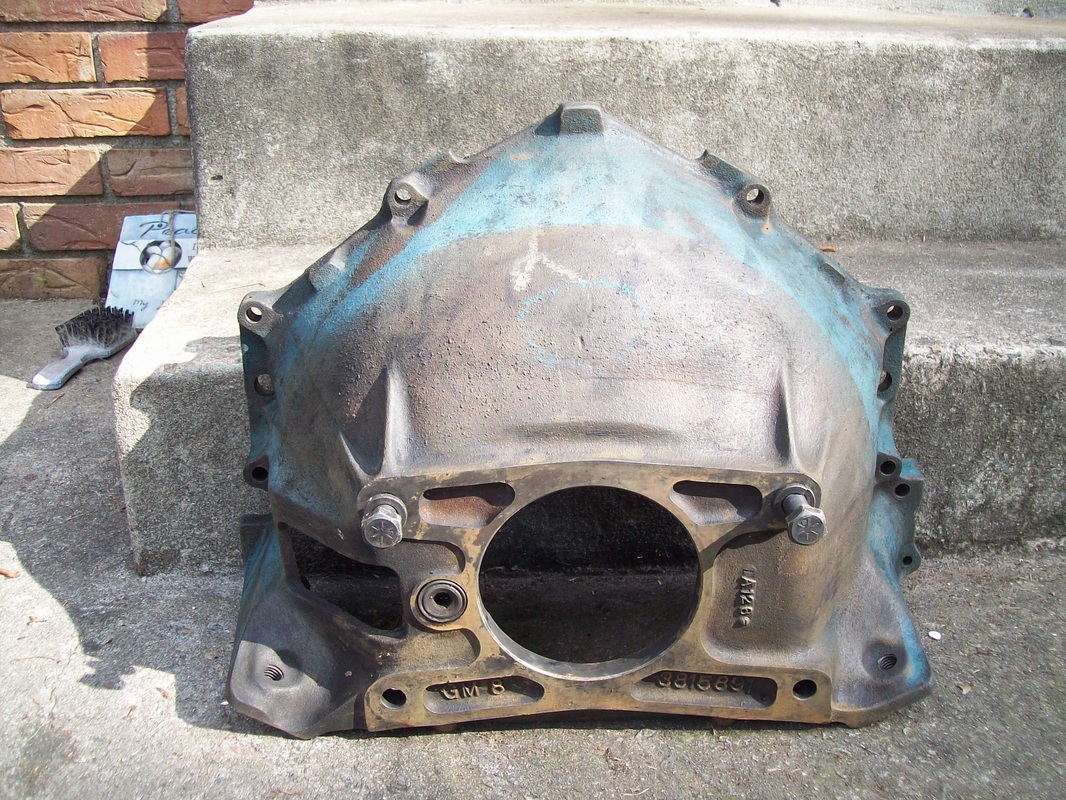
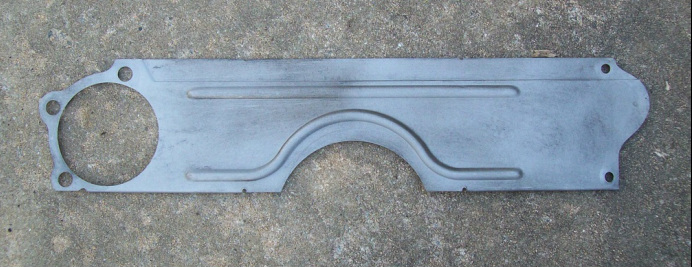
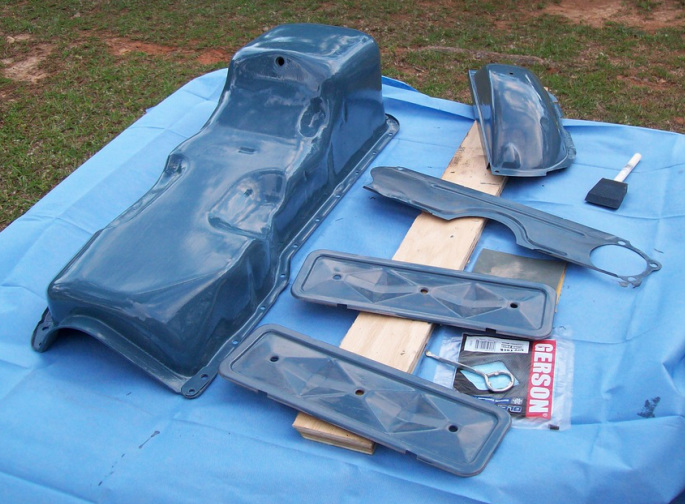
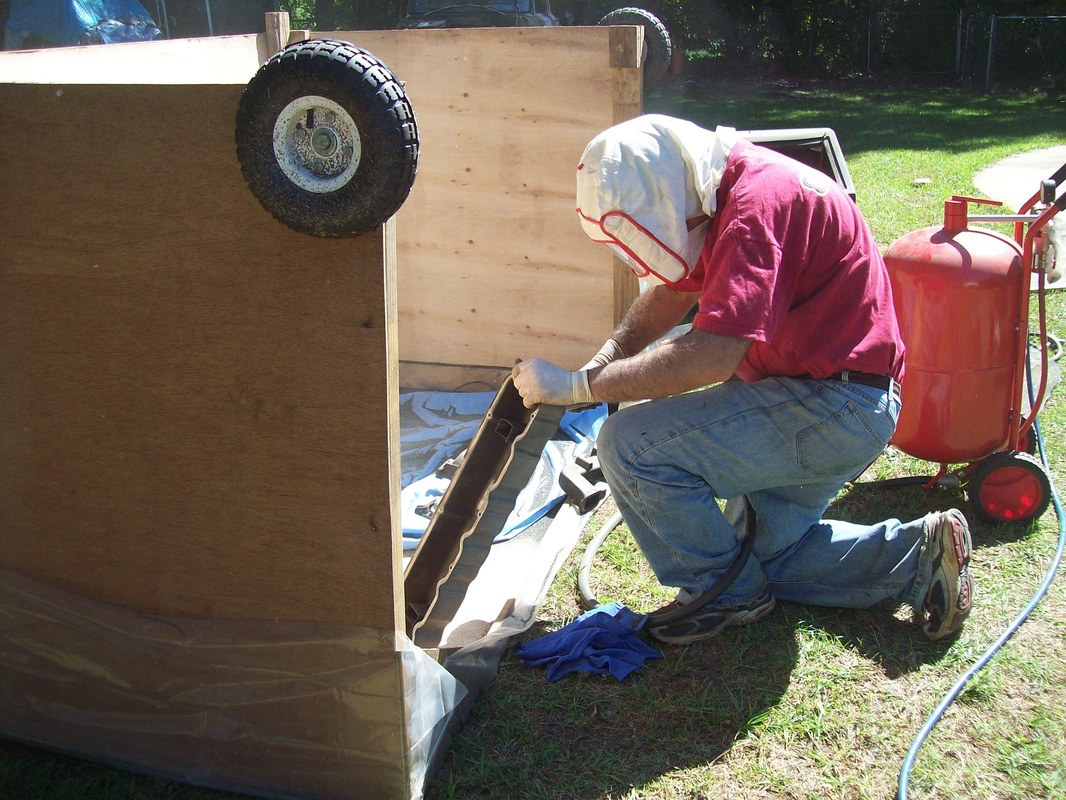
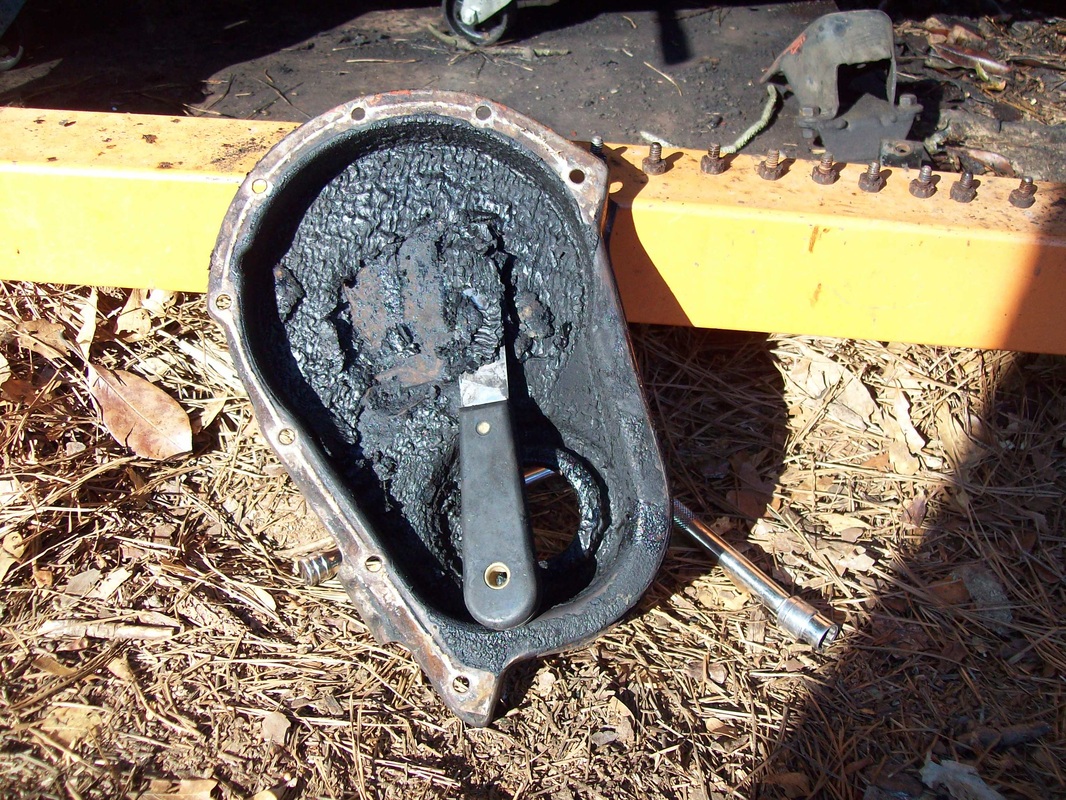
I used a wire brush to clean tons of grease off the bell and other parts you see below. The sandblaster cleaned them up the rest of the way. Then some paint. Several coats of paint will be needed.
|
I used a wire brush to clean tons of grease off the bell and other parts you see below. The sandblaster cleaned them up the rest of the way. Then some paint. Several coats of paint will be needed.
0 Comments
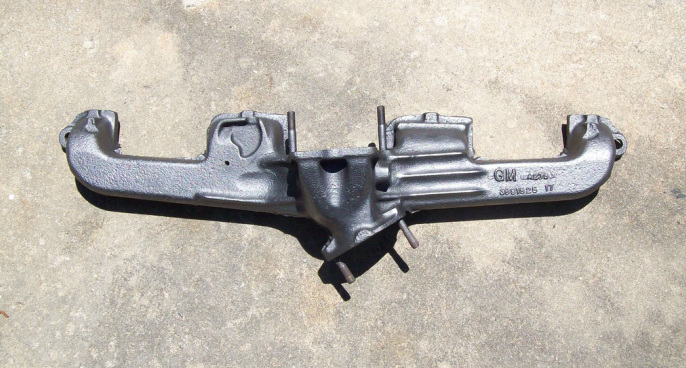
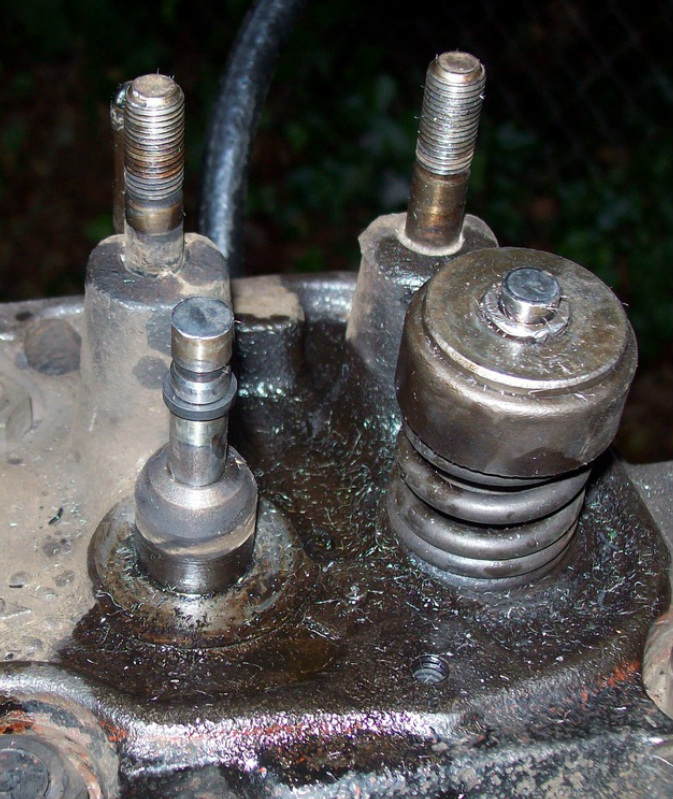
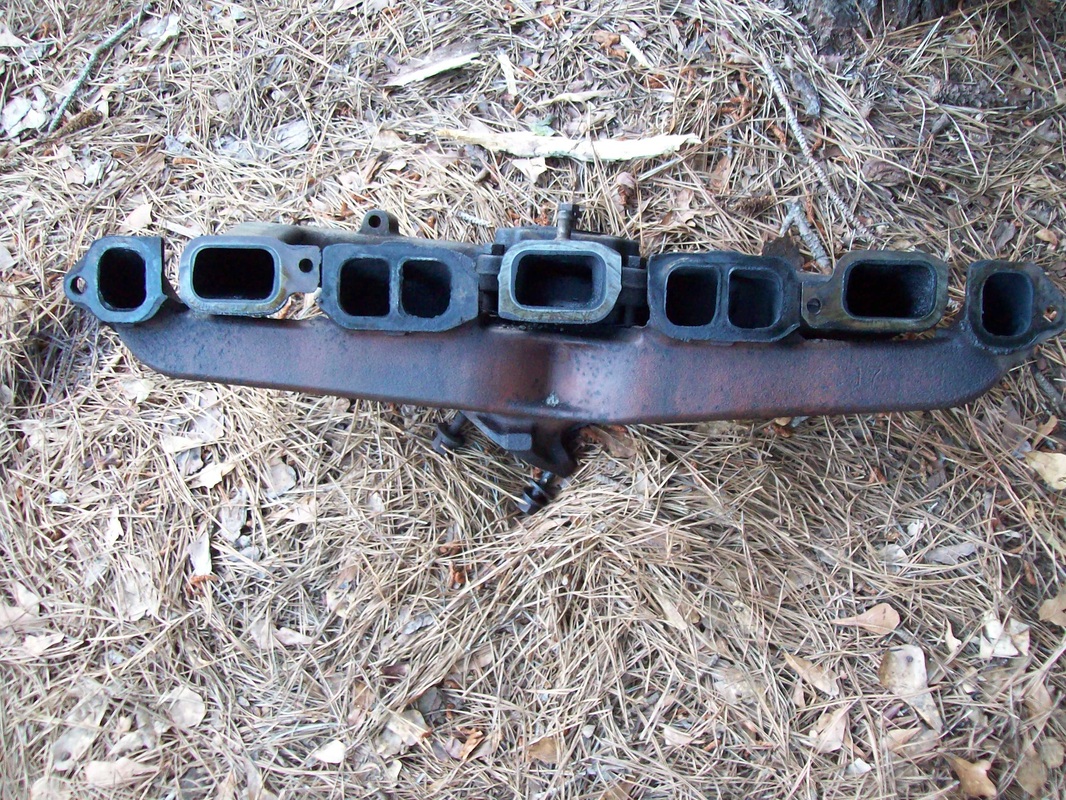
Most new cast iron parts will look rusty within a few months. Especially exhaust manifolds. A forum member recommended a special cream dressing for manifolds that makes the cast iron look new again. Here are some pics so you can see the results. I also applied some to my rusty brake master cylinder so you can see the amazing transformation. 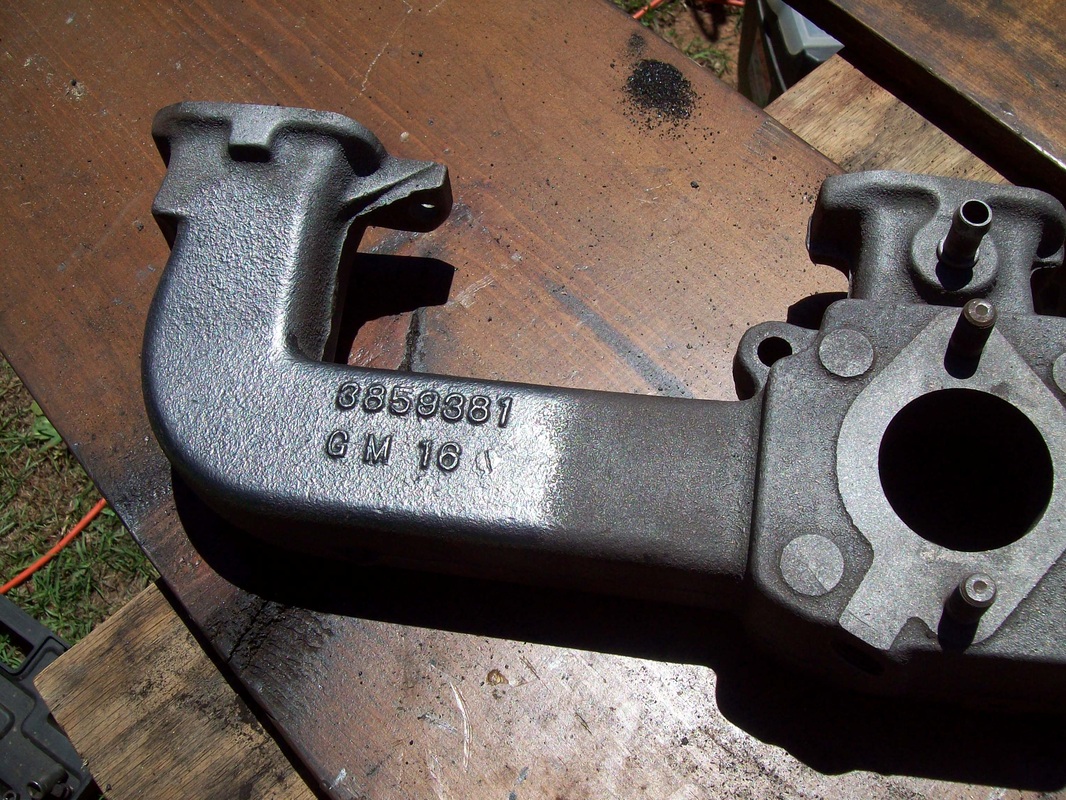 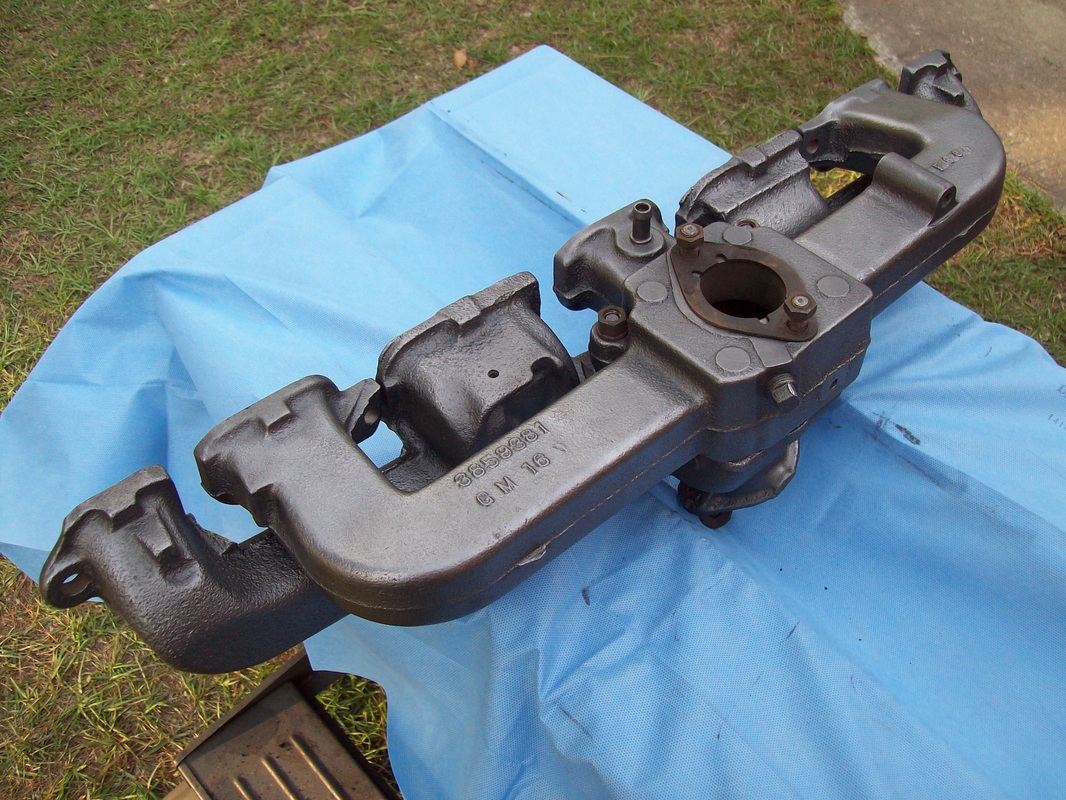 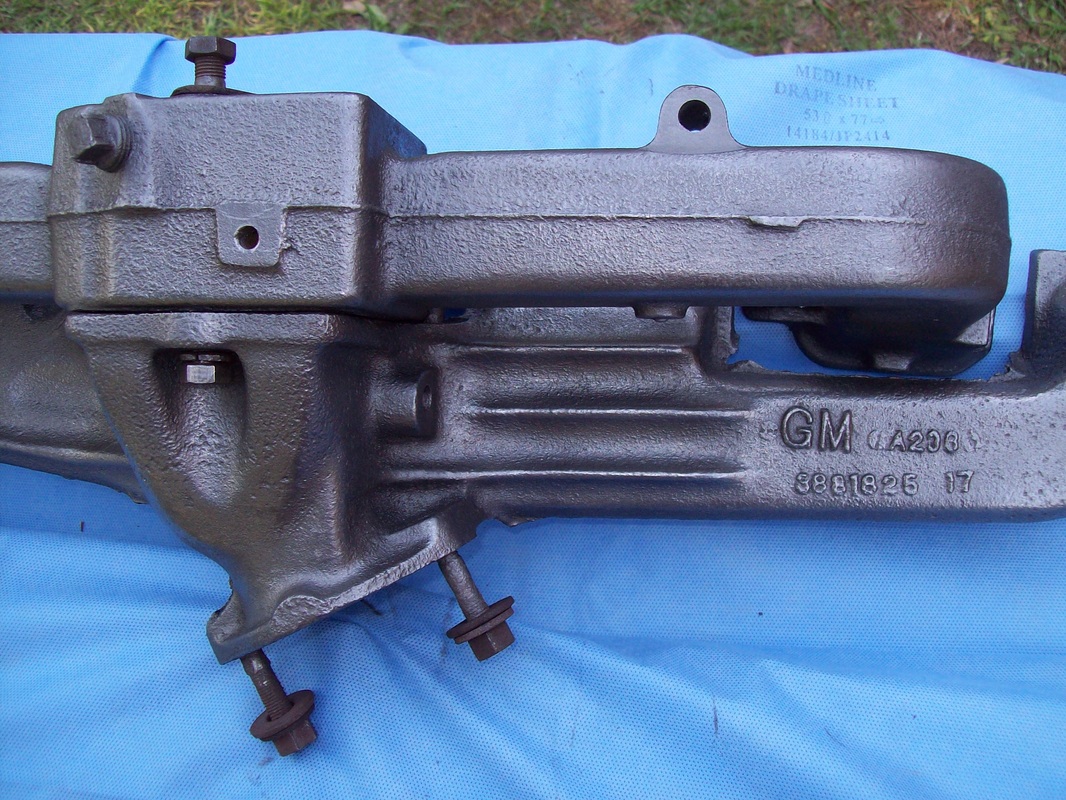 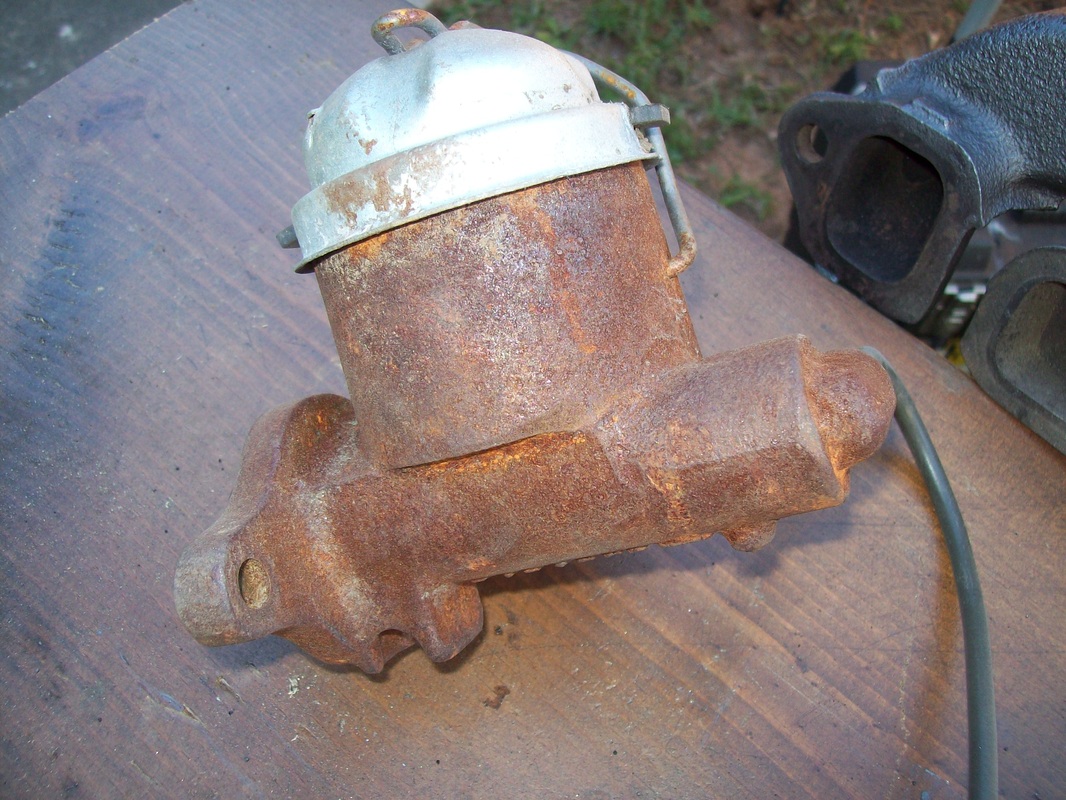 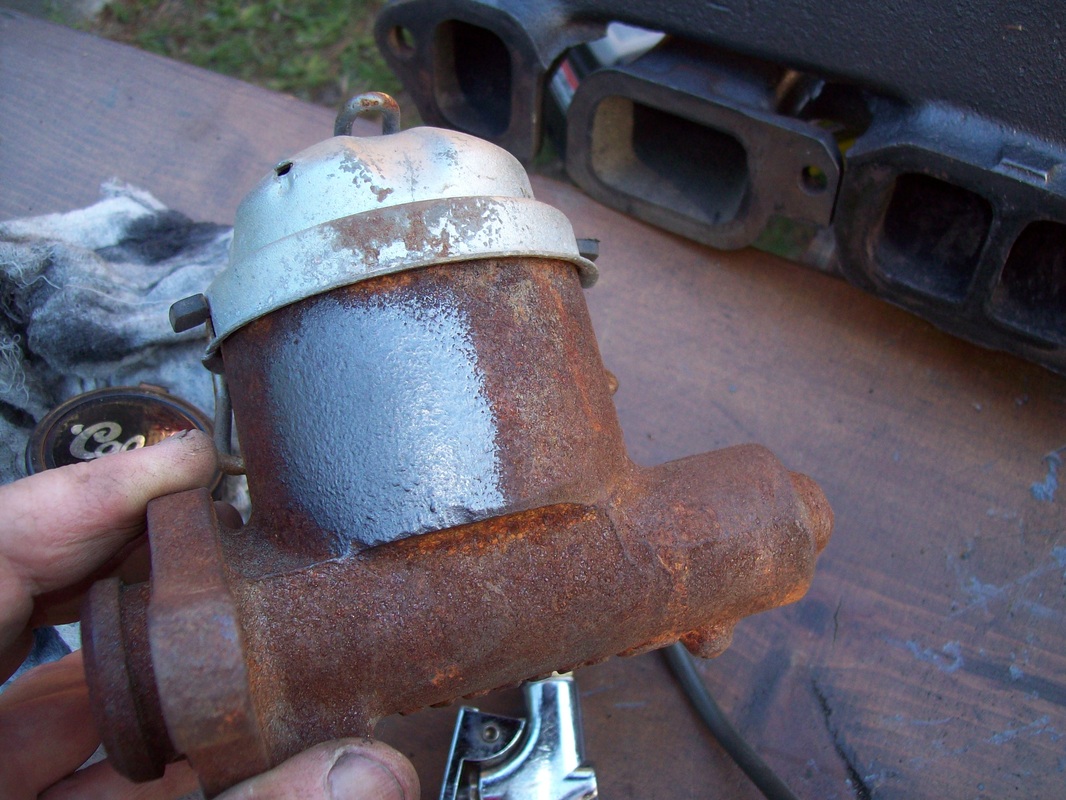 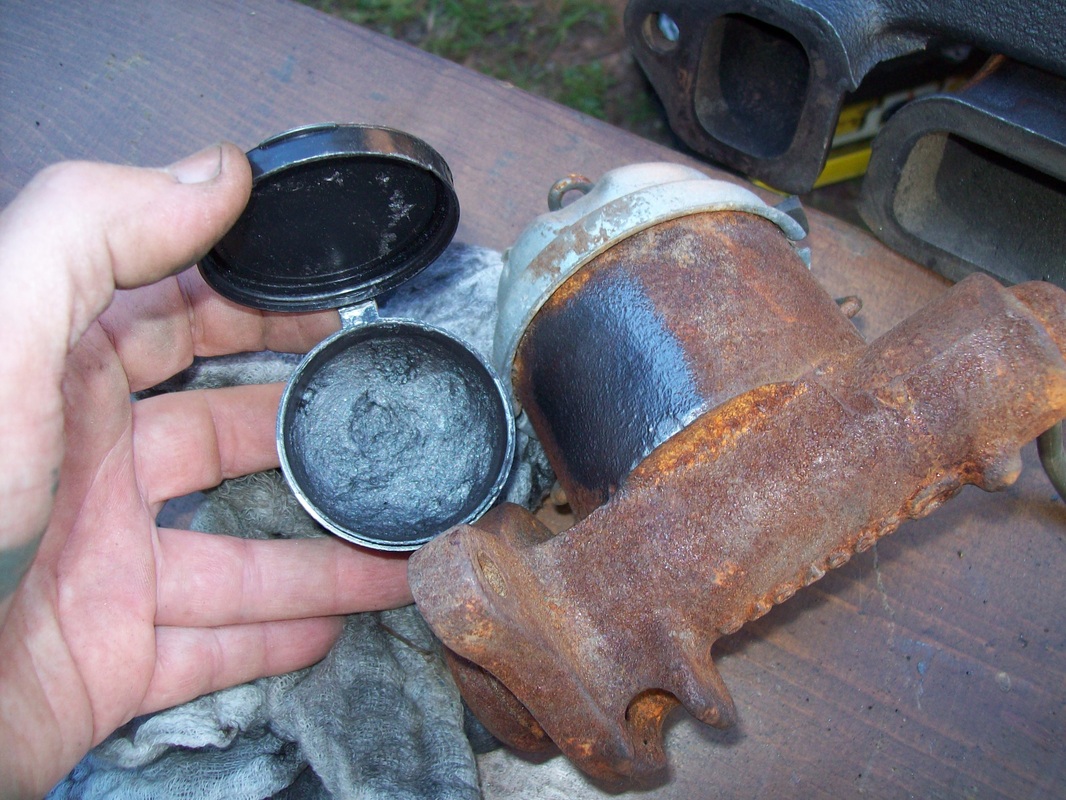 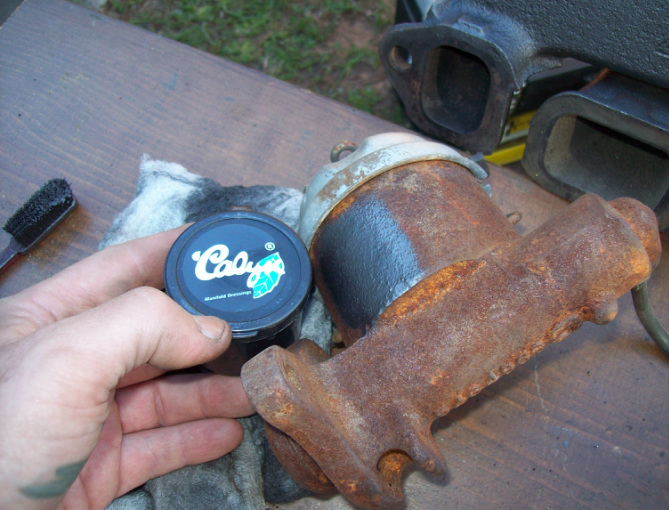 I had a bunch of stuff waiting to get done. I've replaced all the valve stem seals. I started painting the engine but it will need several coats.. I used a manifold dressing called Calyx to clean up my manifolds and now they look new again. I sandblasted several parts too. I also reorganized the spare parts I have in my enclosed trailer. 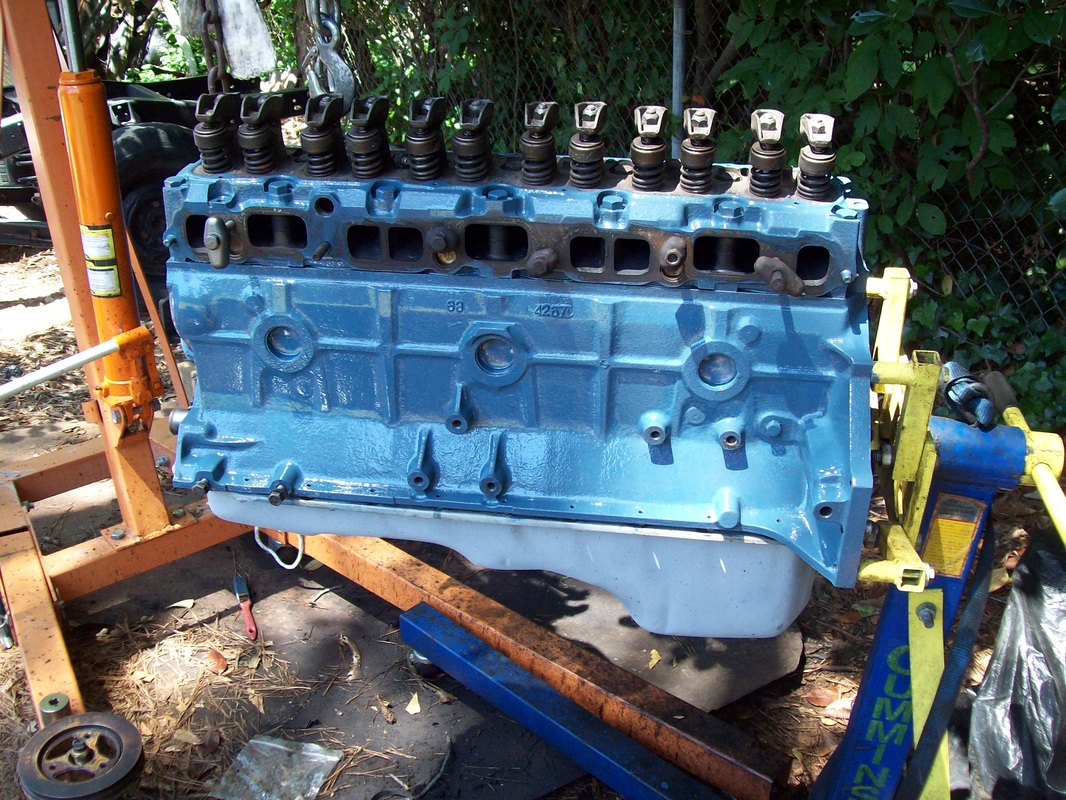

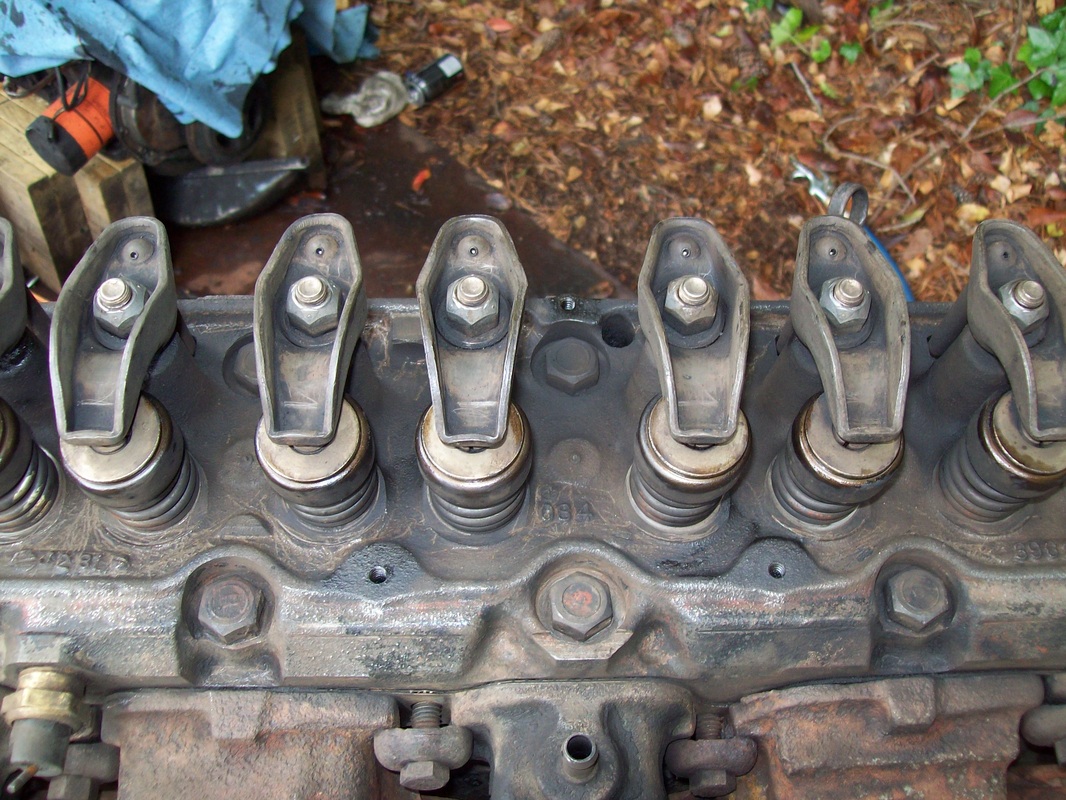
The 66 has lots of good parts and these trailing are going to a guy with a 62 that I know from the Stovebolt forum. 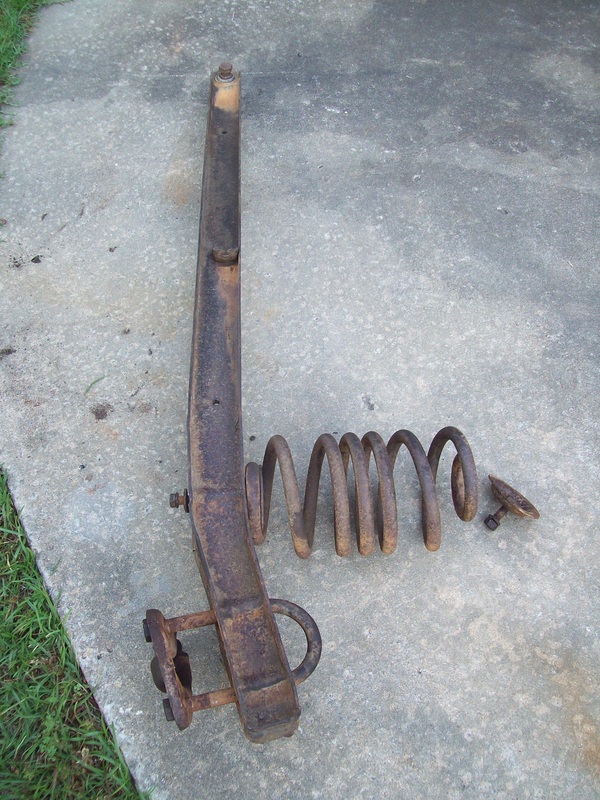 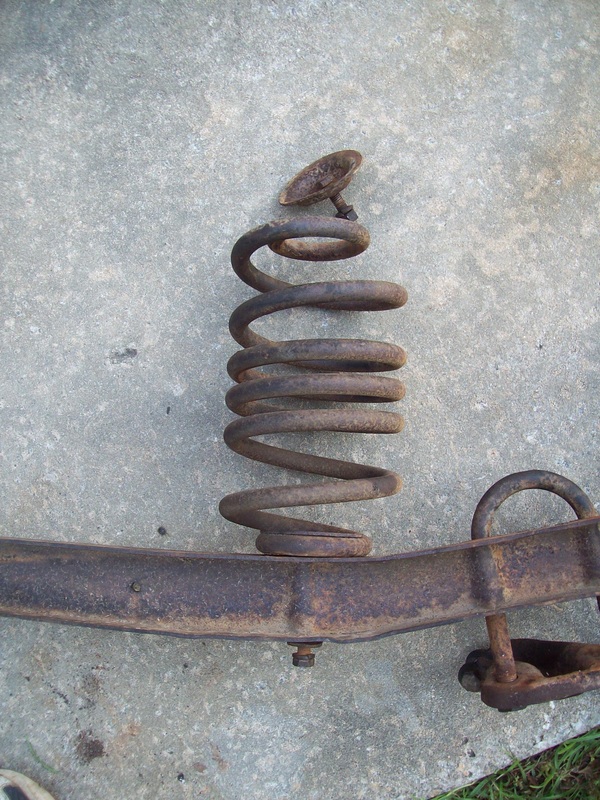 I had a difficult time changing the valve seals tonight. Stuffing the cylinder with nylon rope held the valve in the up position, but not tight enough to get the retainer loose. So I had to fill the cylinder with air pressure. That held the valve tightly against the head and I was able to get 3 valves done before darkness forced me to stop. More progress on Friday. 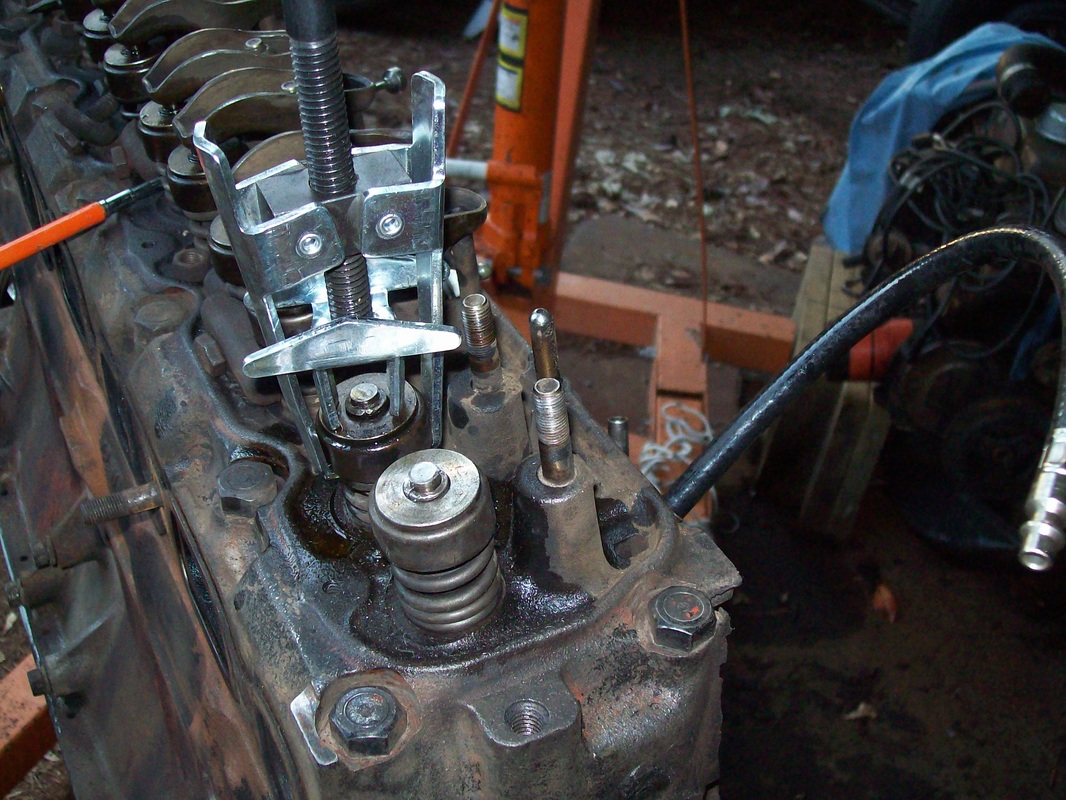
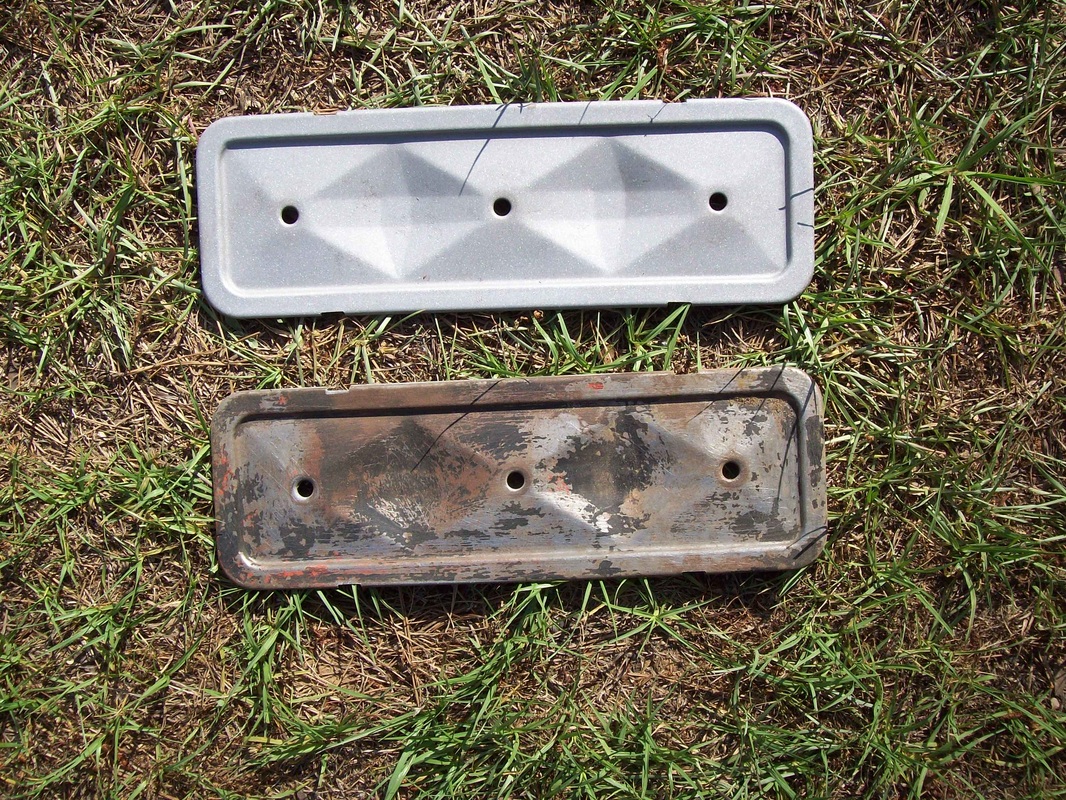
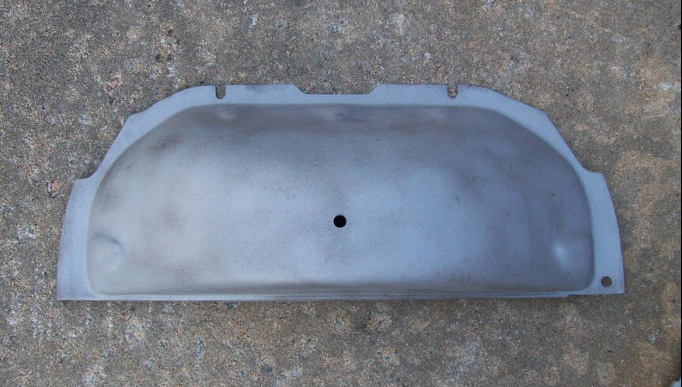
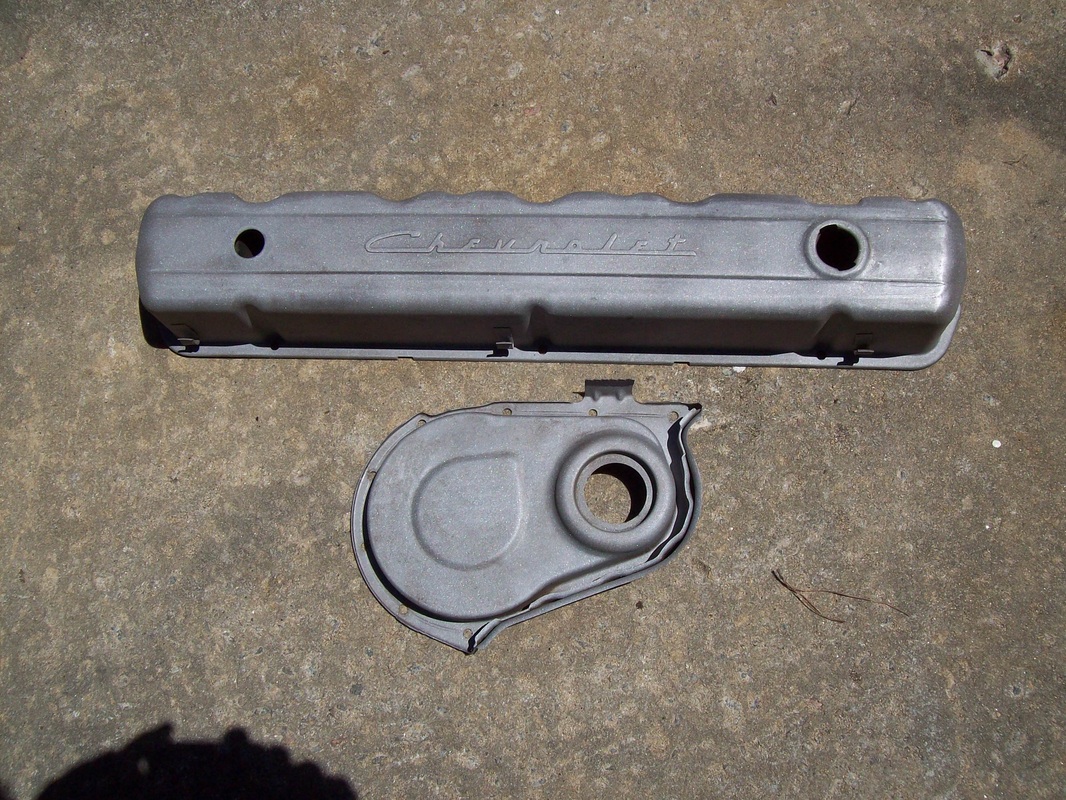
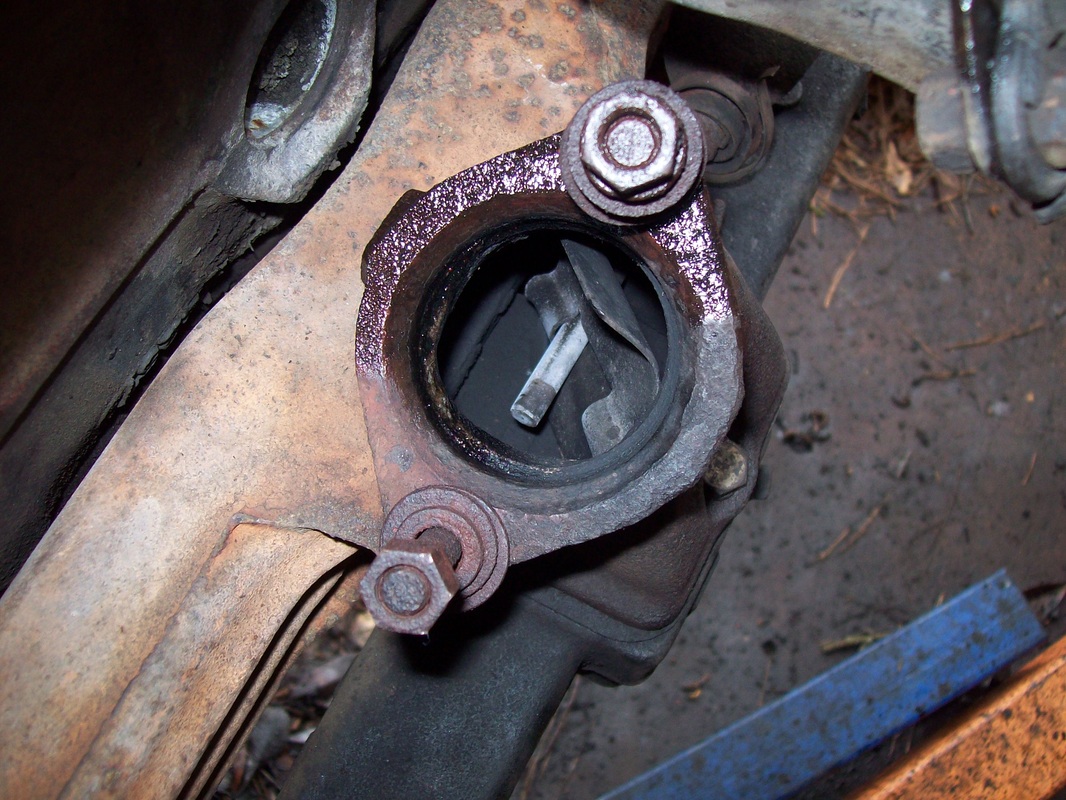
I went to the salvage yard today hunting parts for a friend. Ended up bringing home an original 230ci valve cover from a 1964 C10. It had one tiny ding which I bumped out without any problem. You might see it in the photos, but it will be invisible before I paint it. This valve cover is way nicer than the original 1971 valve cover.  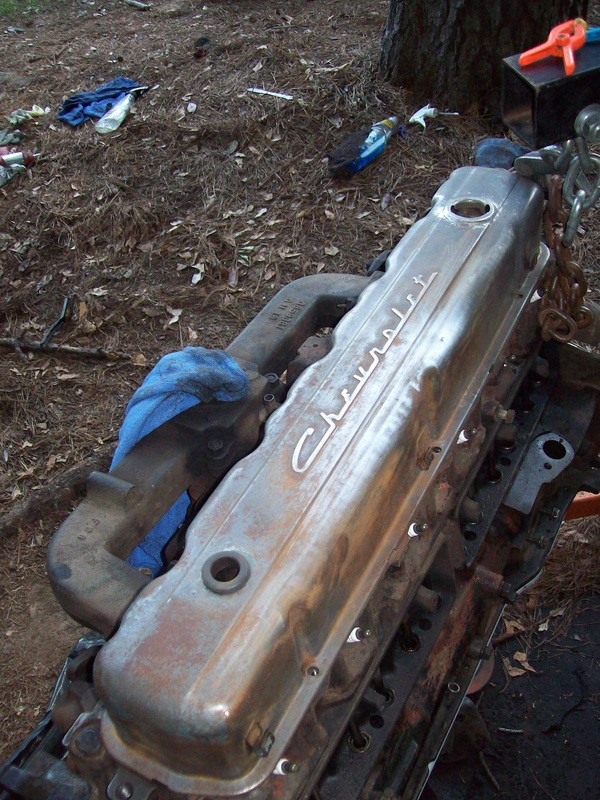 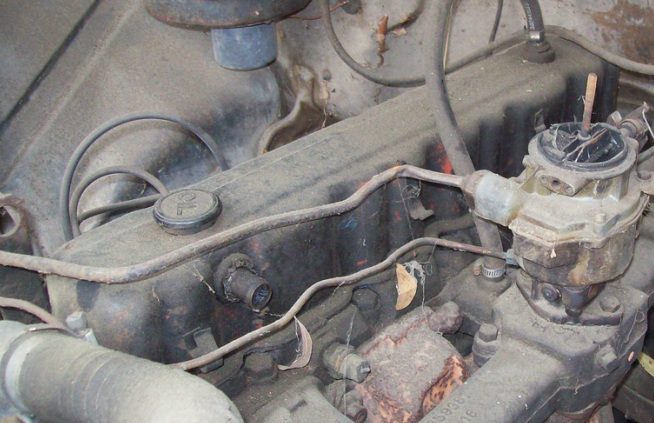 I got some great advice from friends on the STOVEBOLT FORUM. They told me everything I needed to know about how to remove the harmonic balancer pulley. The engine will be ready for paint after a few more hours of preparation. 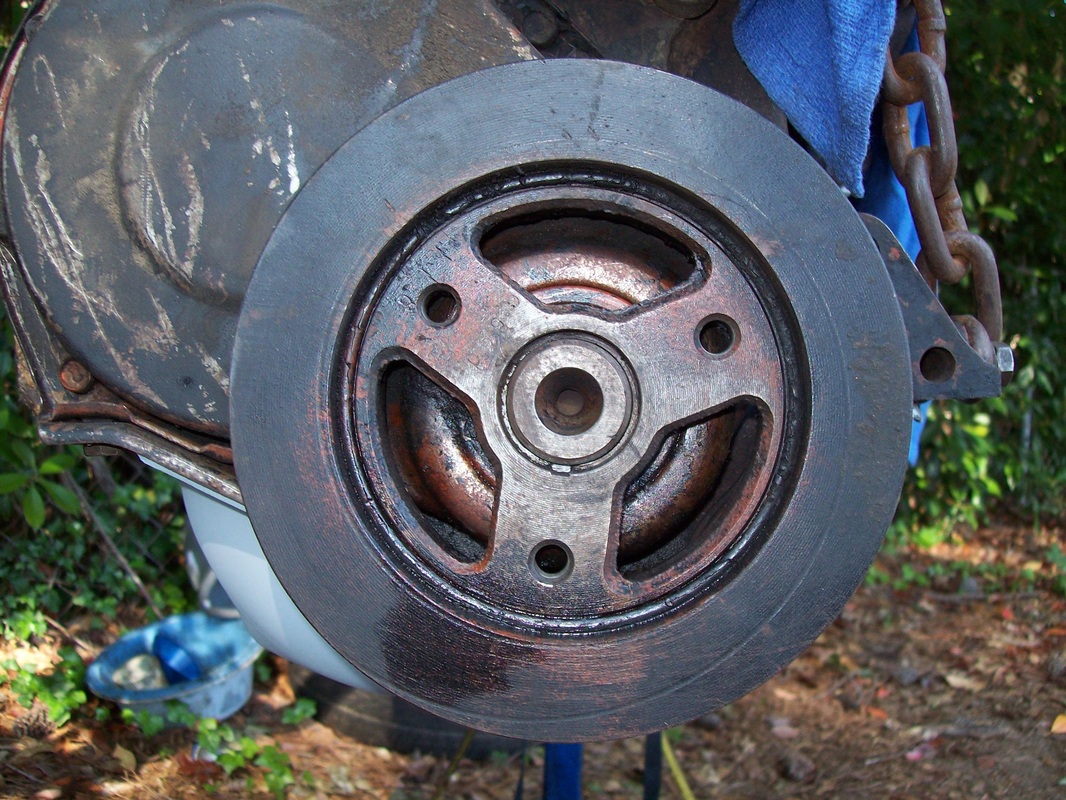
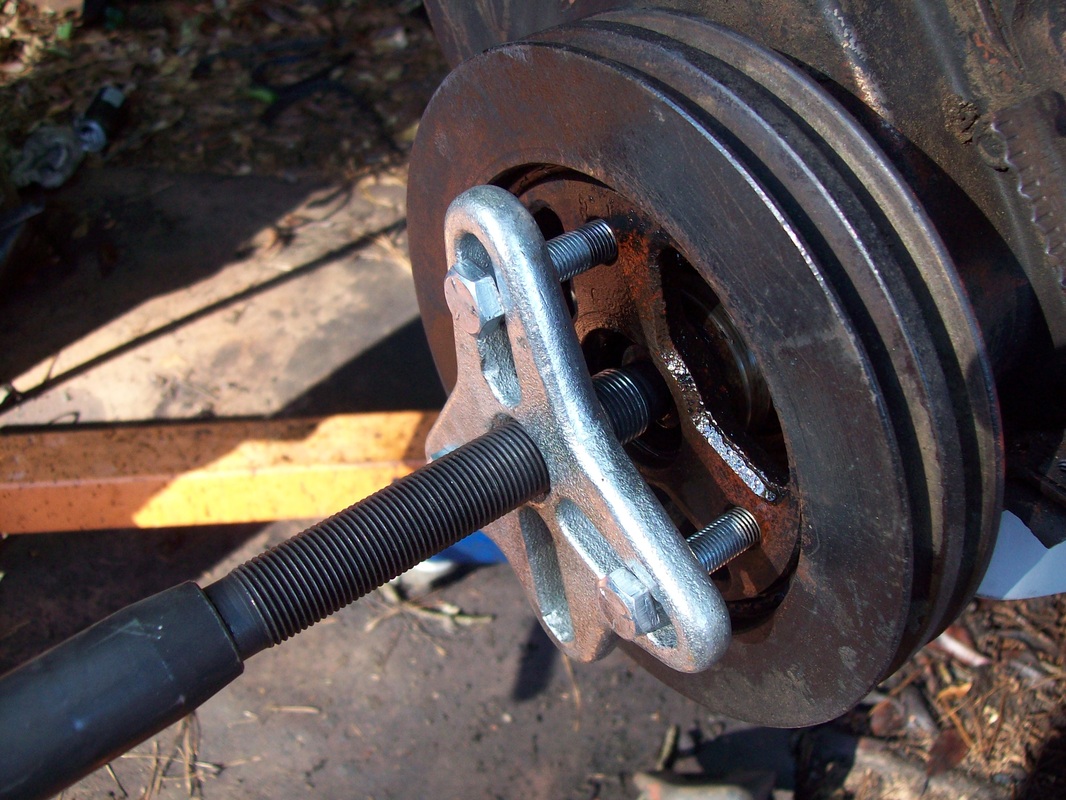
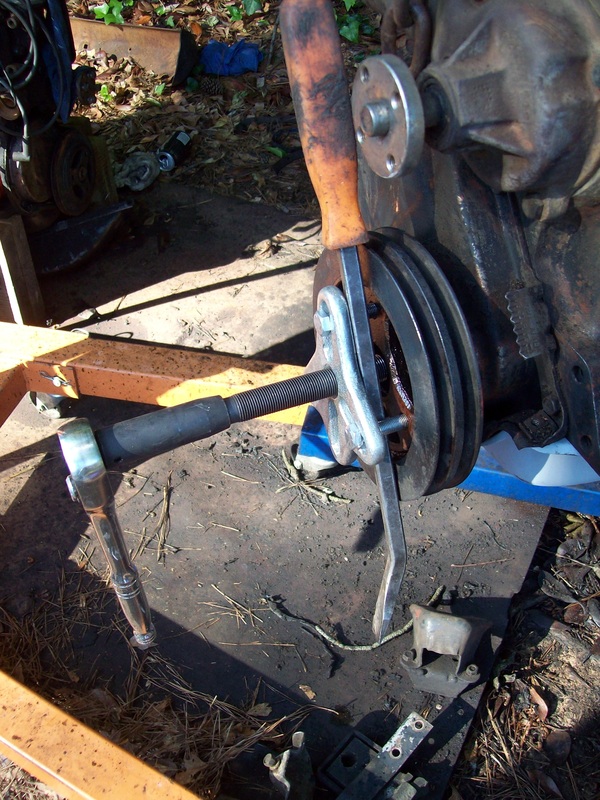
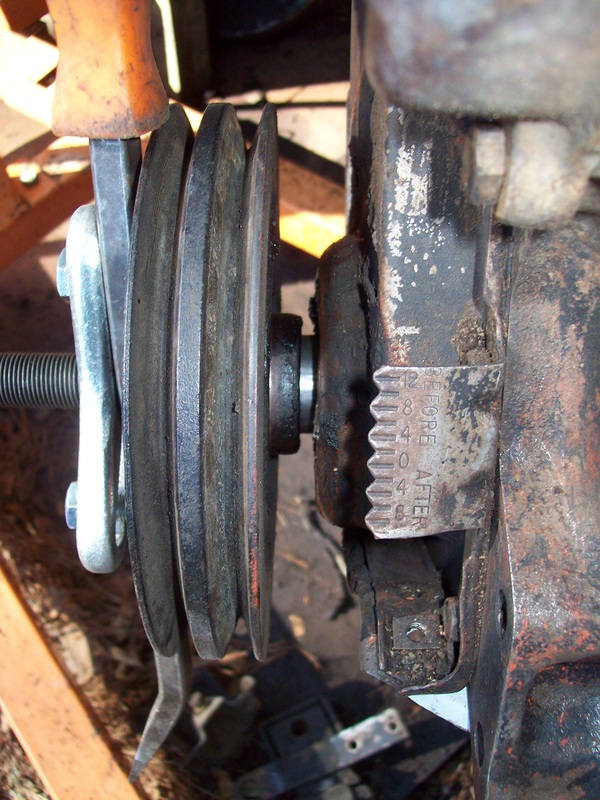
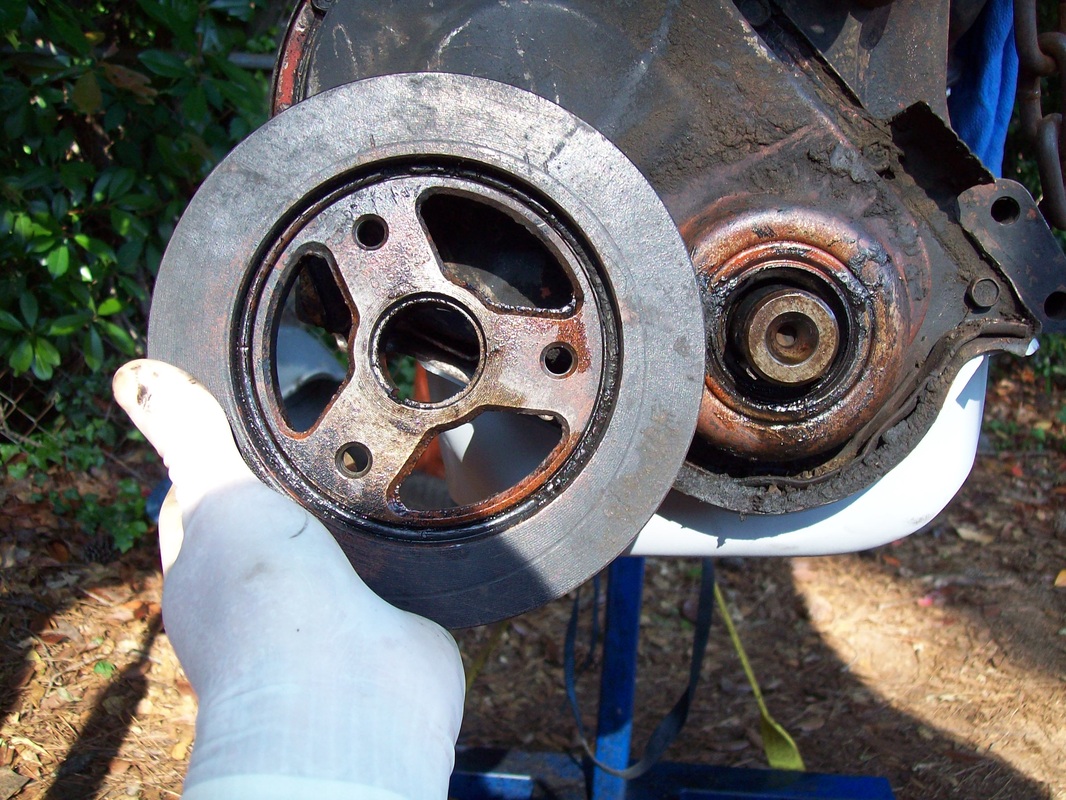

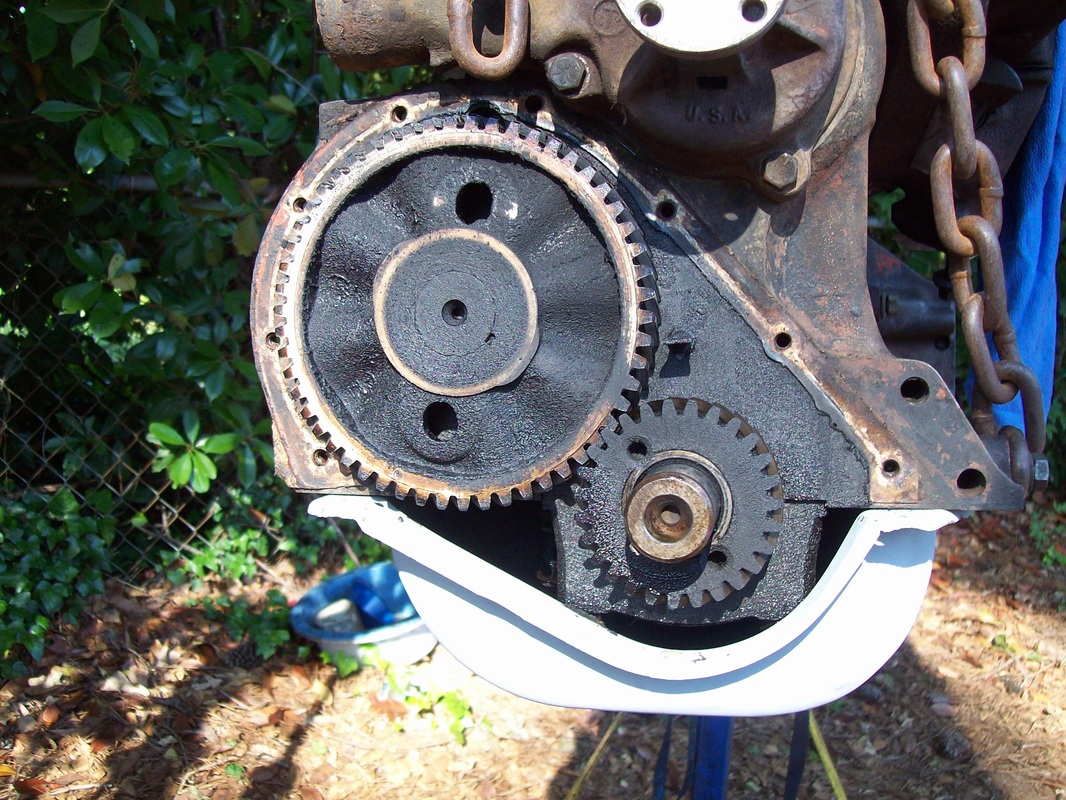

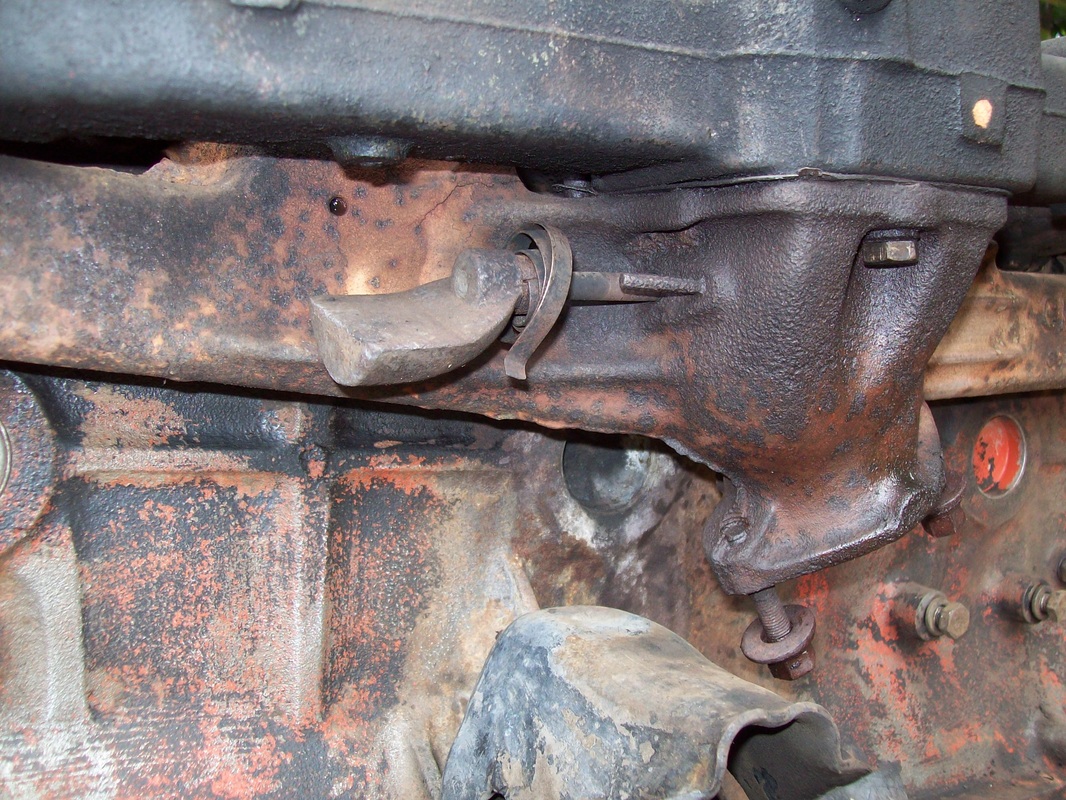
I had my worries that the manifold bolts were going to be a big problem since there was a lot of rust. I soaked them overnight with PB Blaster and they came undone without any problems. Now I will be able to properly paint the block. I still have not figured out how to remove the main pulley and the timing cover. 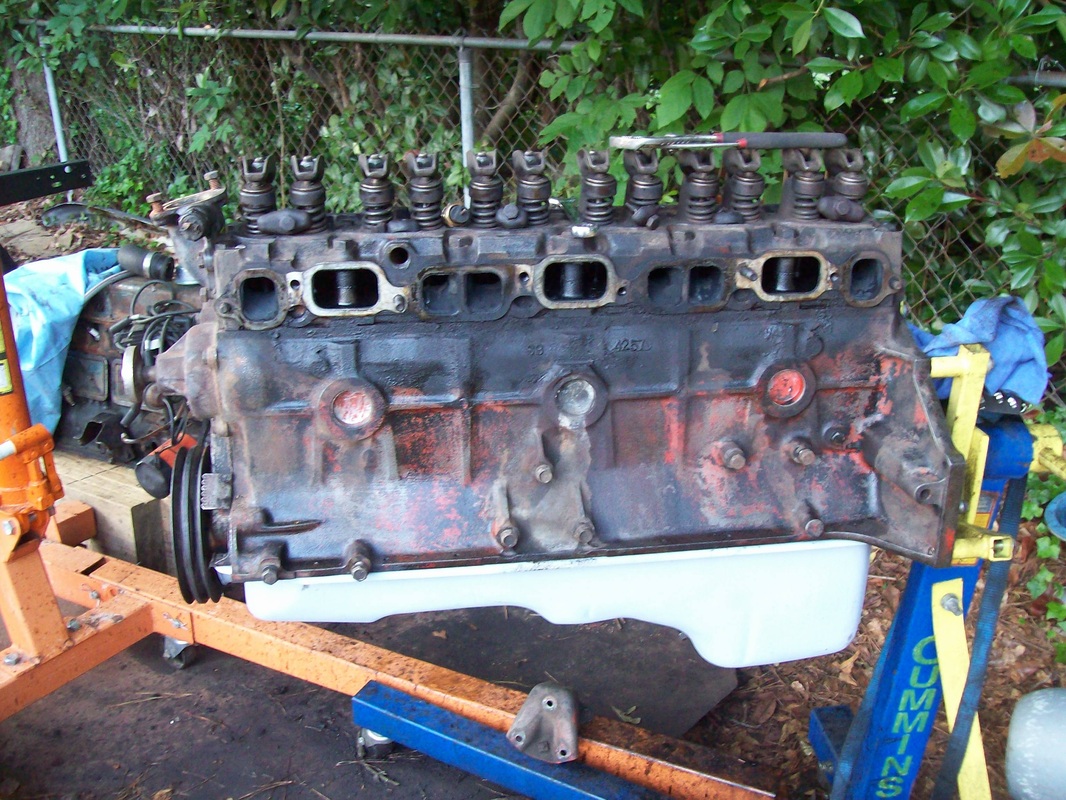
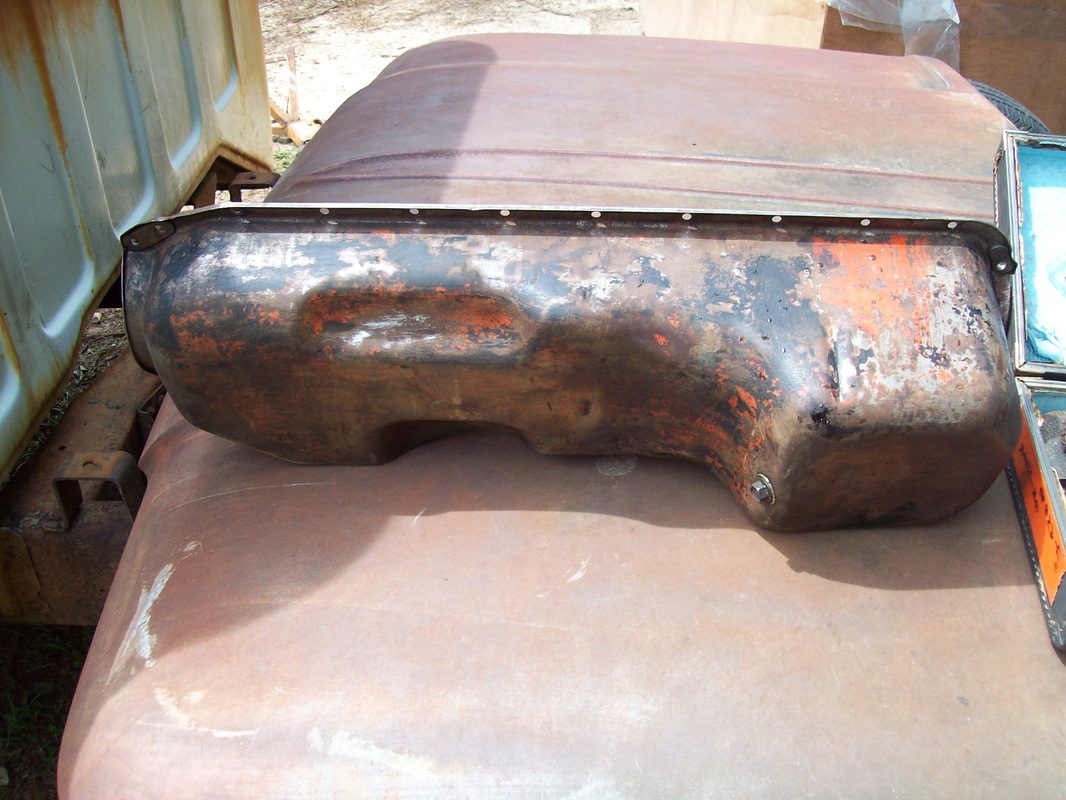
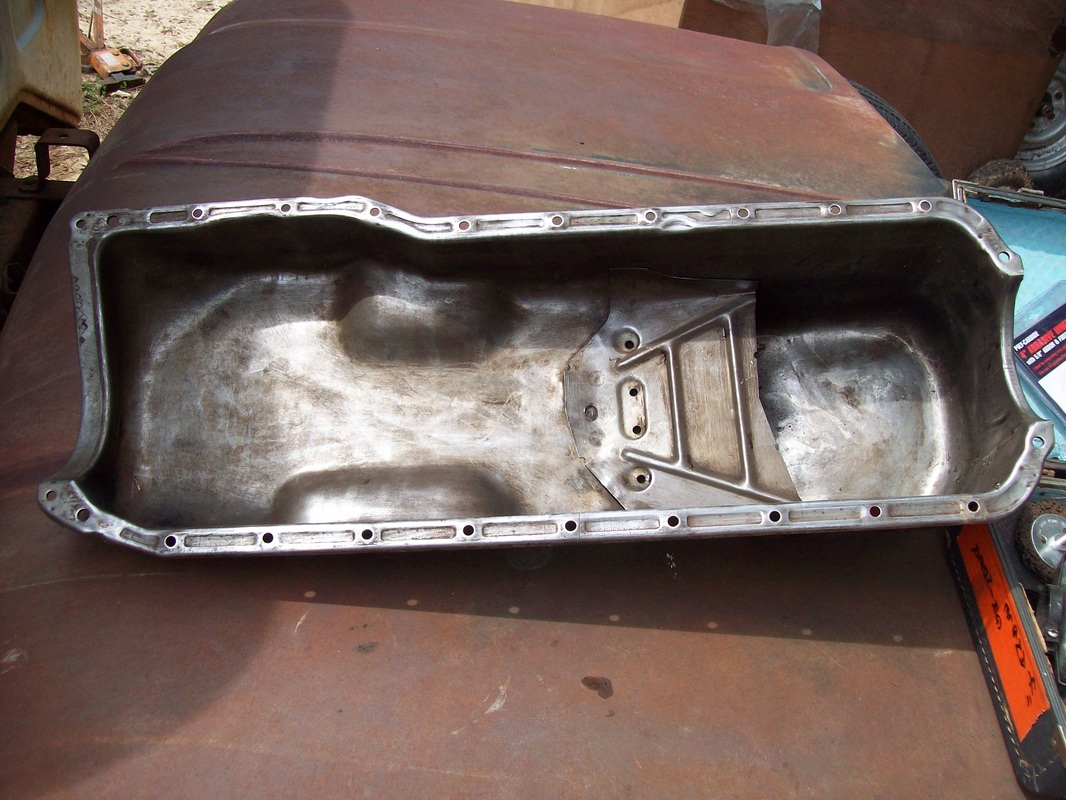
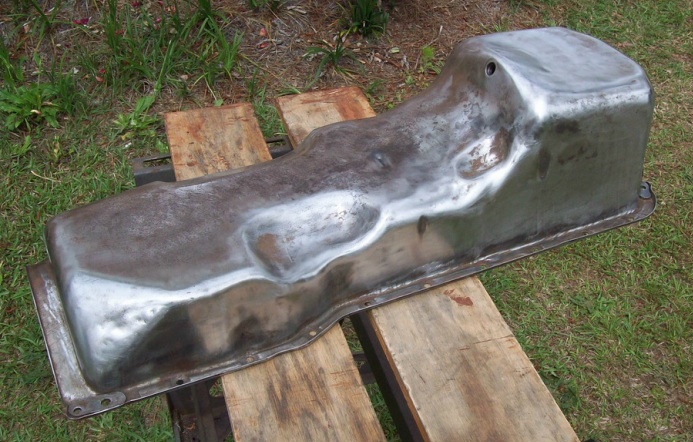
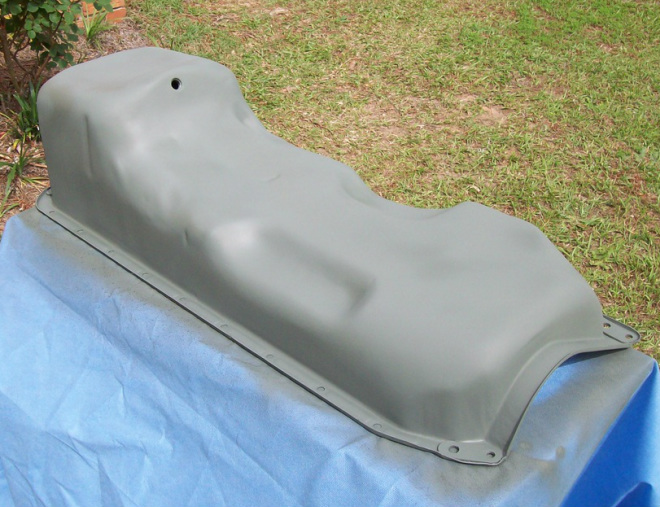
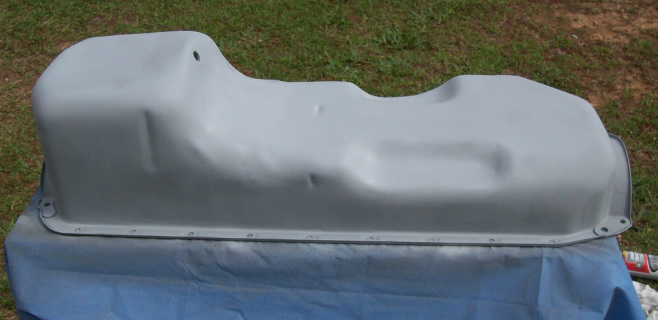
Soak with kerosene. Scrub. Repeat. The head looks clean now, but I still need to change the valve seals. Friends have suggested that I simply clean the lifters instead of replace them. I cleaned the oil pan today. Not a small task. Then etch and build primer. I'll order engine paint soon. 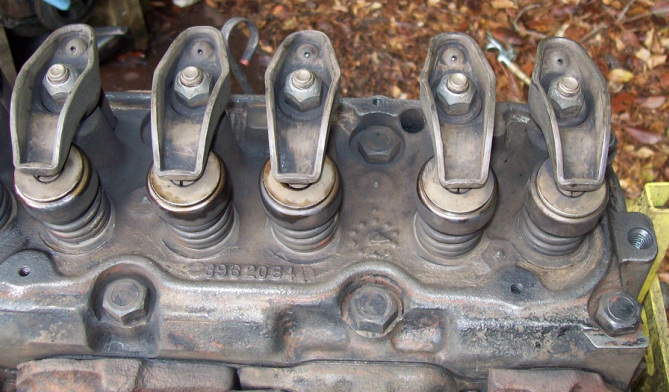
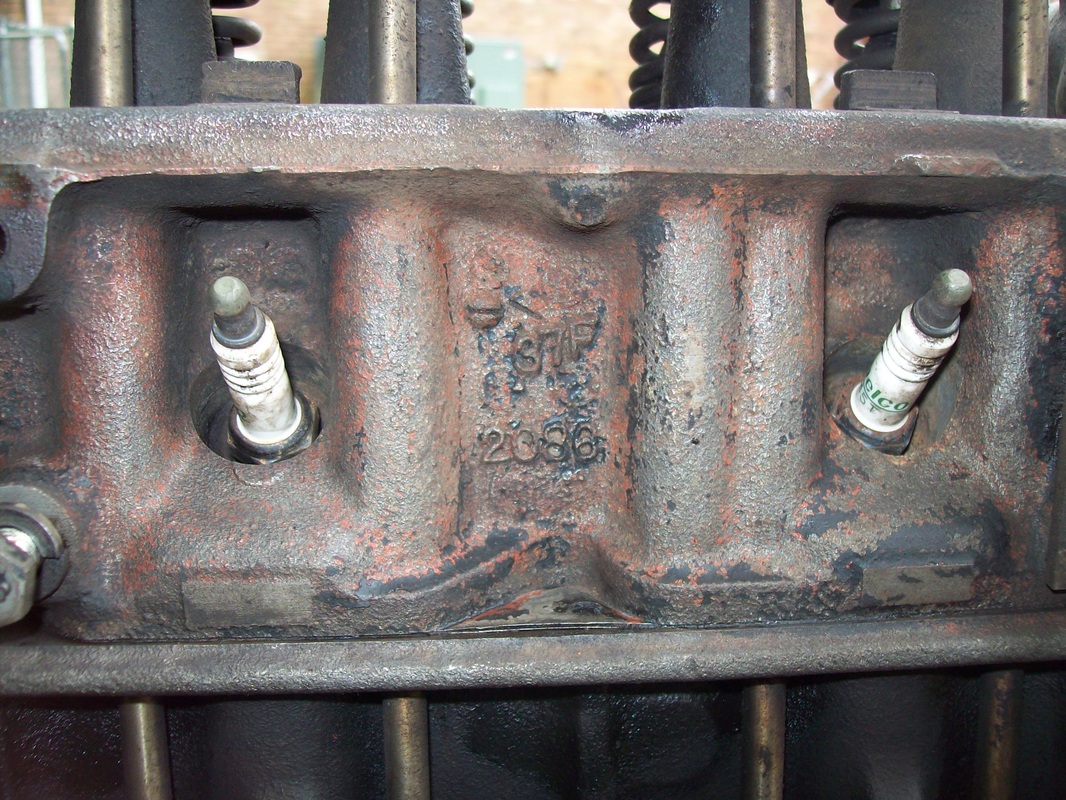
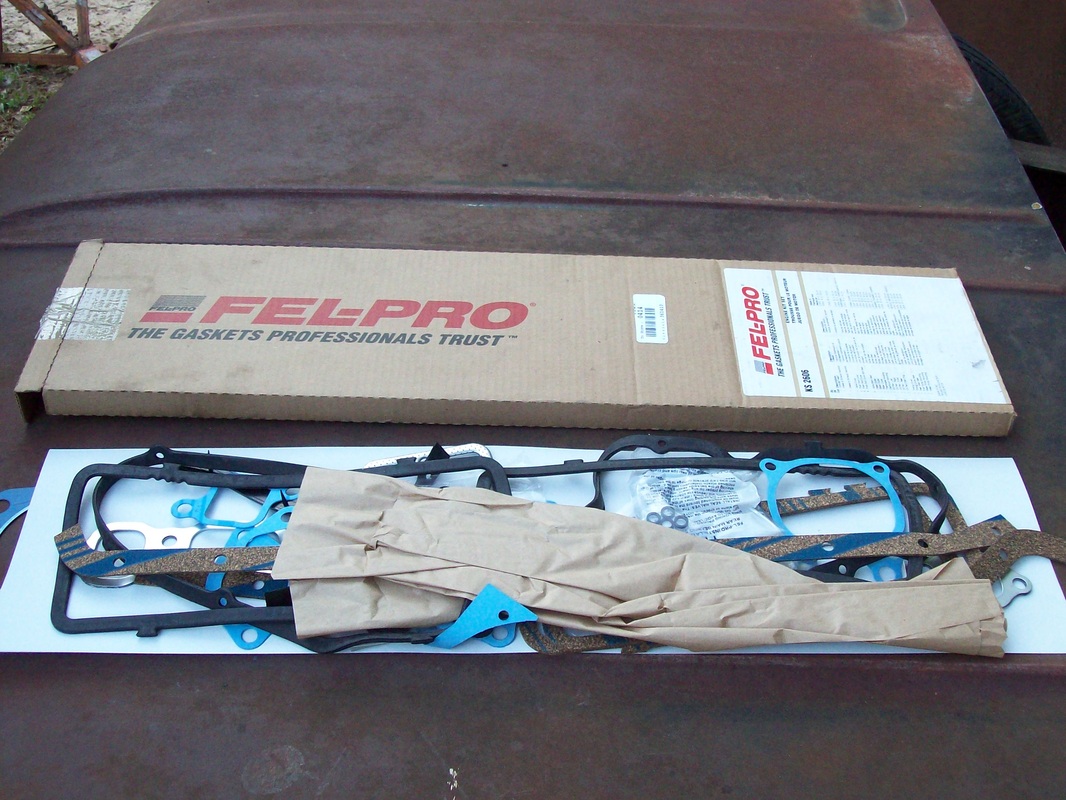
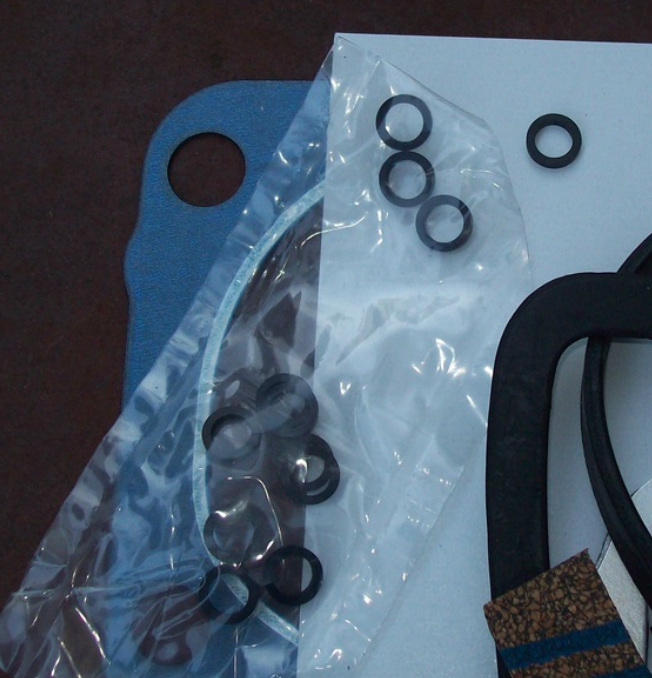
No picture to post until I'm done, but tonight I spent time scrubbing the engine with kerosene to remove carbon and grease. I ordered a full gasket kit and I think new lifters and valve seals are a good idea. The compression numbers are good but I don't know how many miles are on the engine. My friend thinks I need to pull the head. Any advice? Please share your thoughts.
|
See my BLOG entries from prior months below:
April 2024
My Hobbies are:Auto Restoration Categories |
1963engineonrunstand |

|
 RSS Feed
