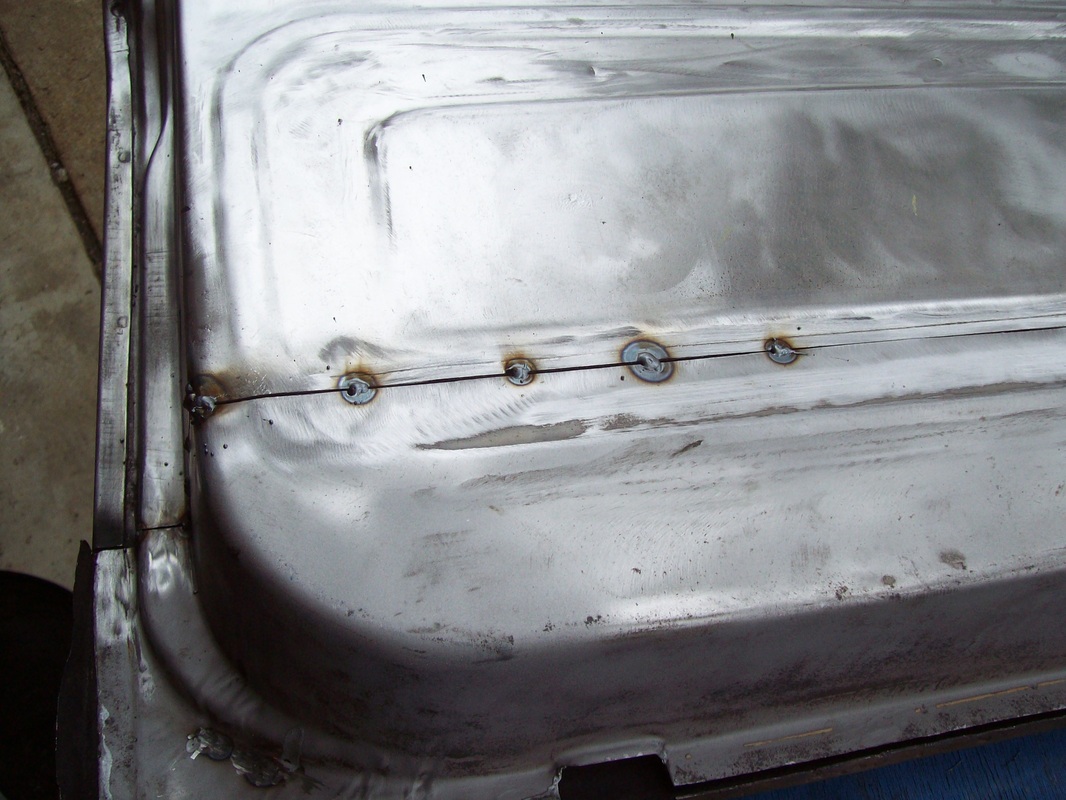
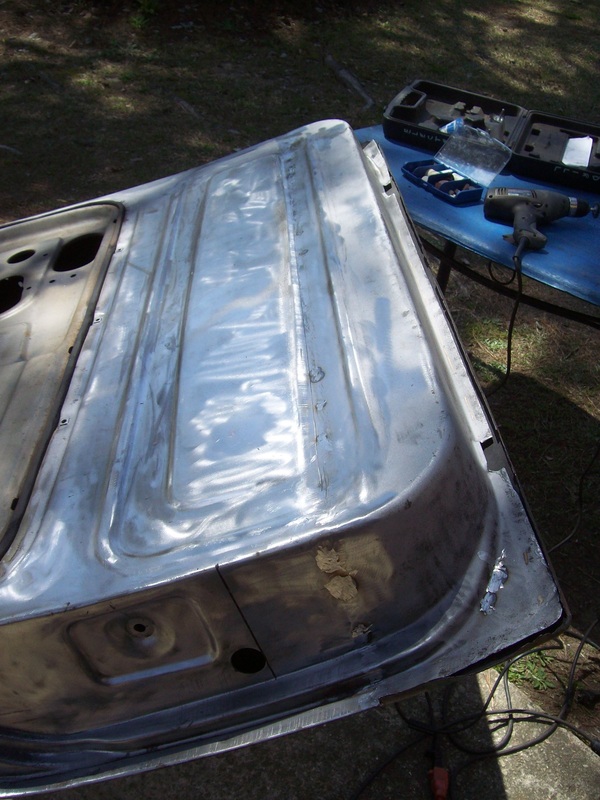
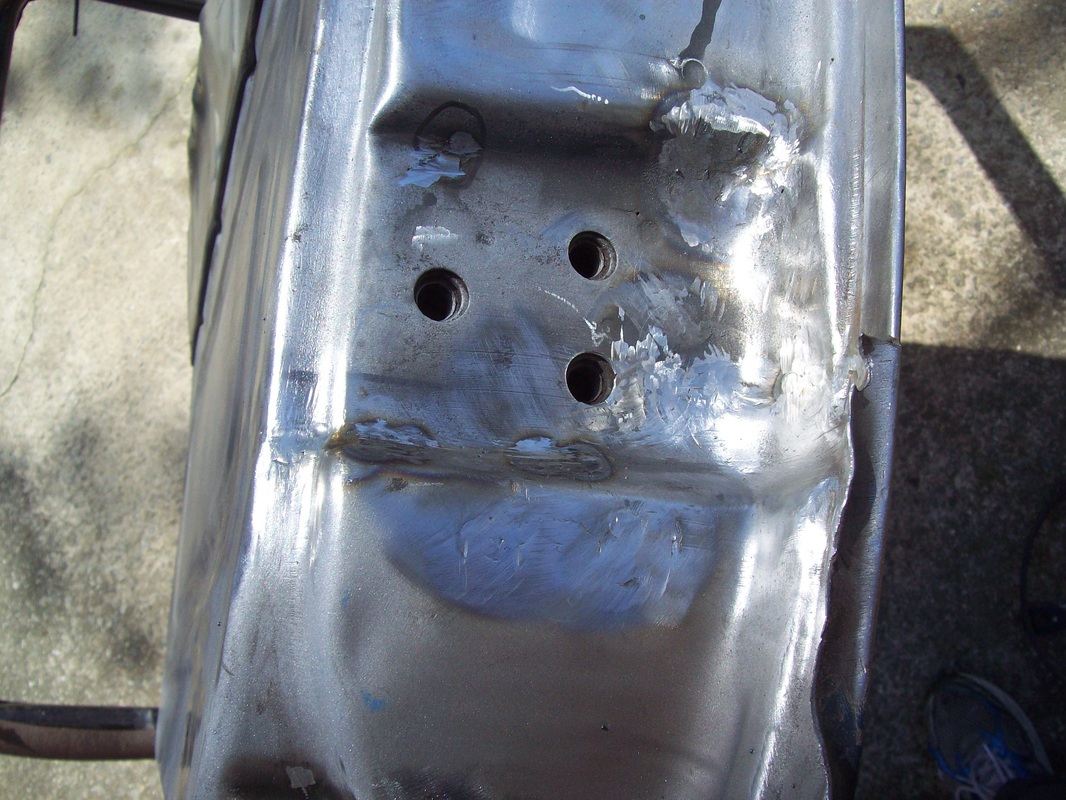
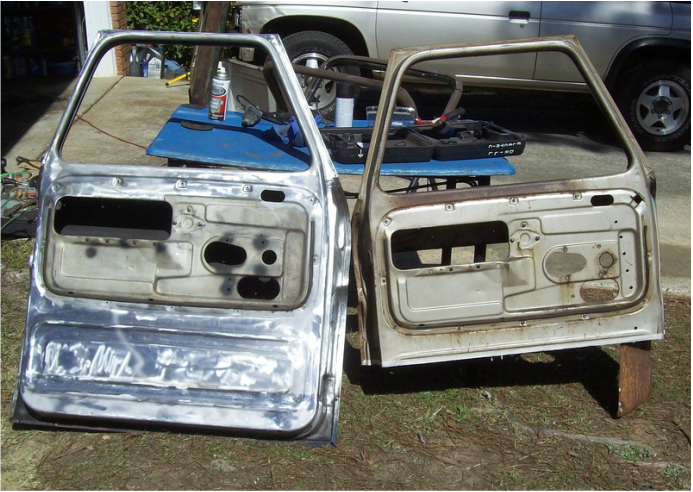
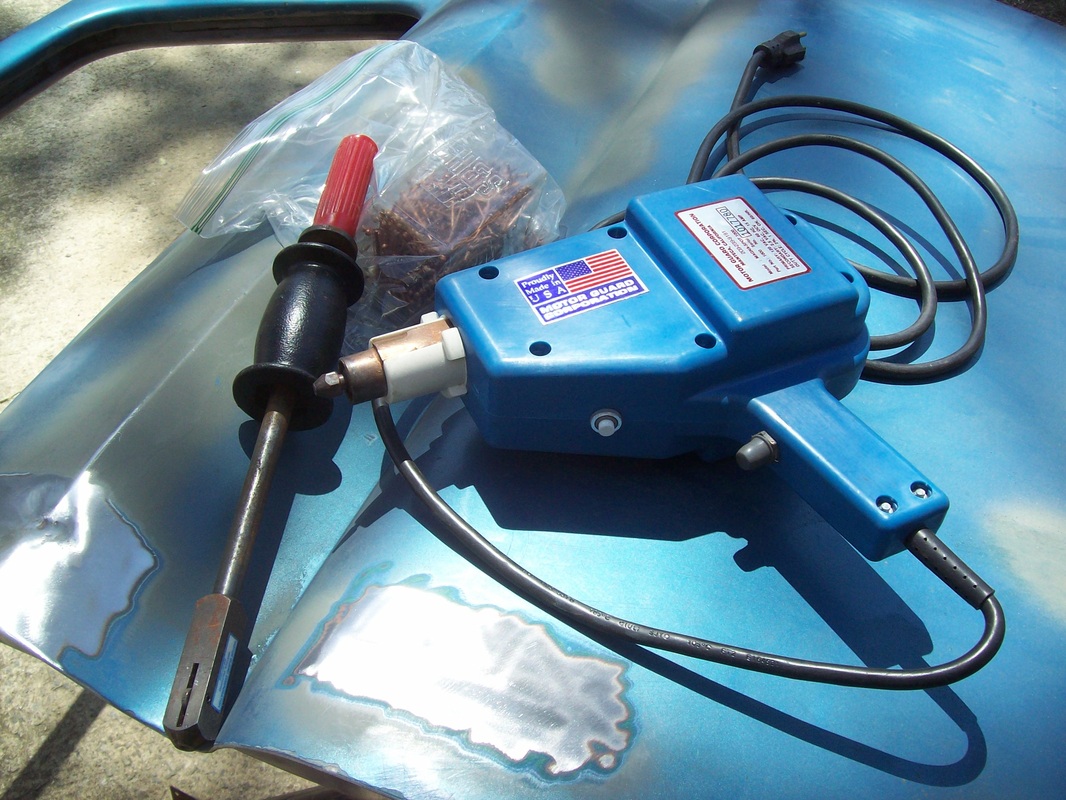
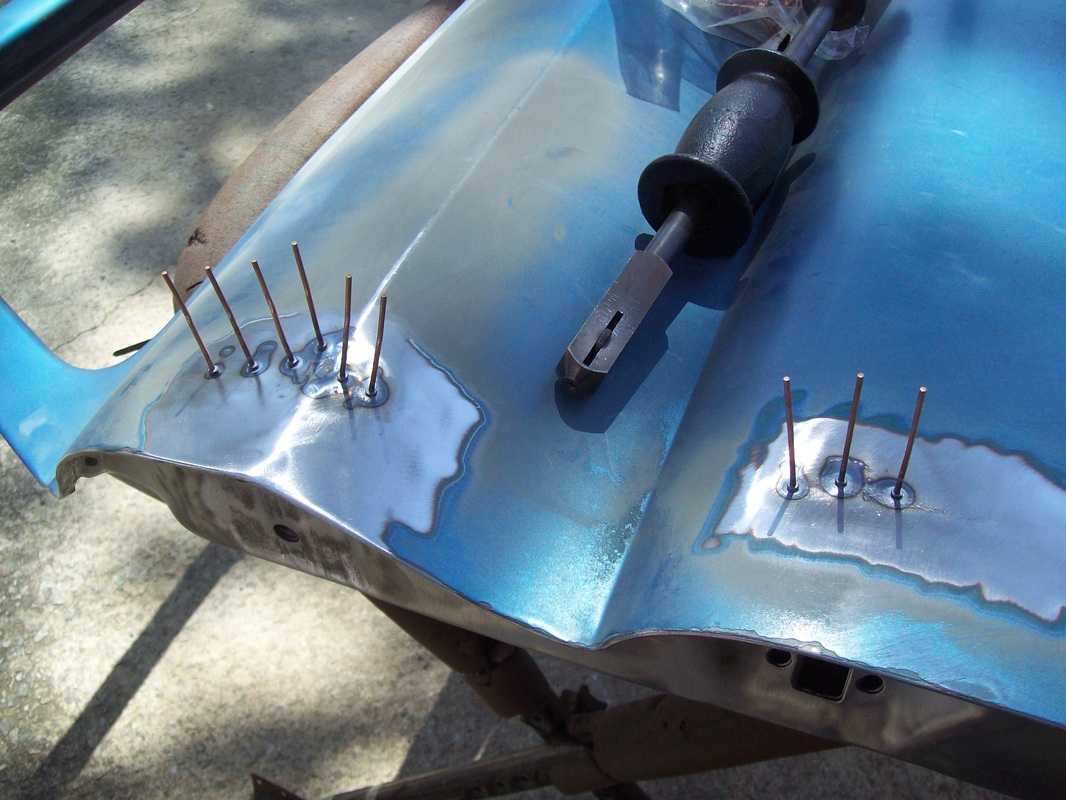
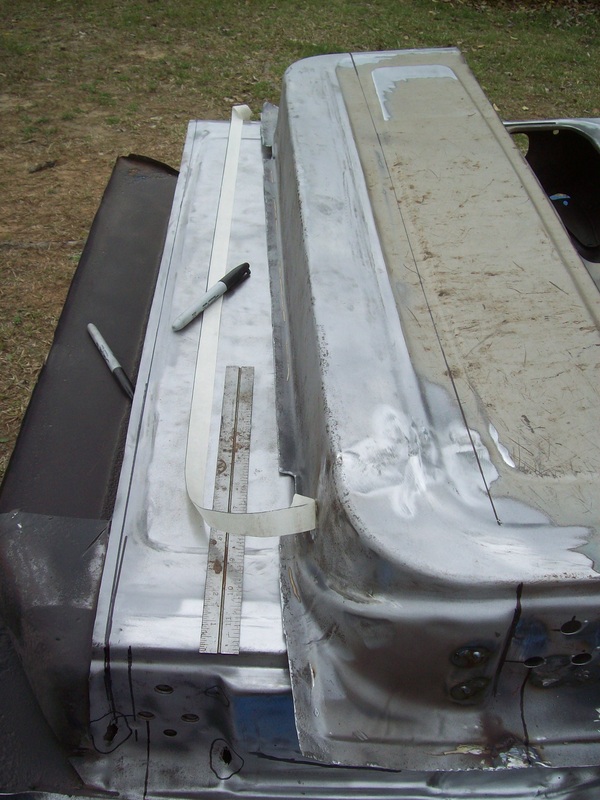
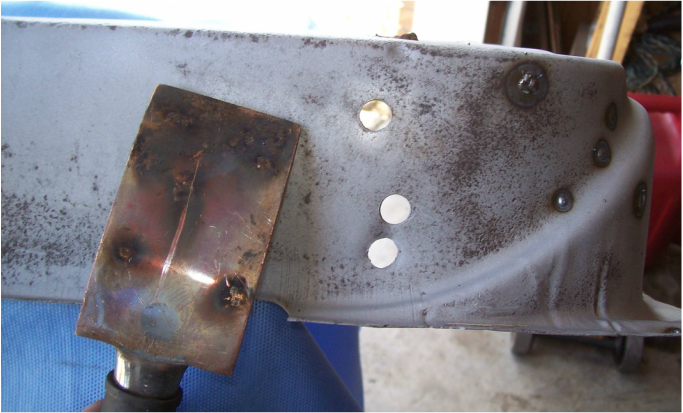
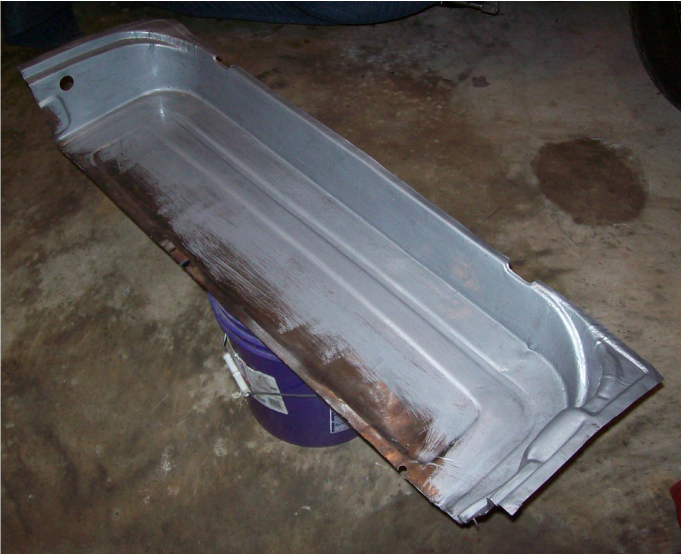
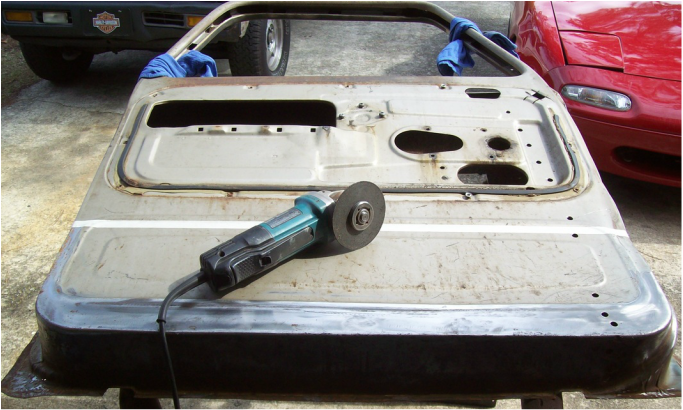
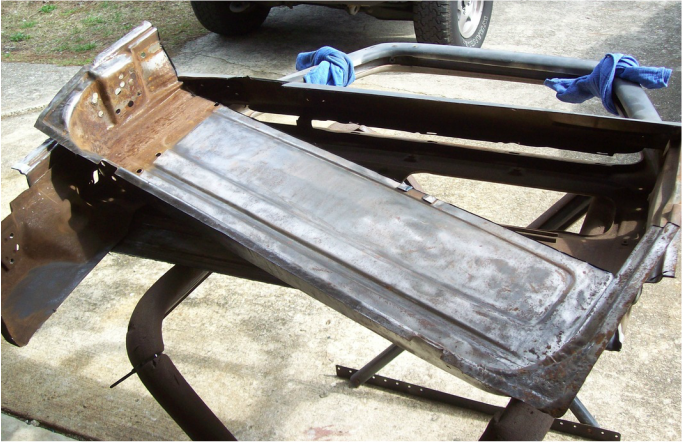
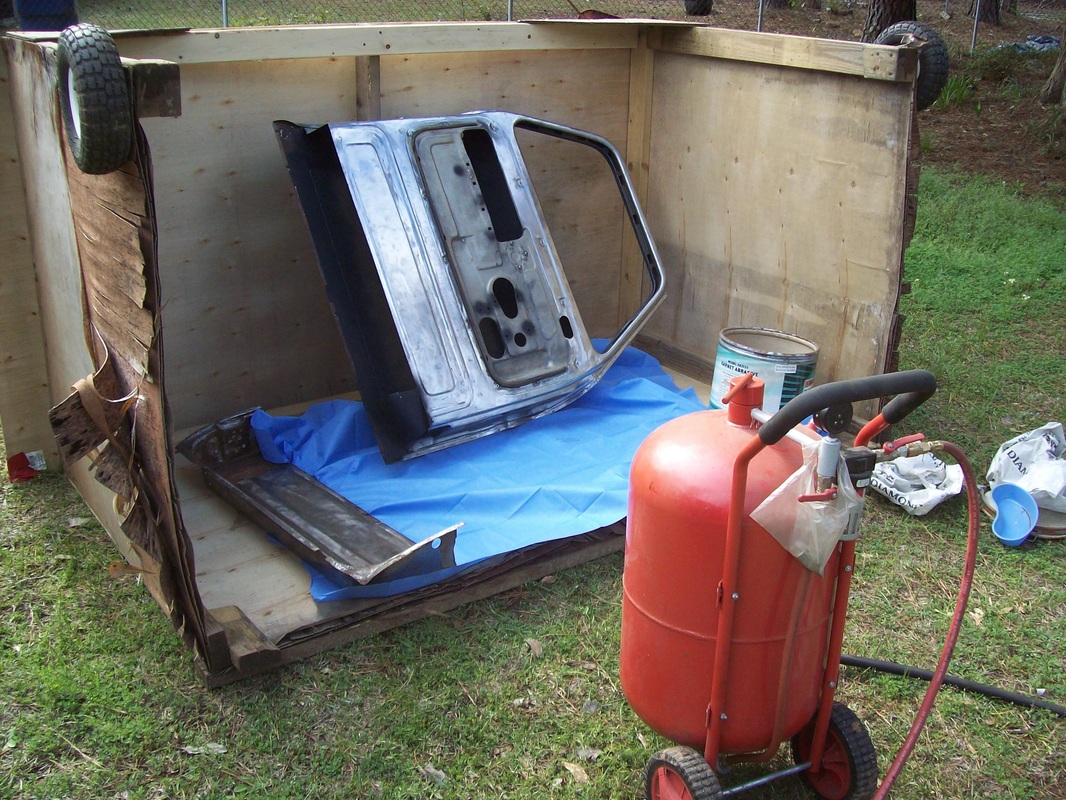
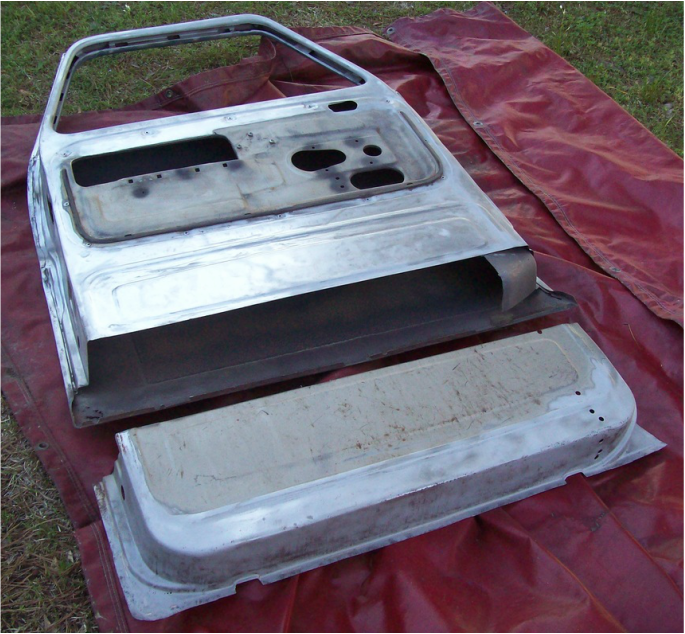
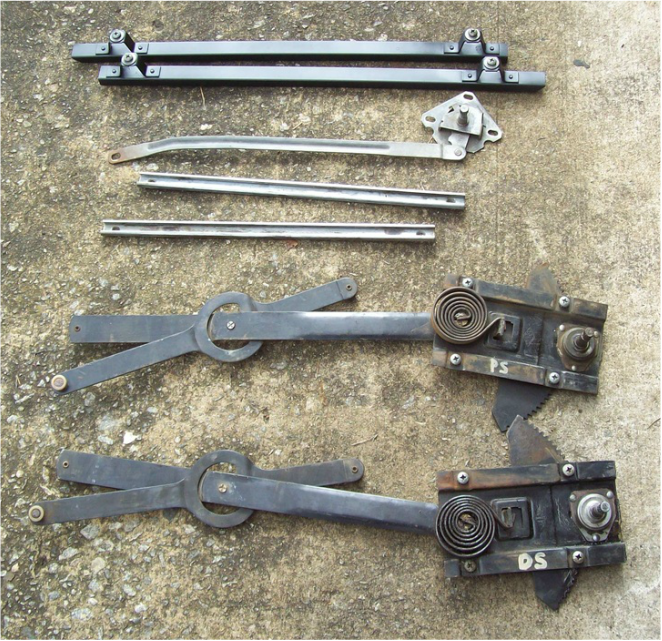
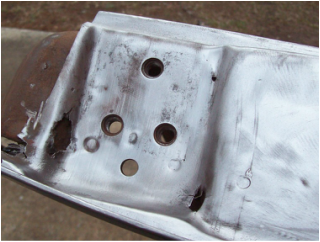
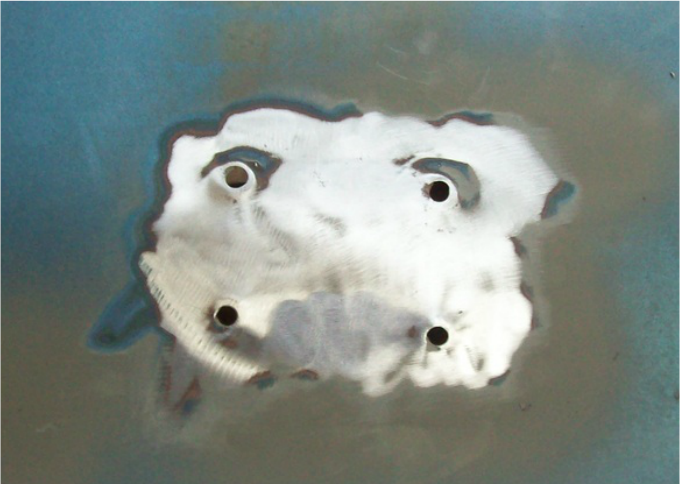
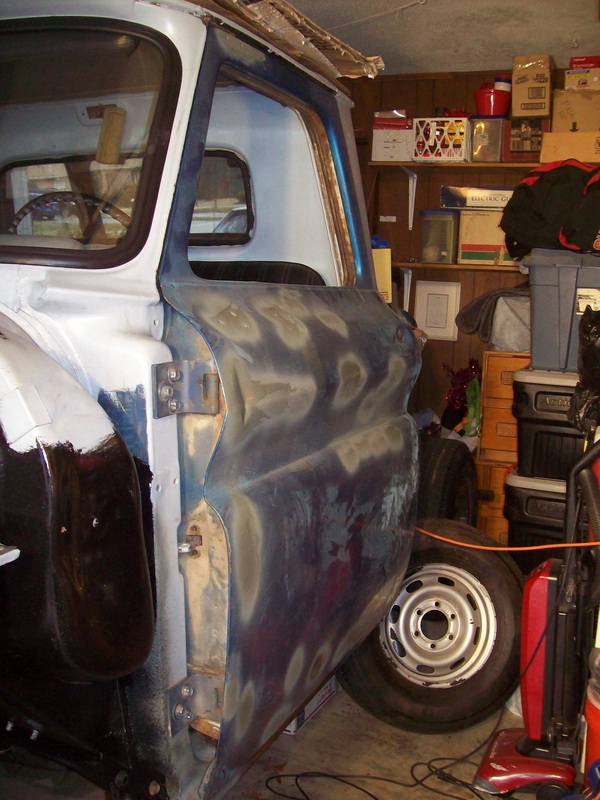
My DS door repair has been a week long project. I finally cut the patch after checking and rechecking the measurments. It was a good fit. The preparation paid off with a good result. I also used my stud gun to pull some dents on the DS door. Some filler will finish the job.
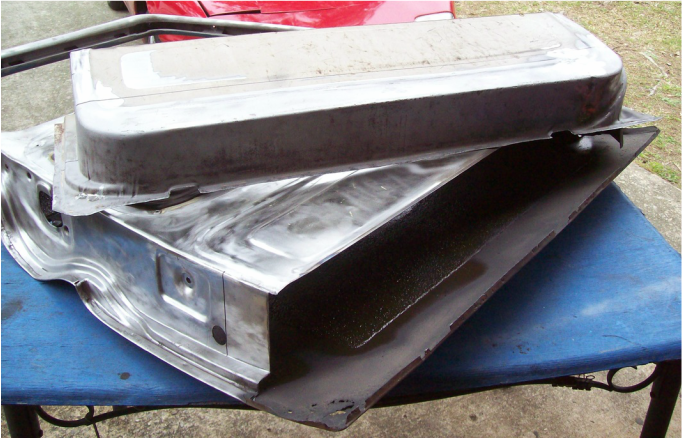
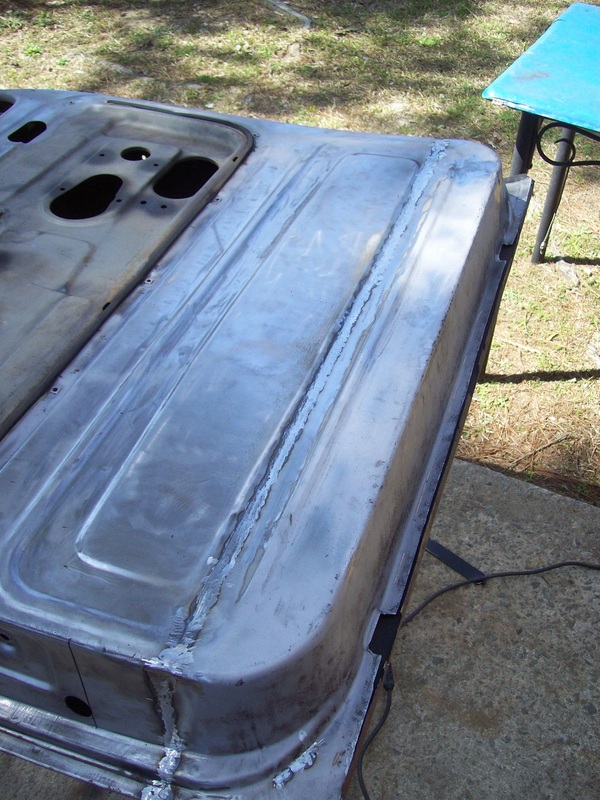
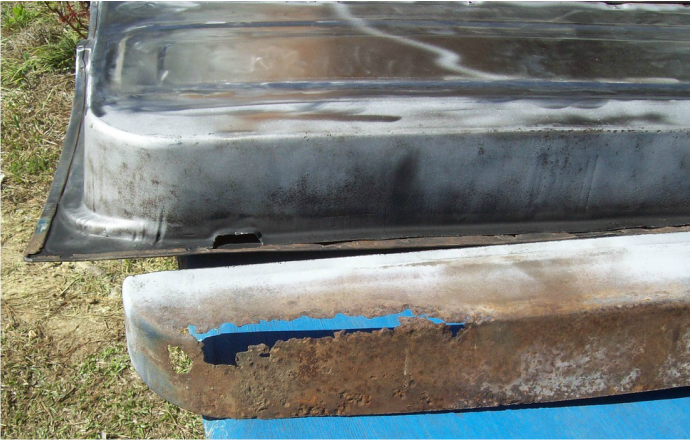
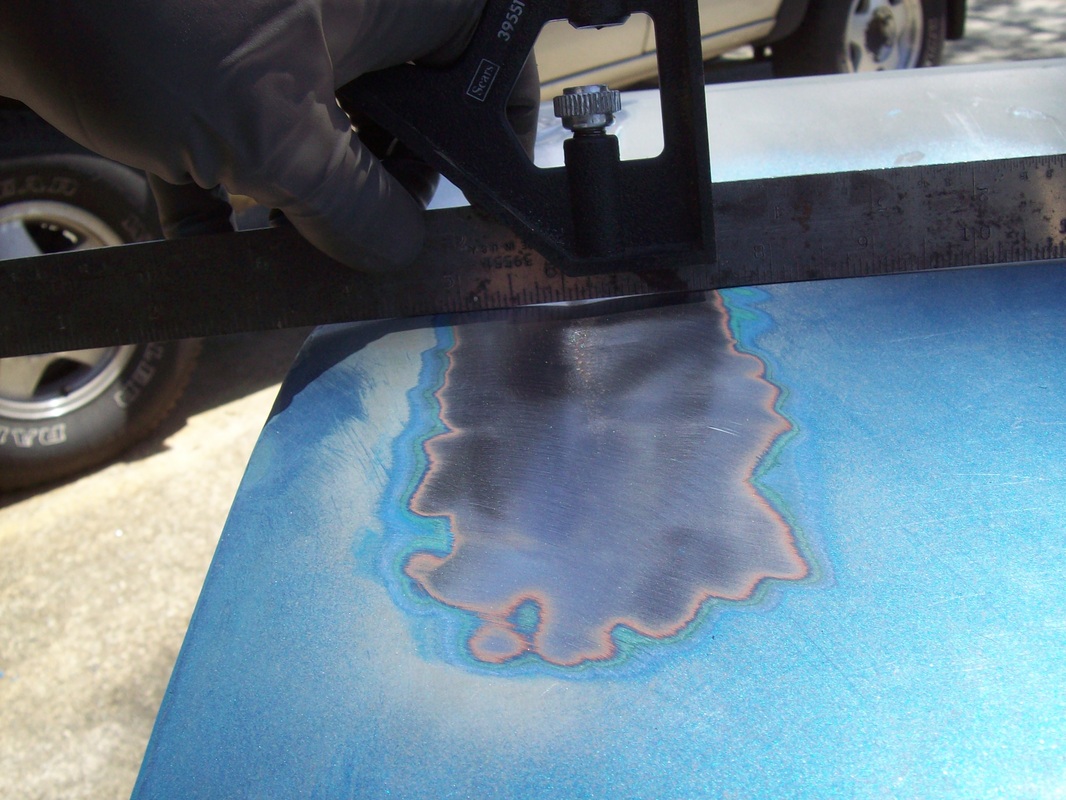
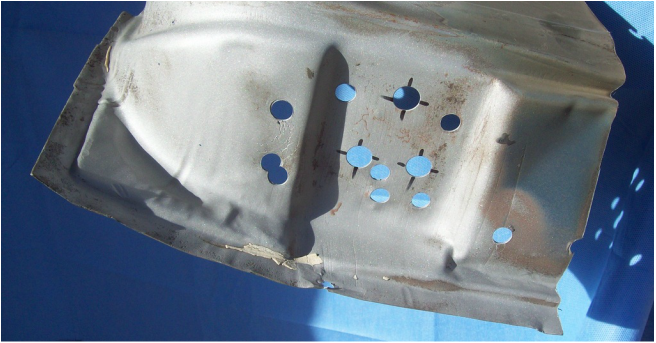
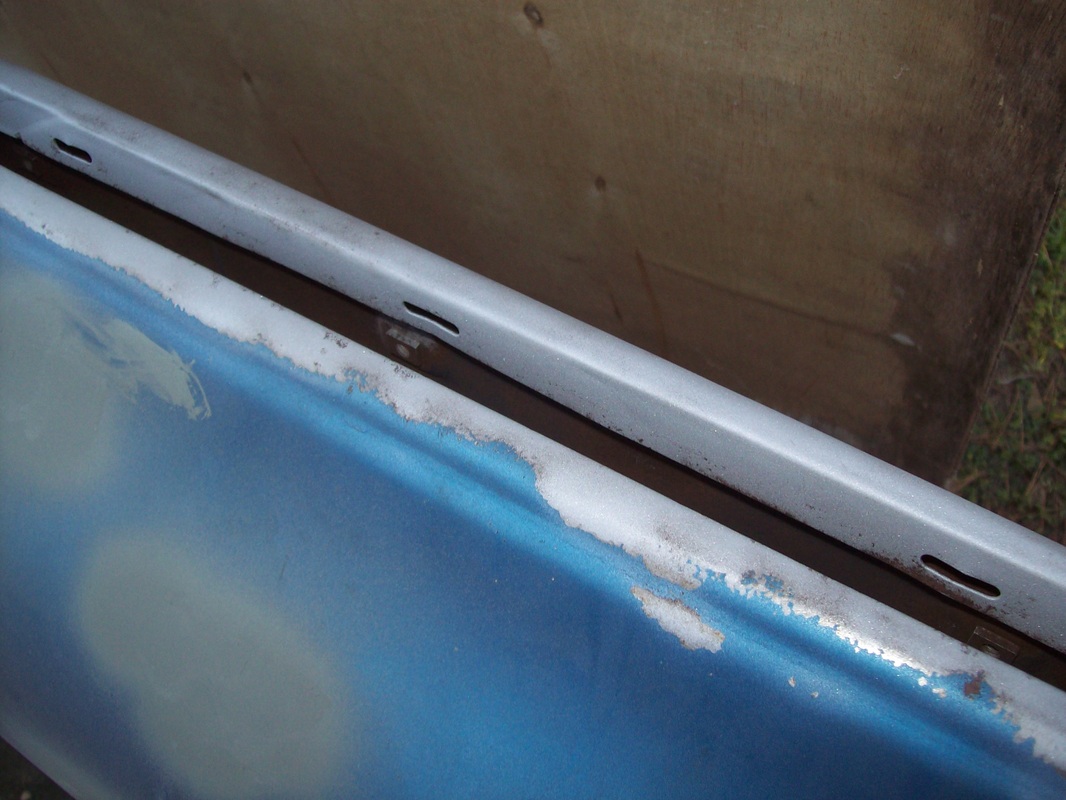
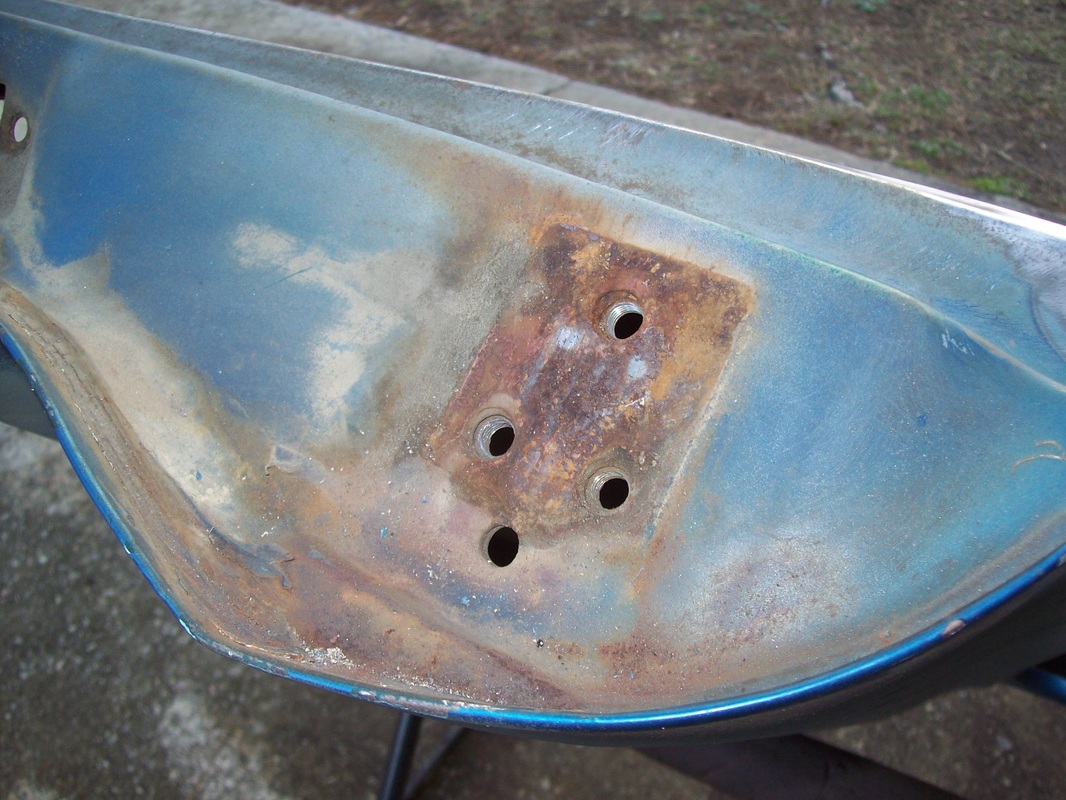
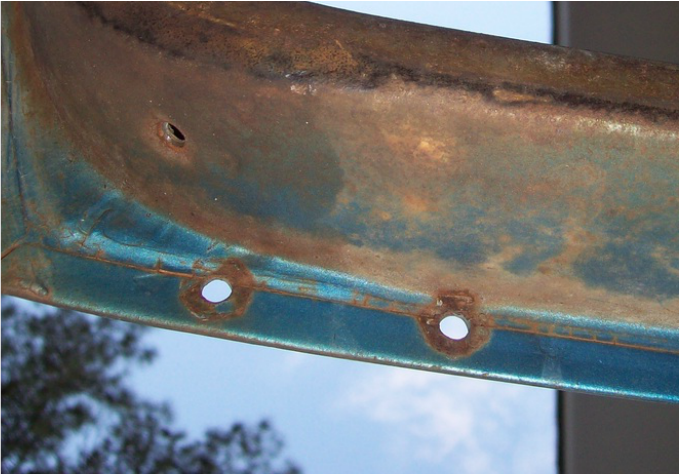
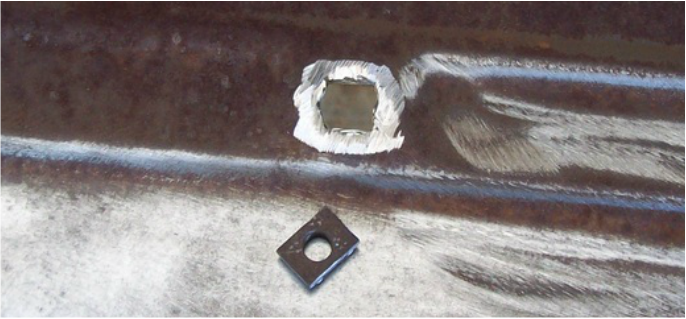
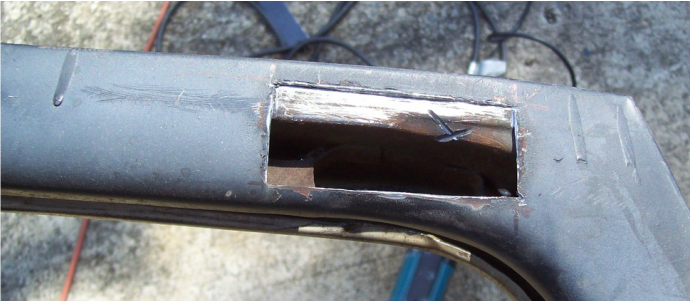
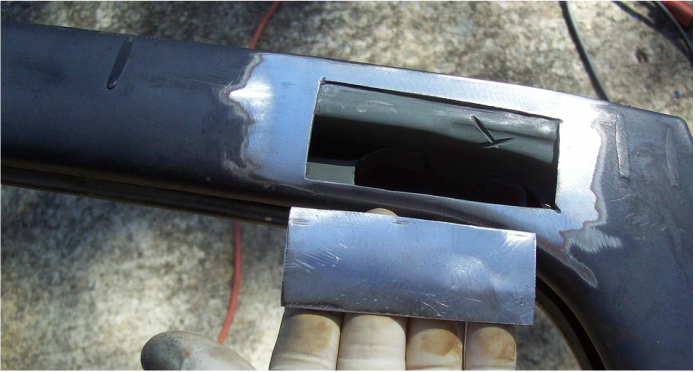
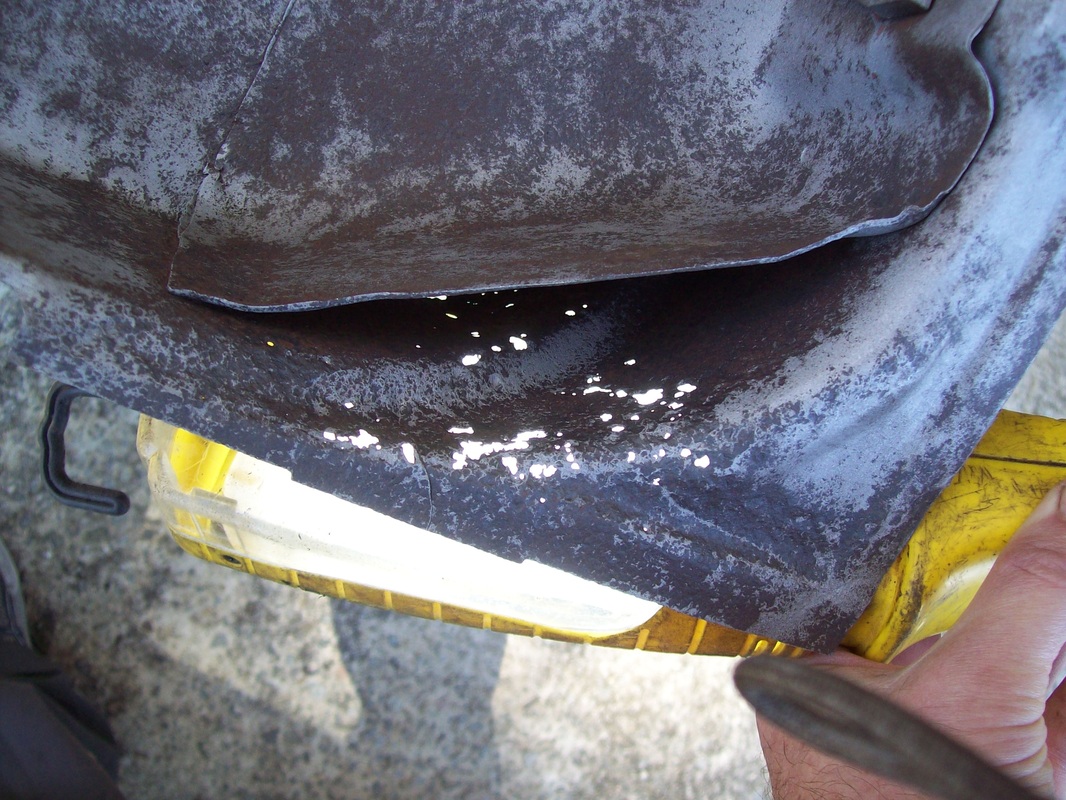
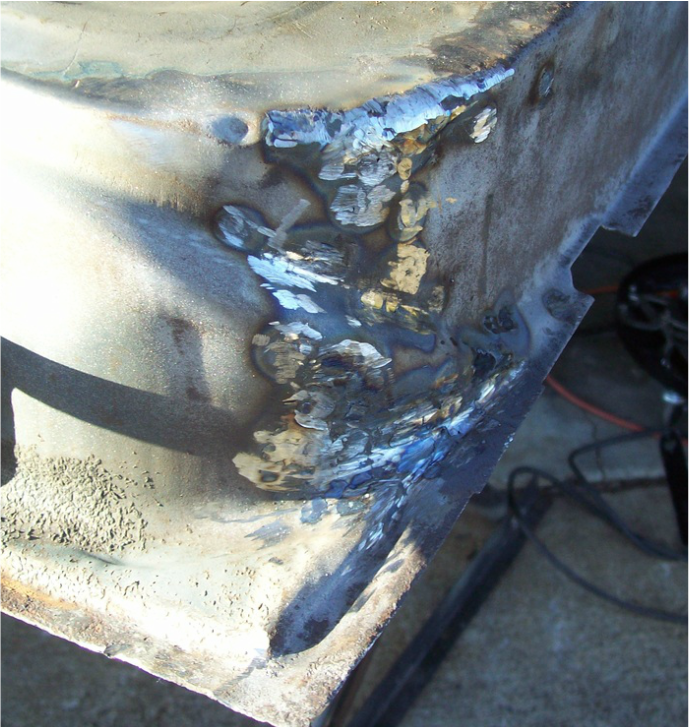
Before
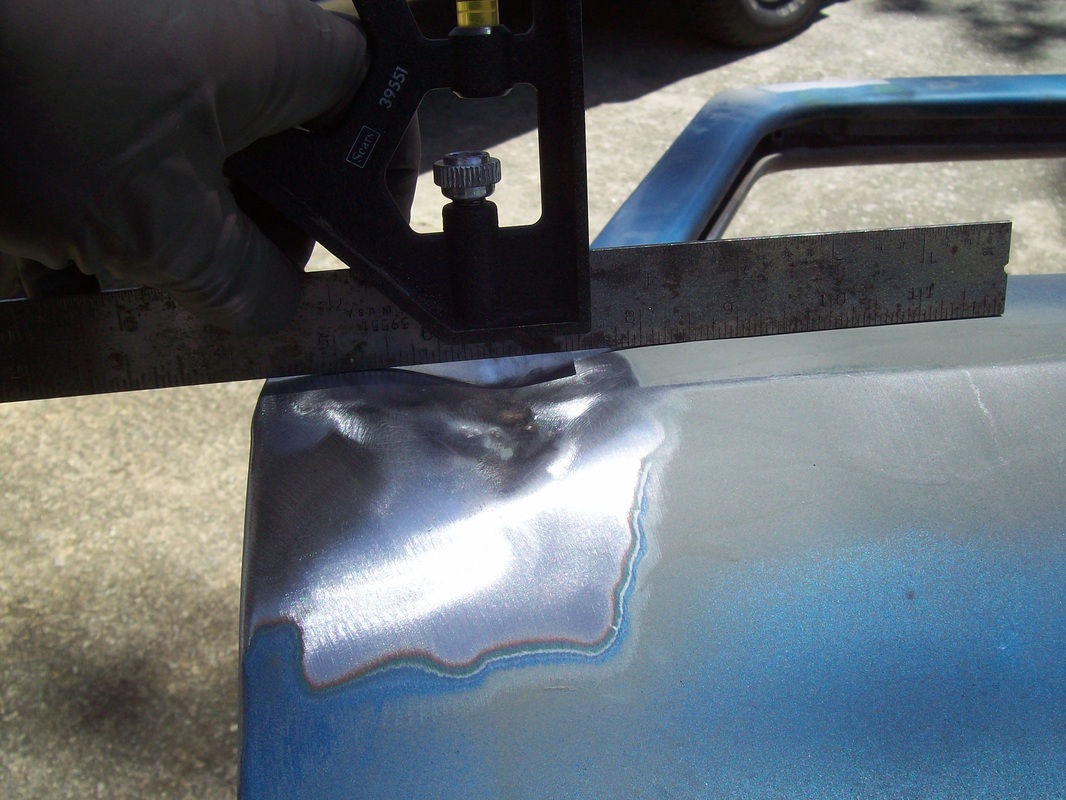
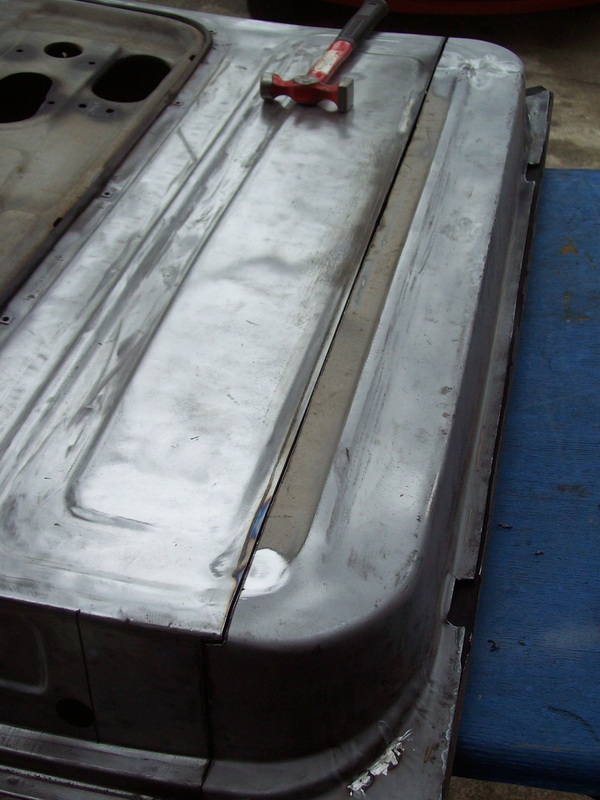
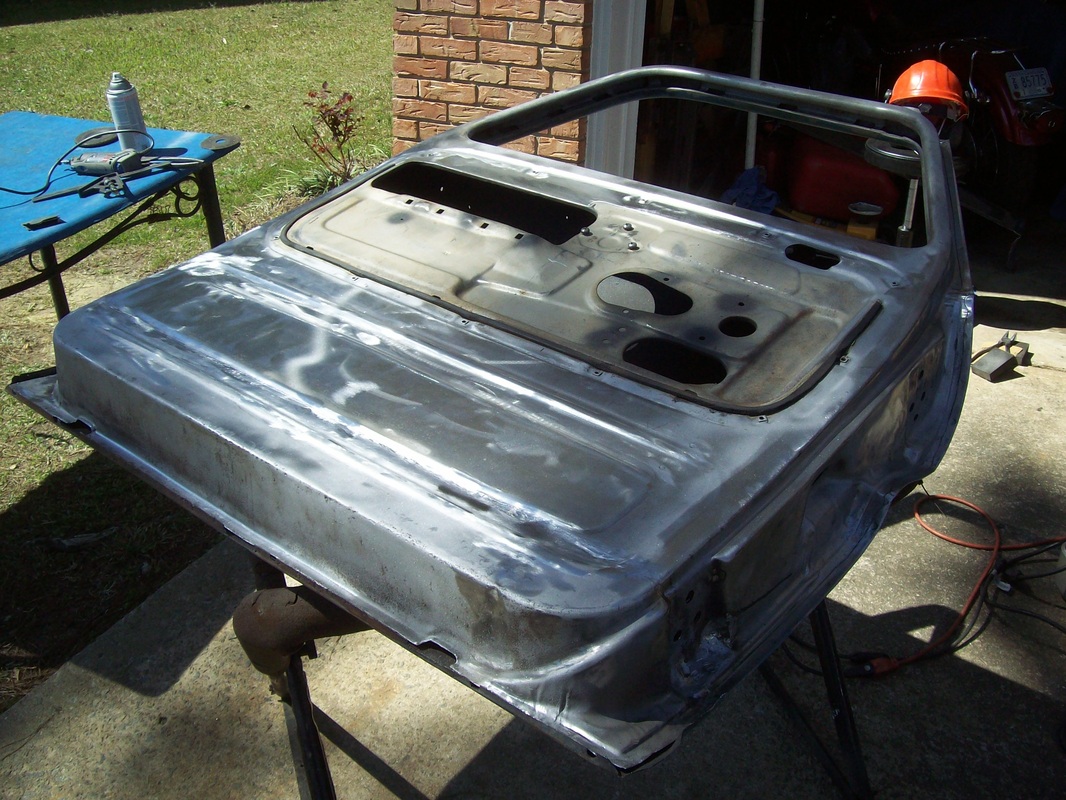
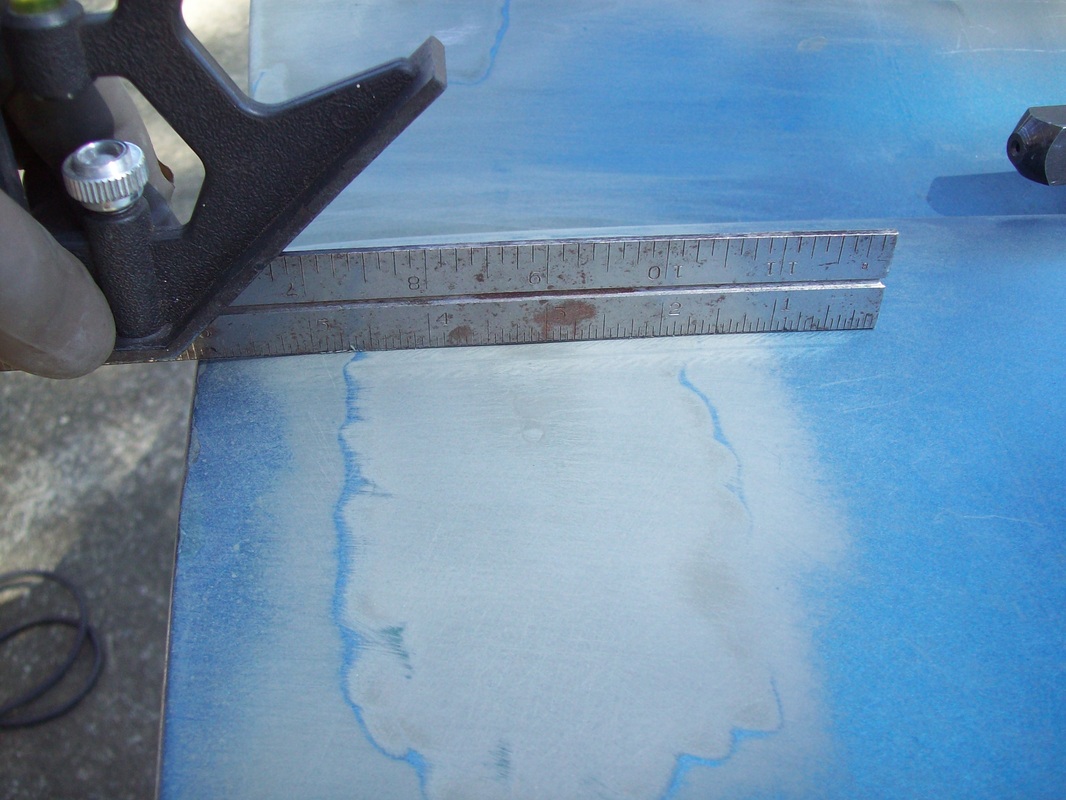
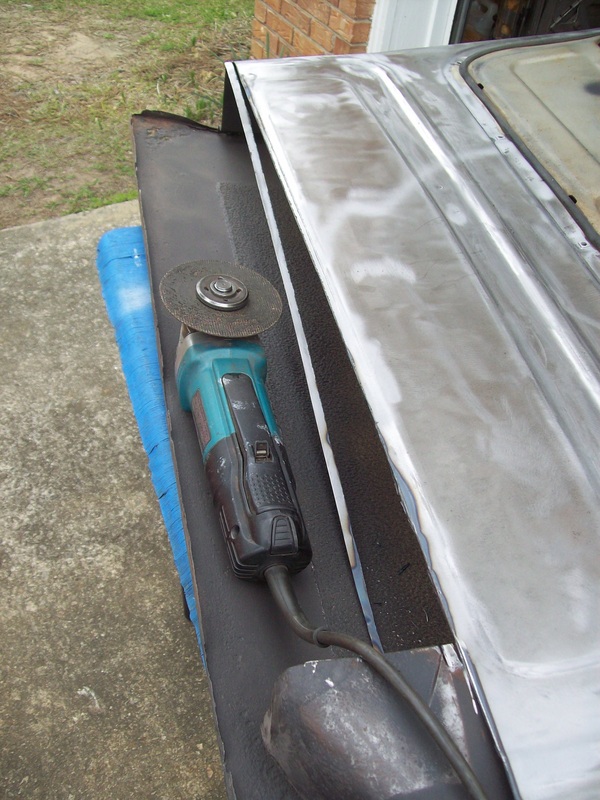
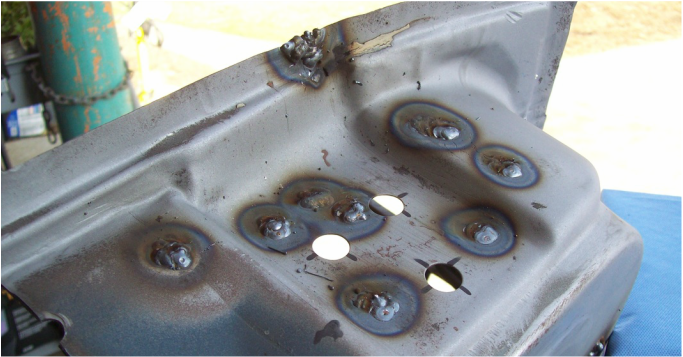
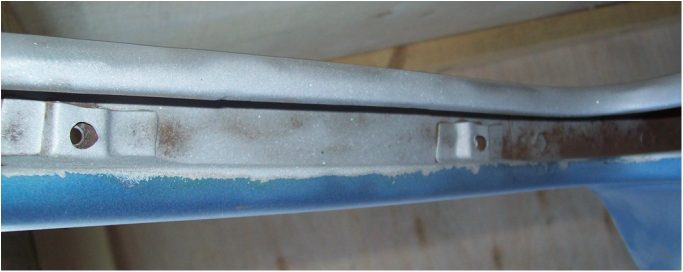
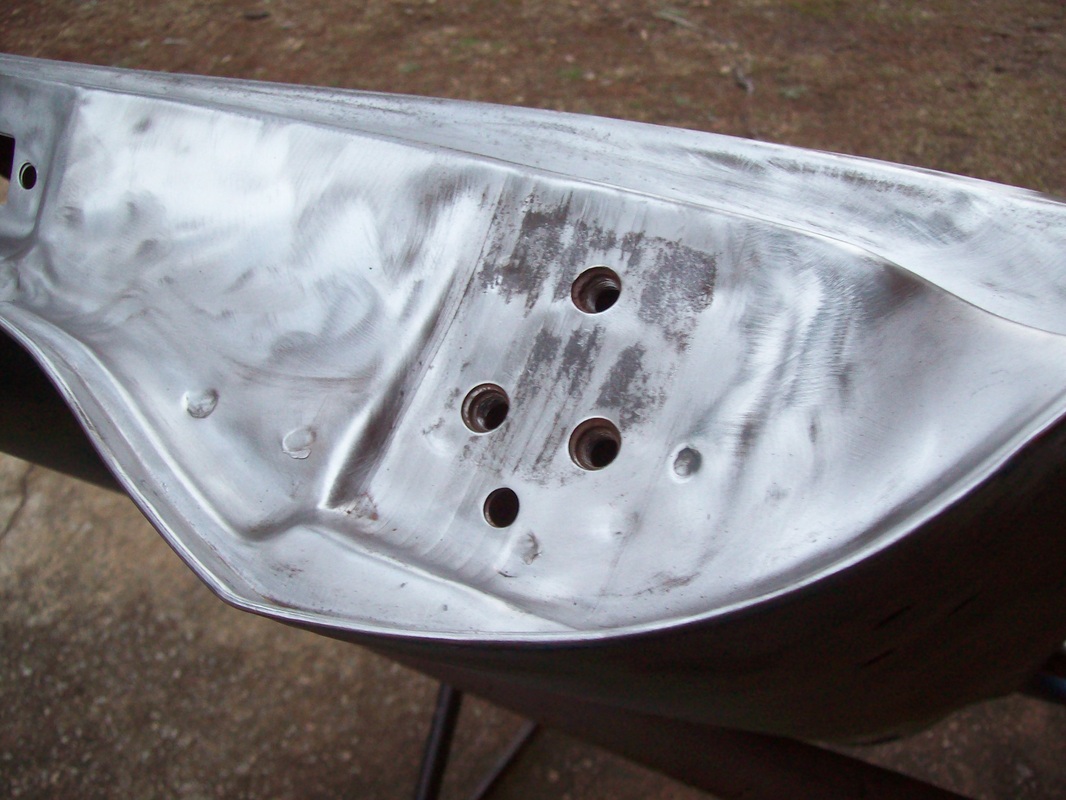
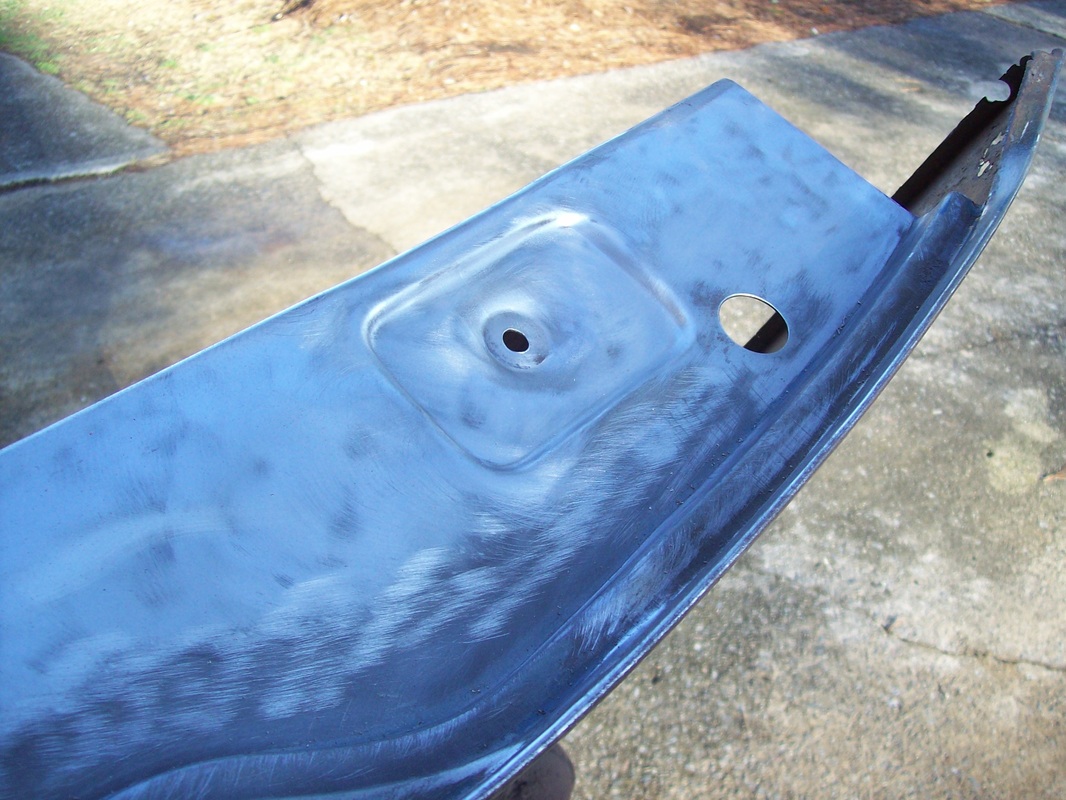
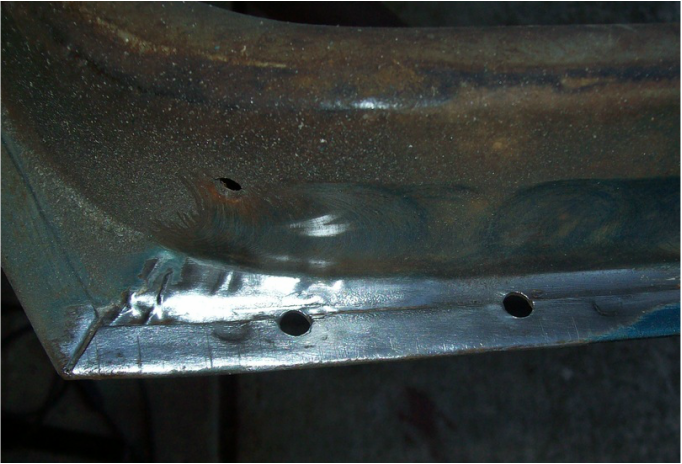
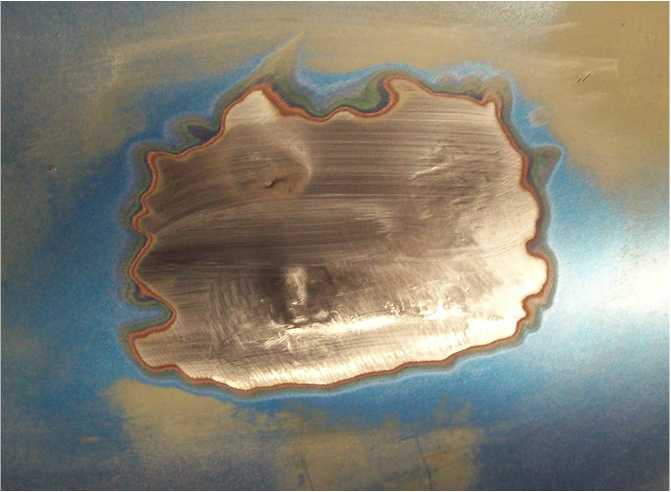
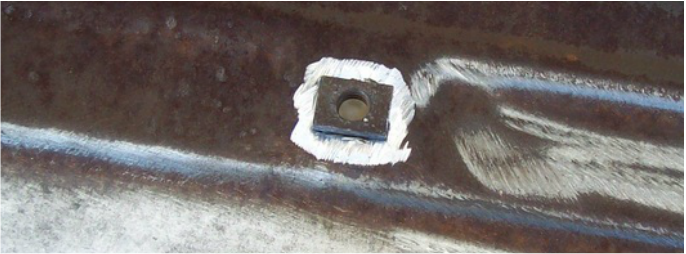
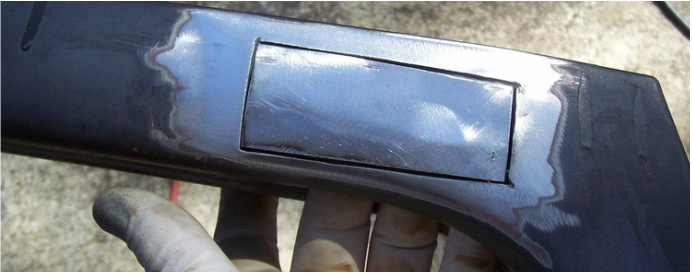
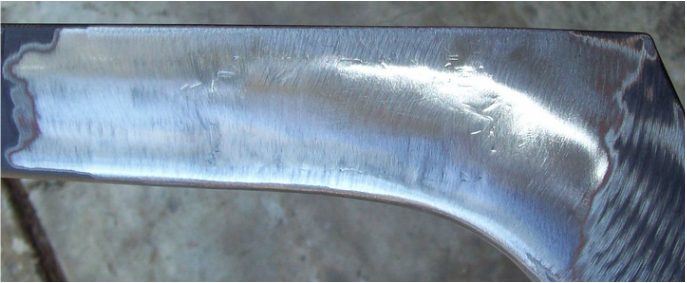
After
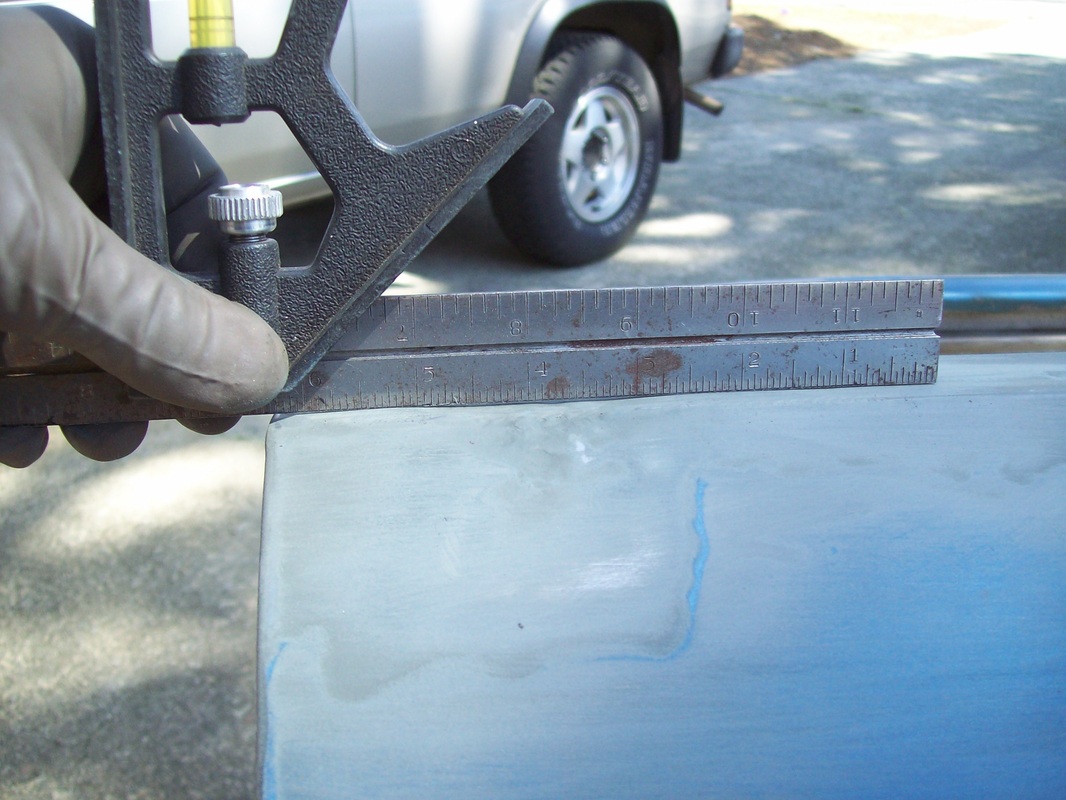
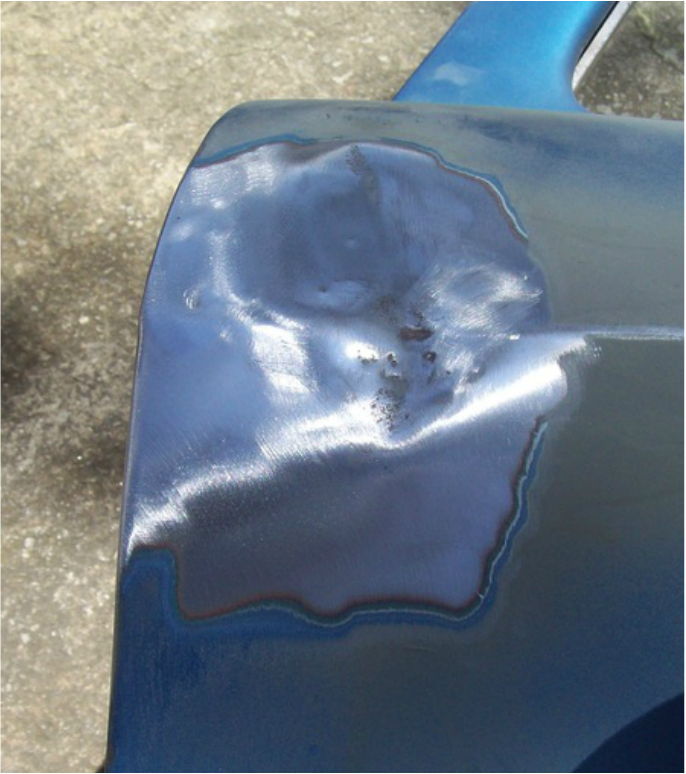
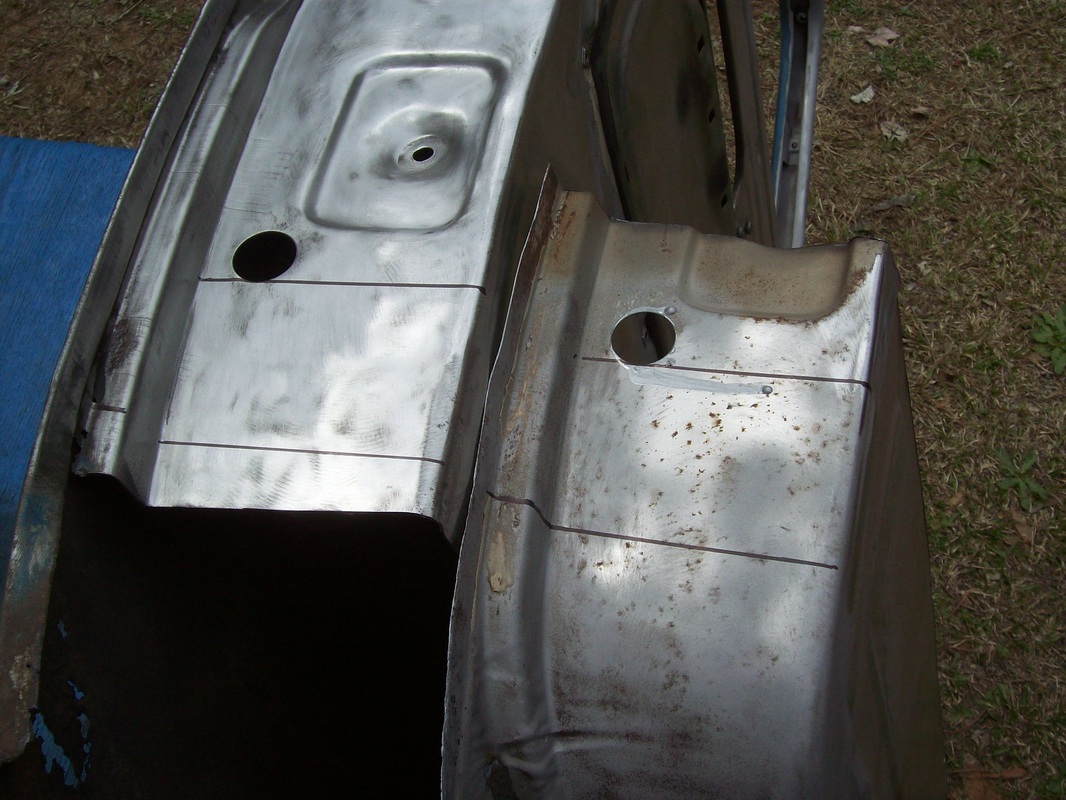
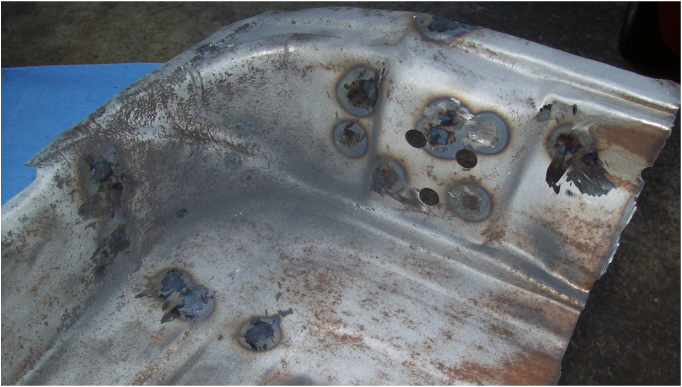
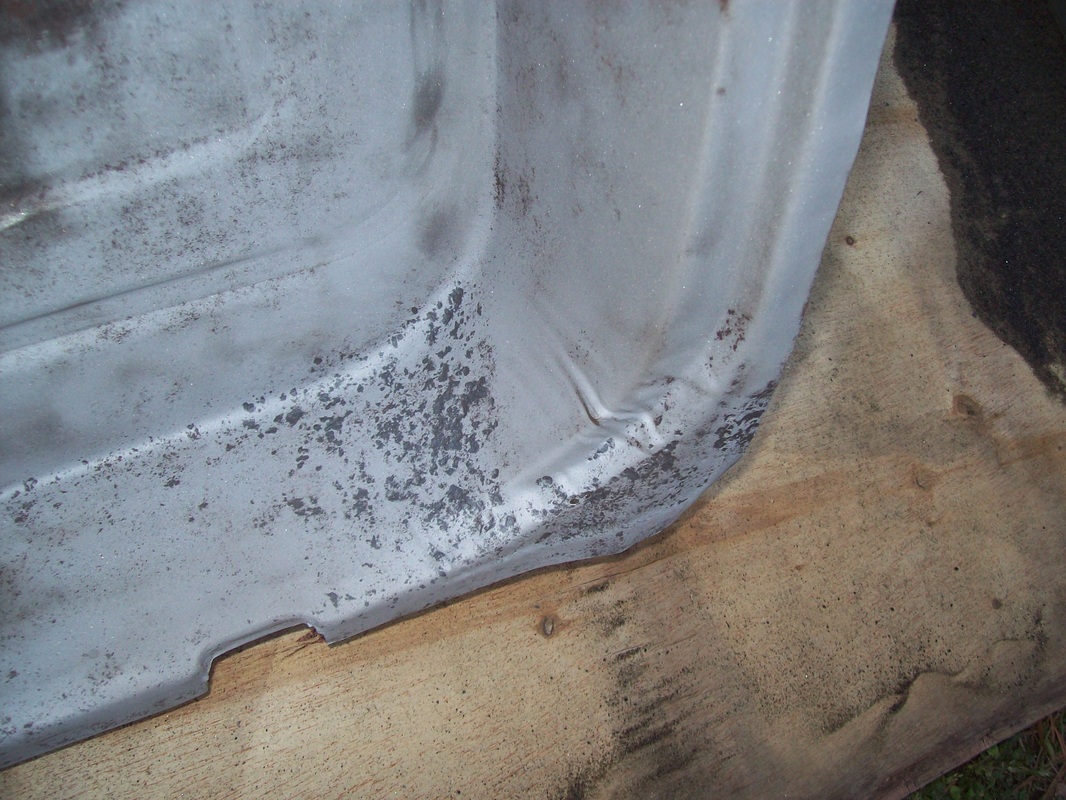
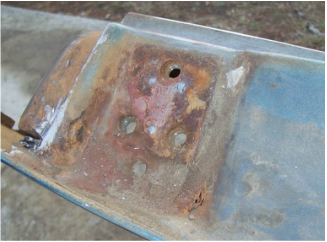
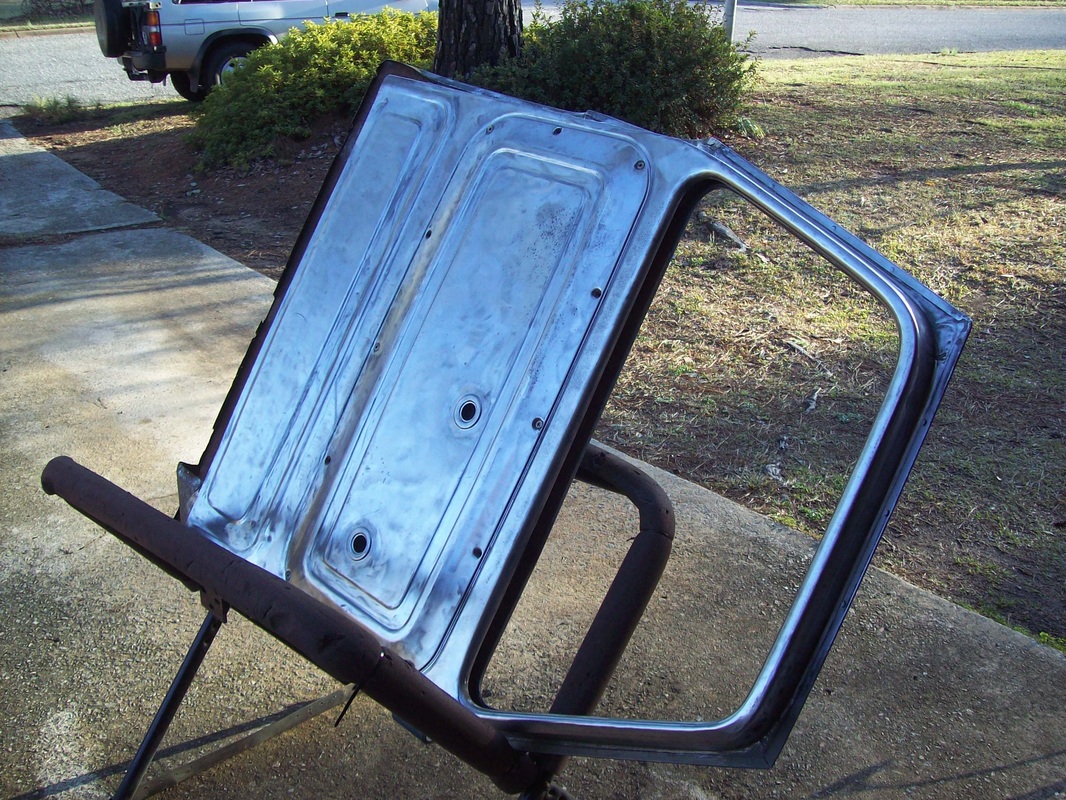
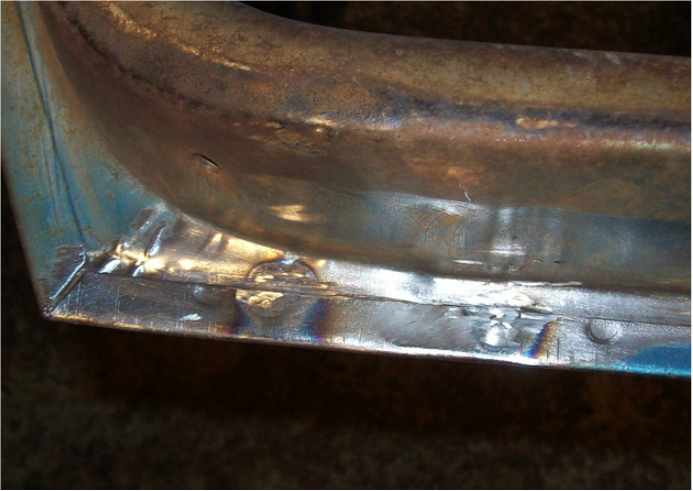
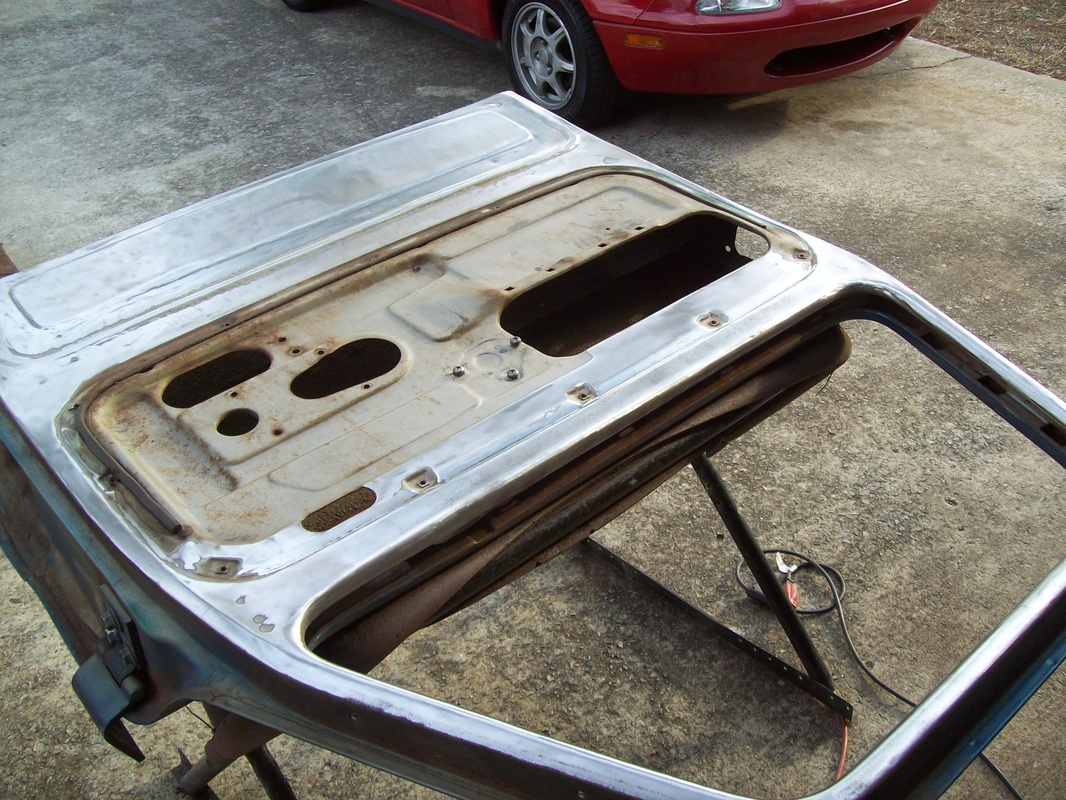
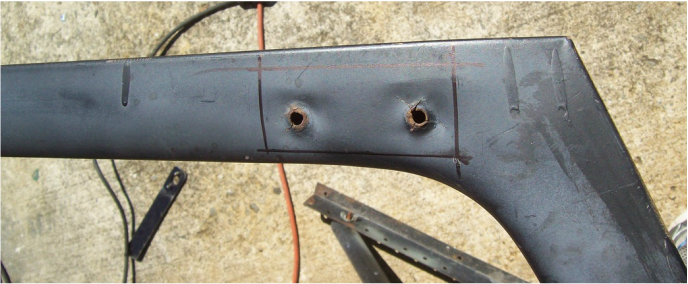
Before
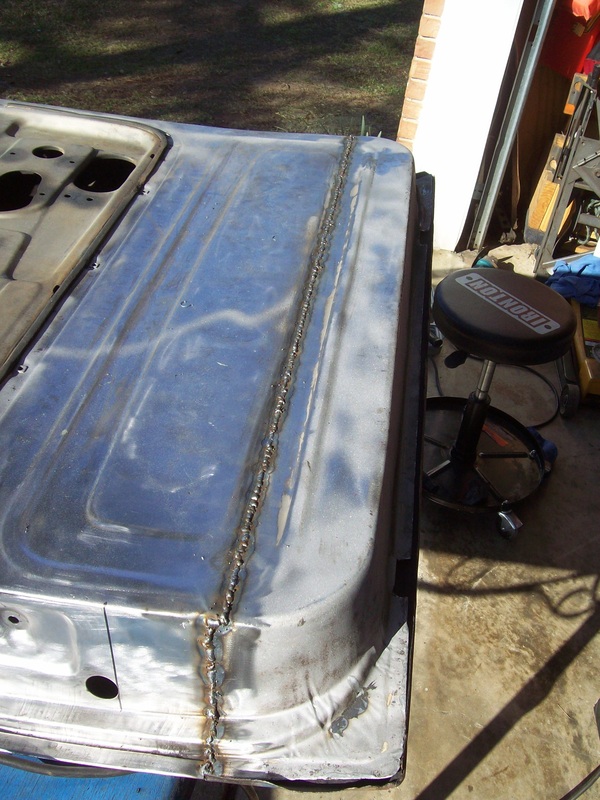
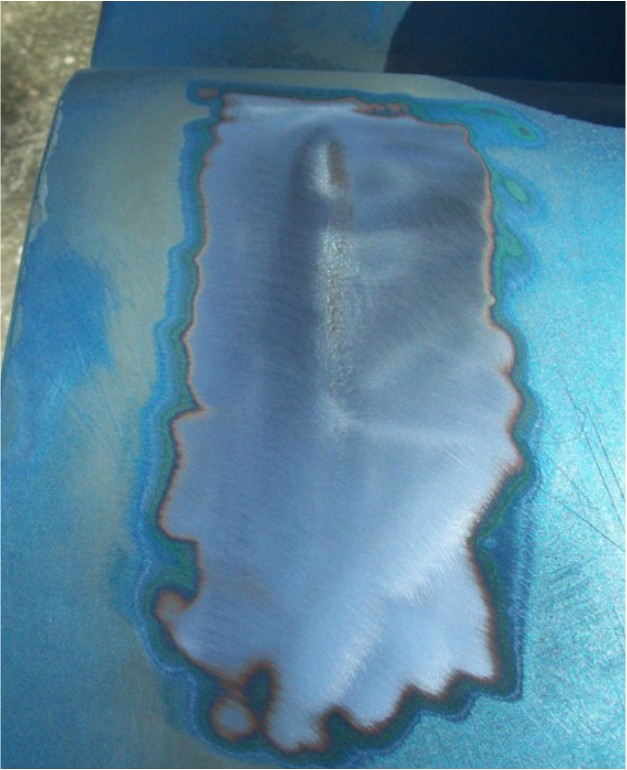
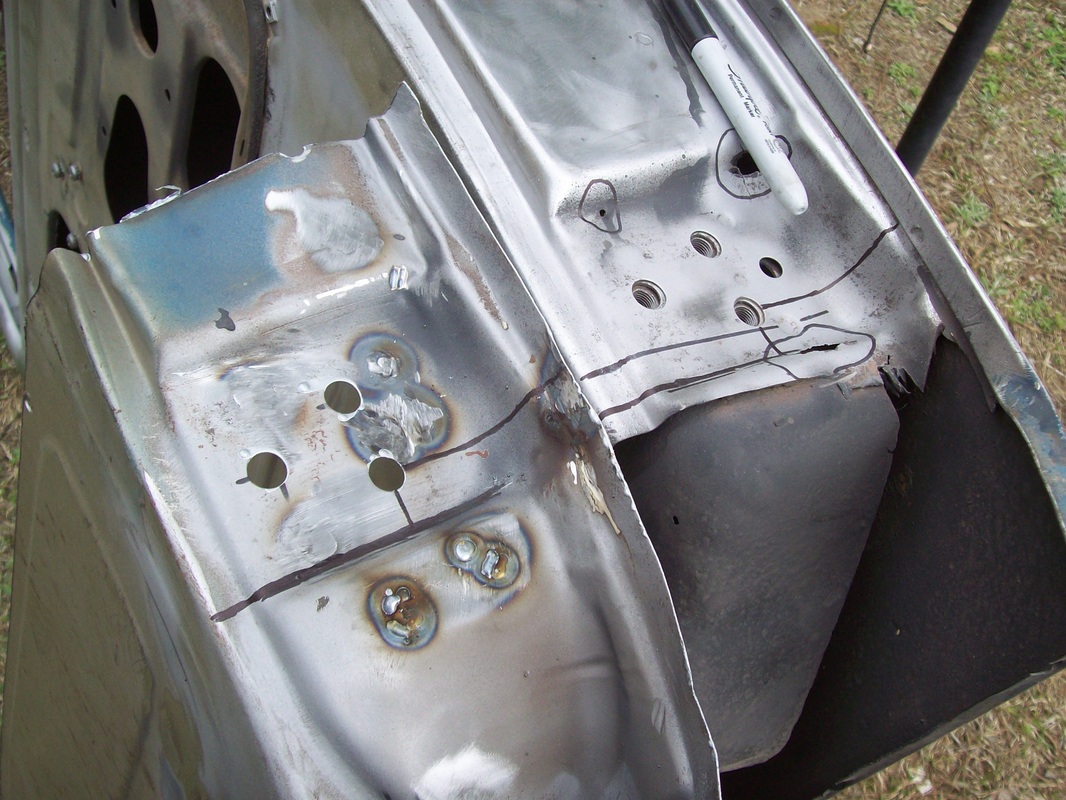
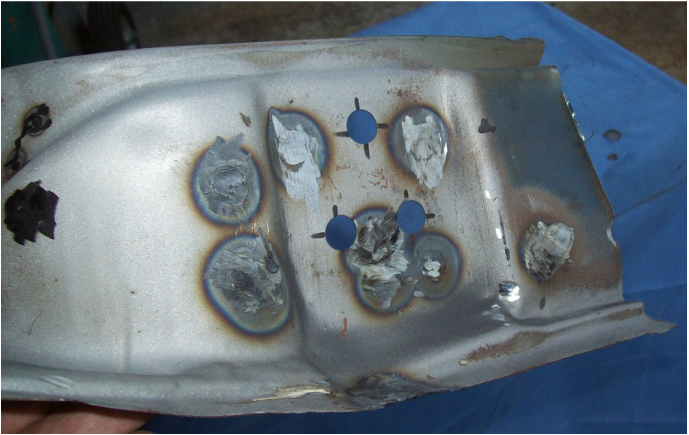
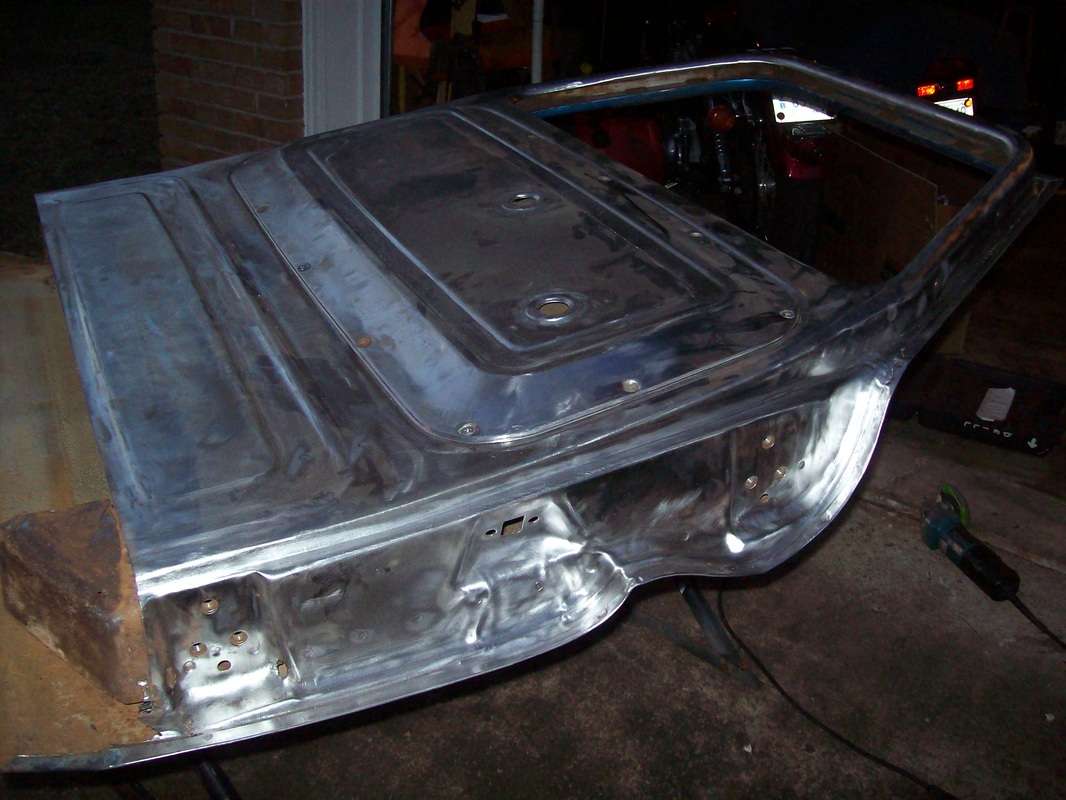
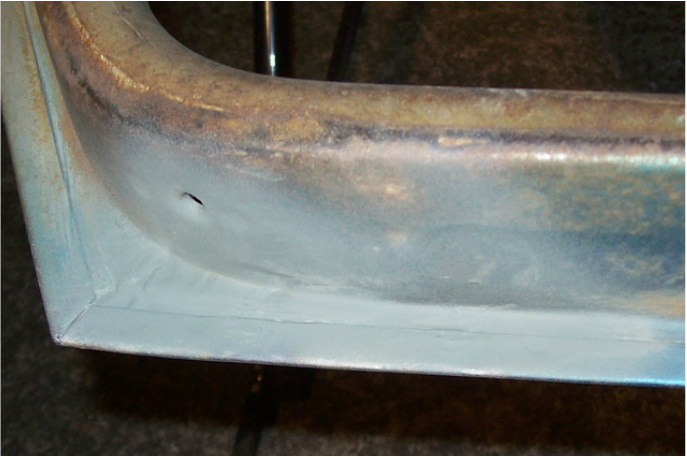
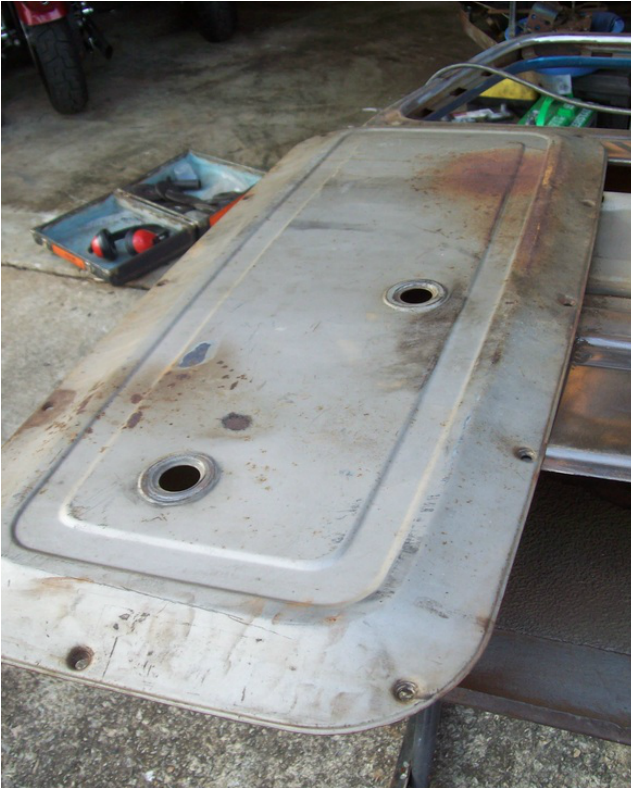
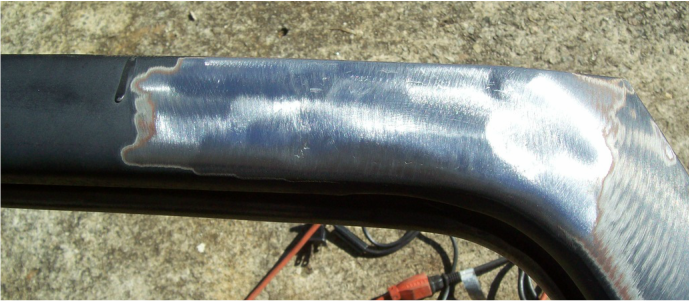
After


 RSS Feed

