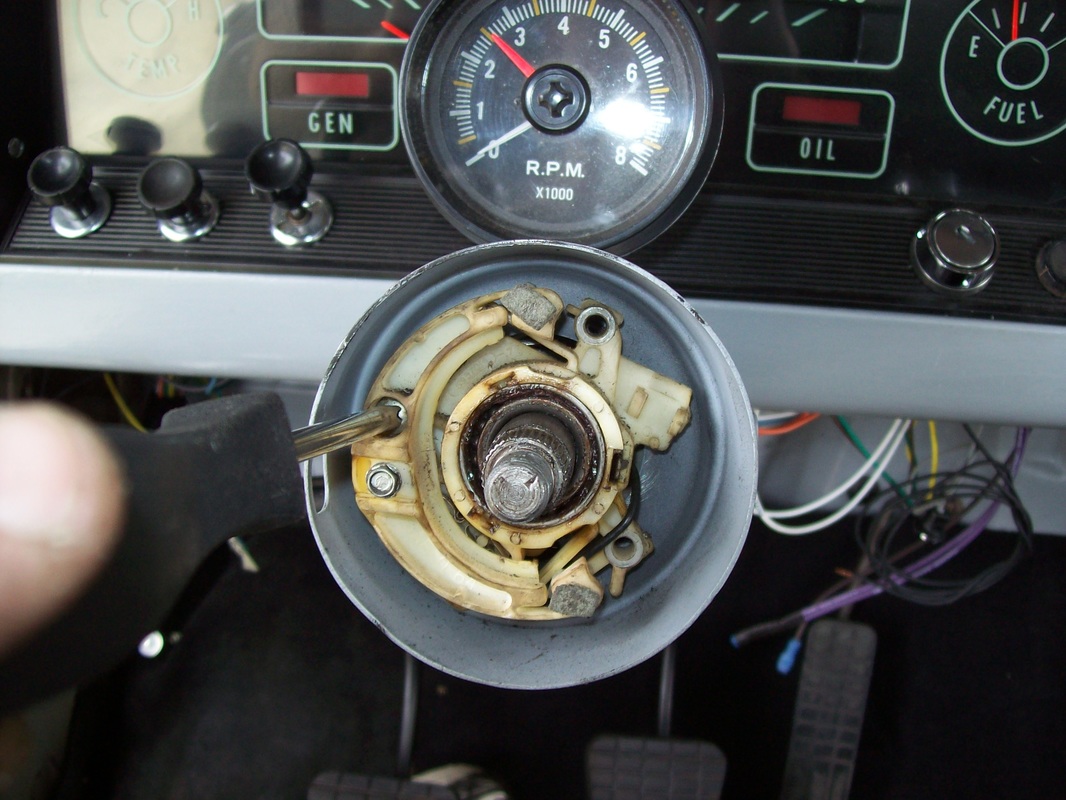
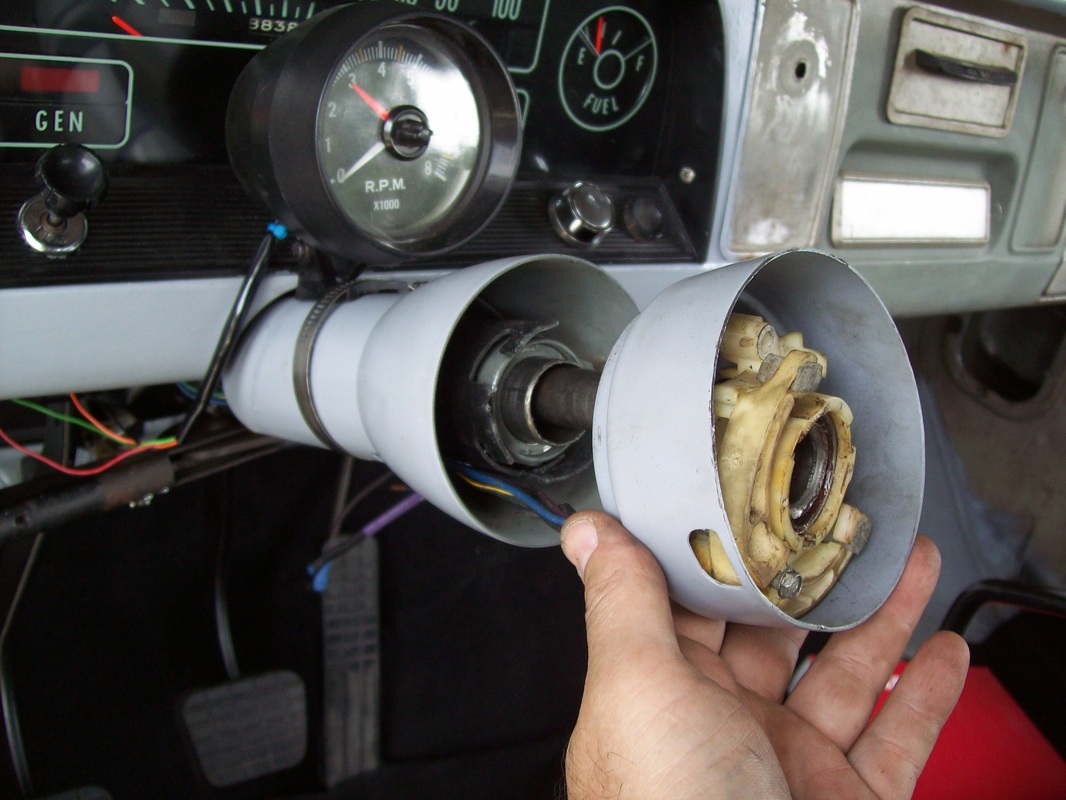
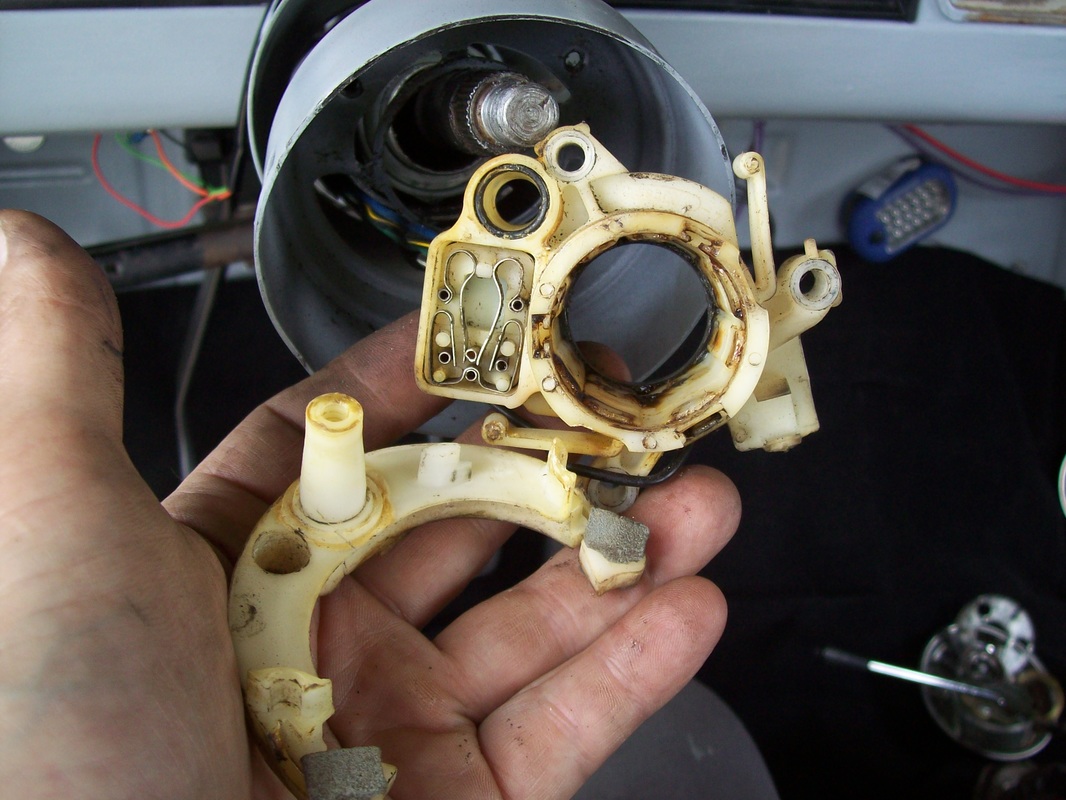
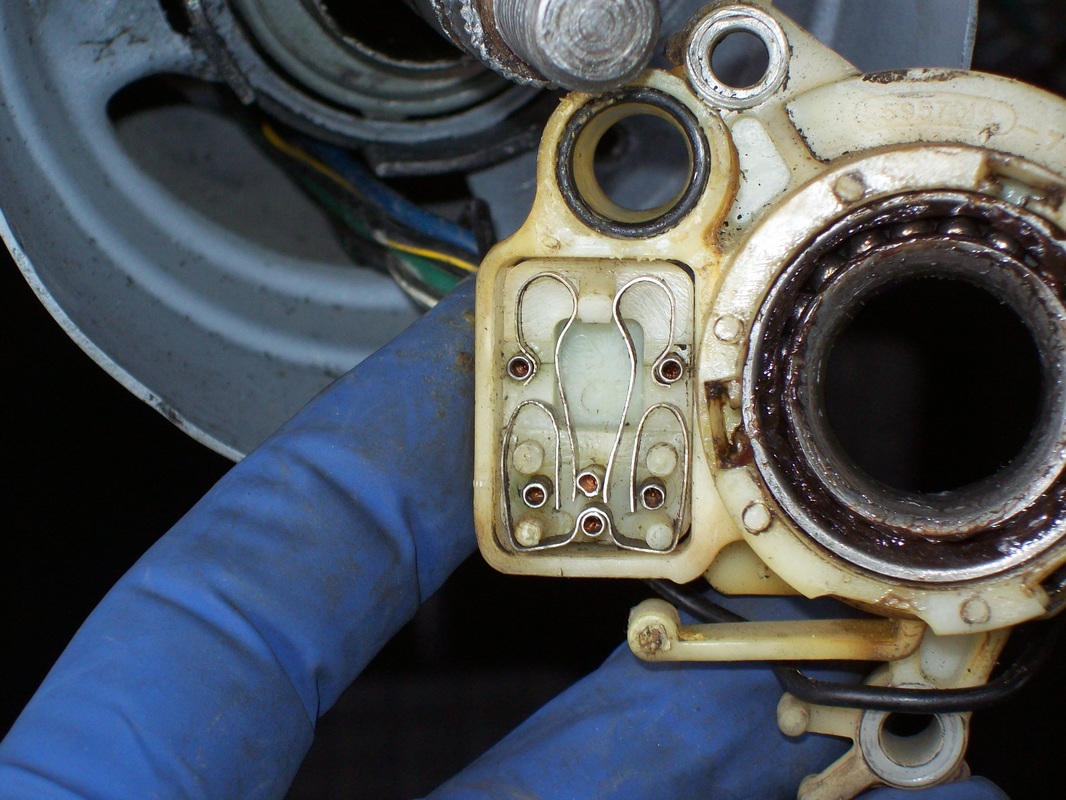
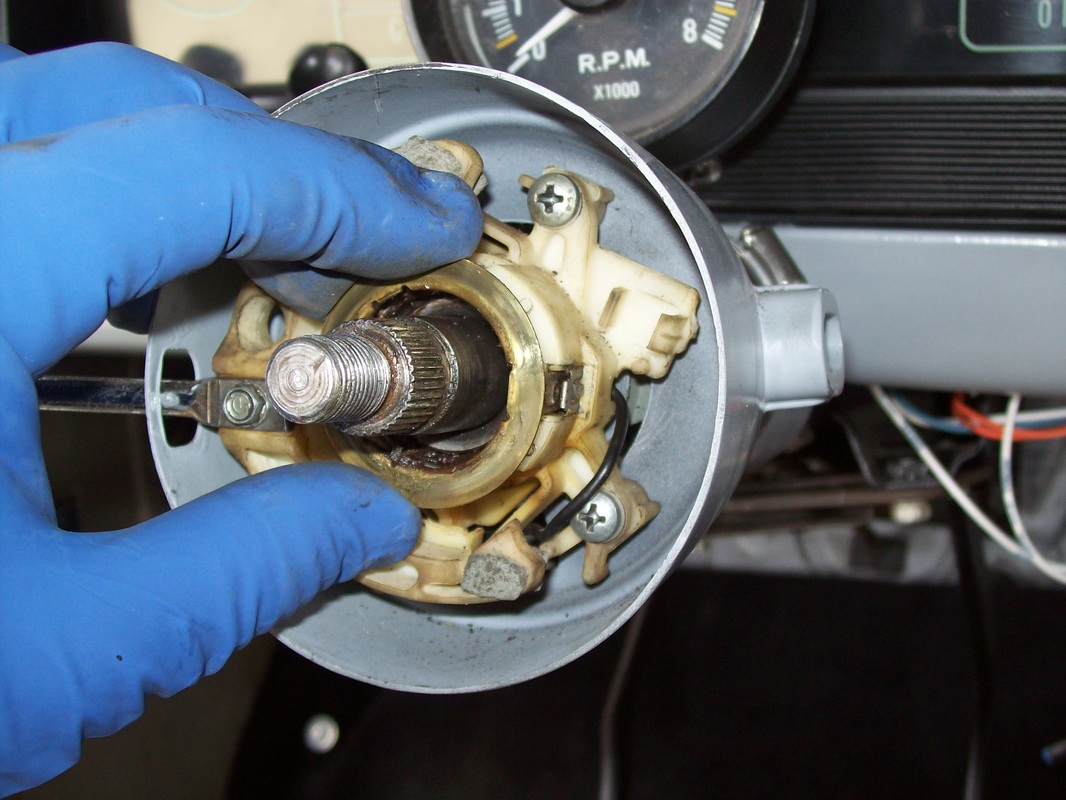
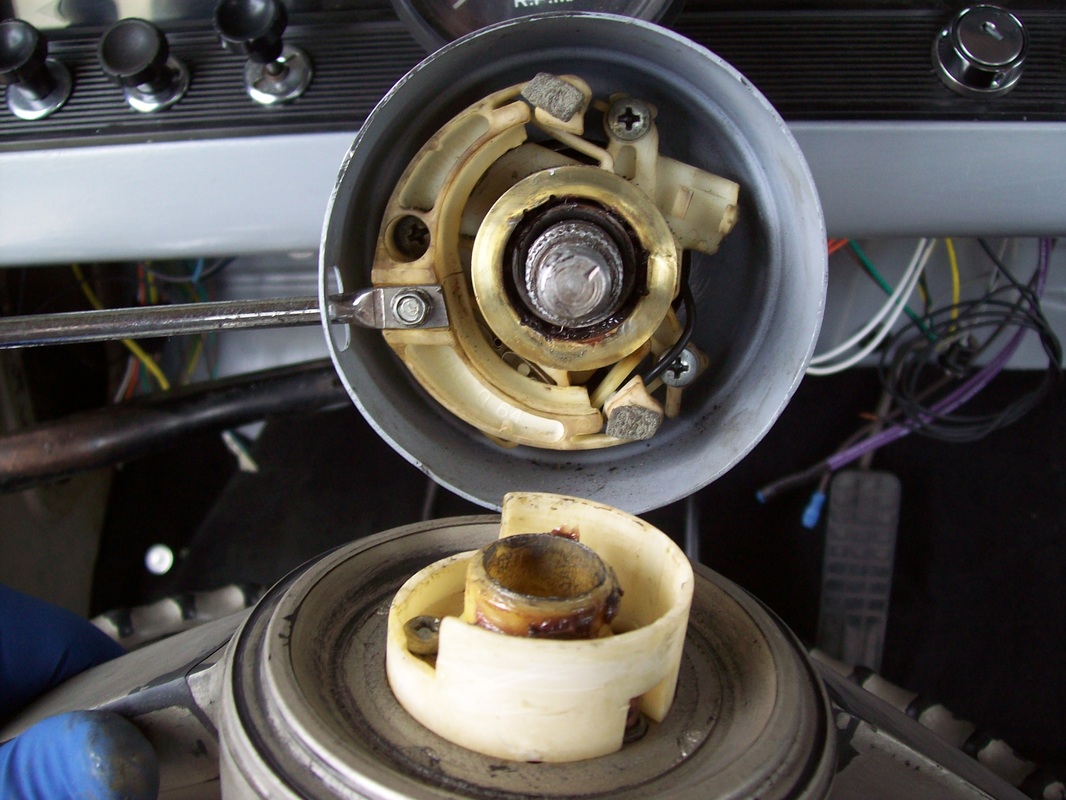
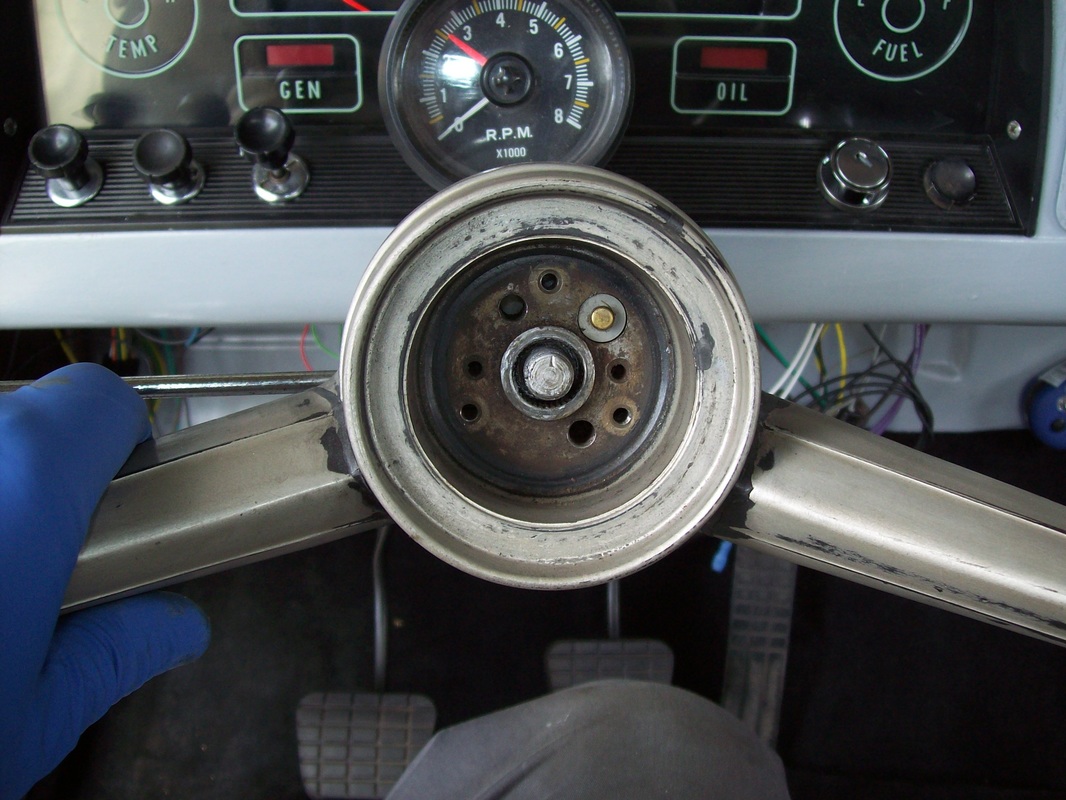
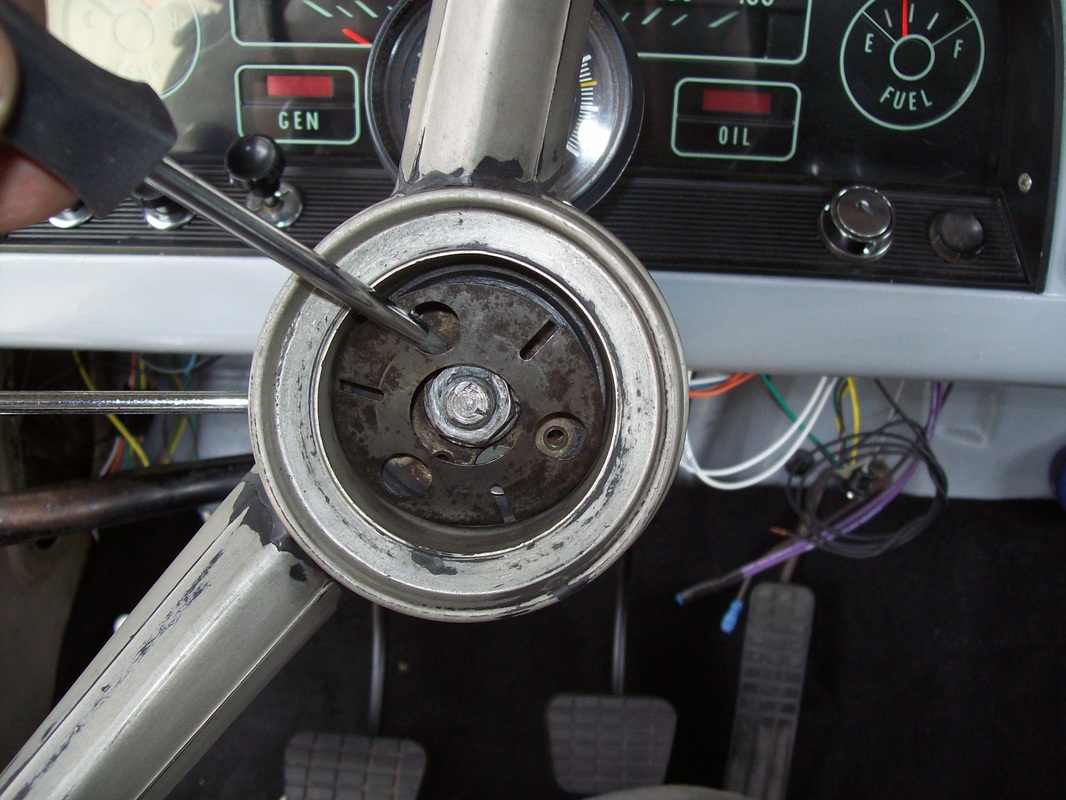
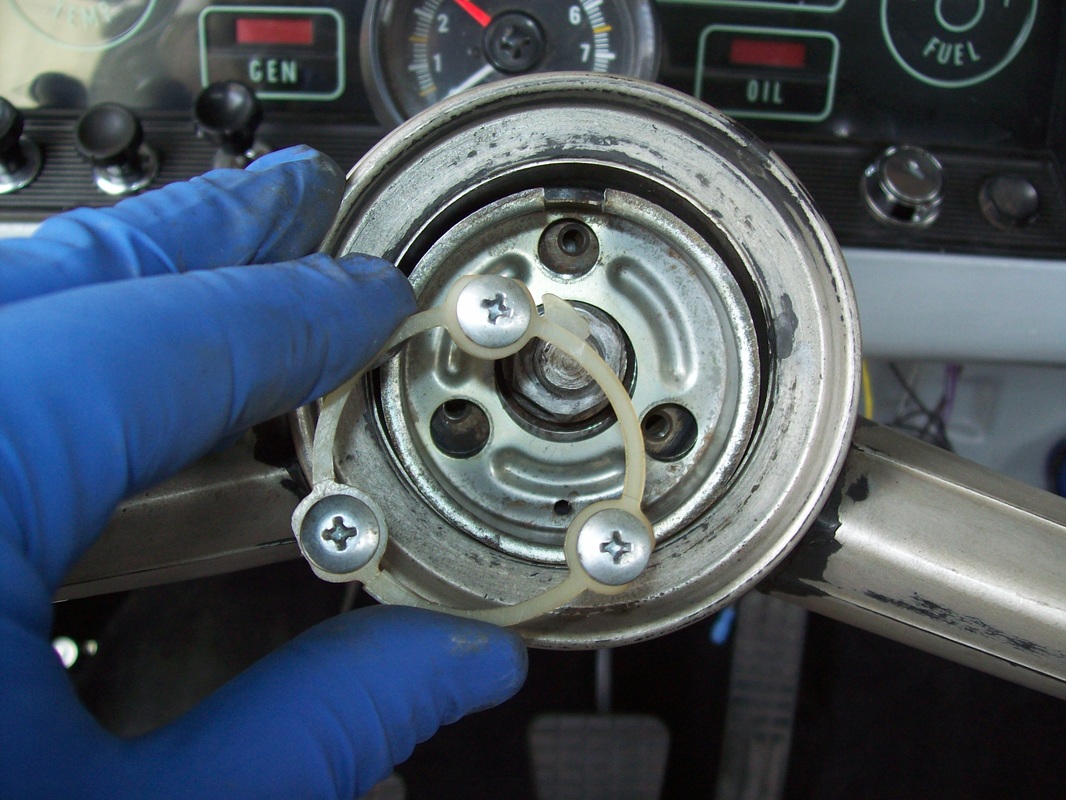
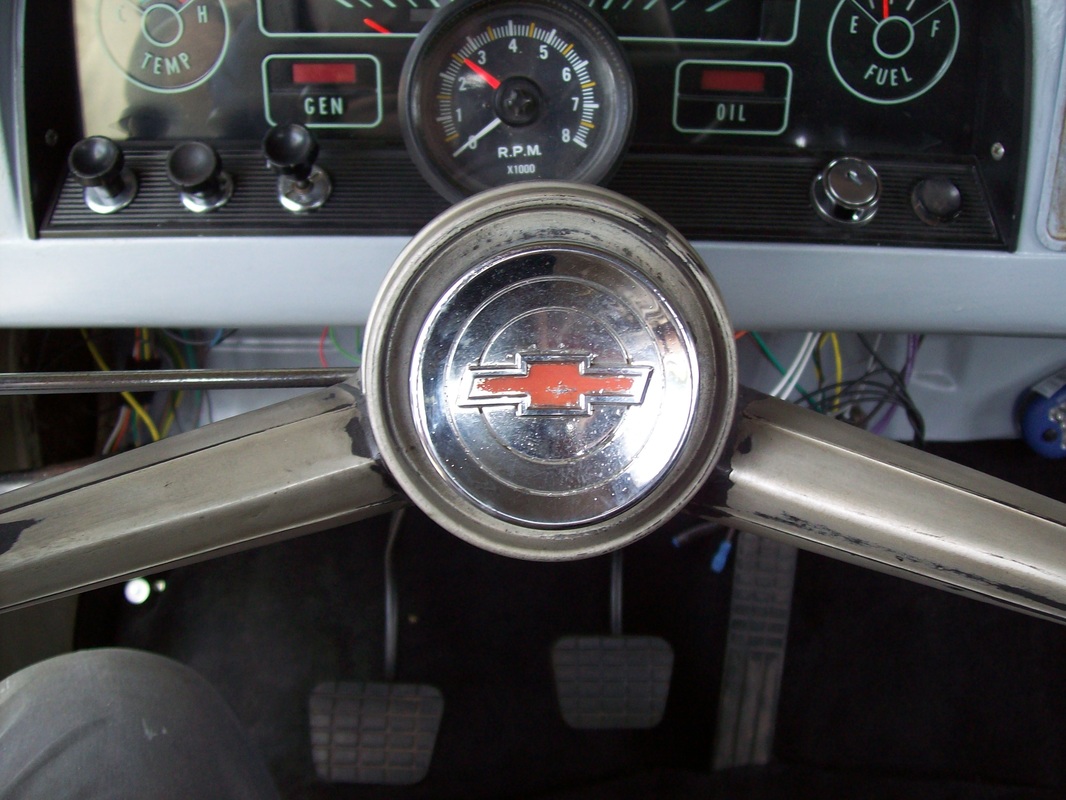
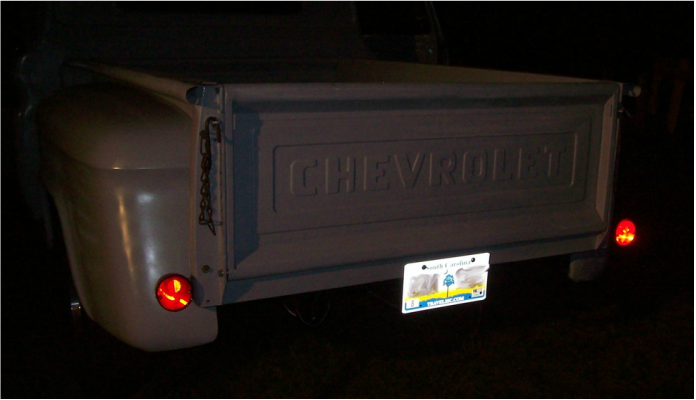
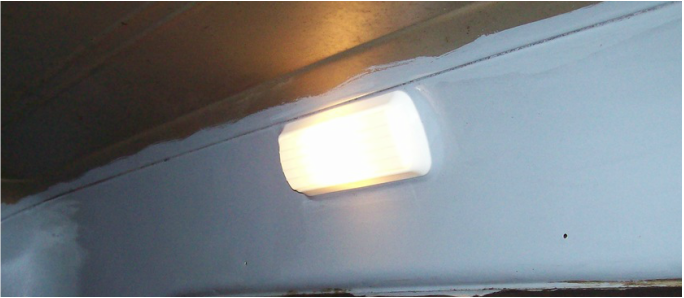
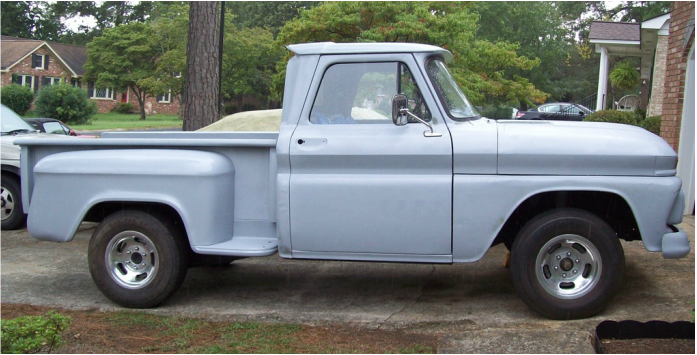
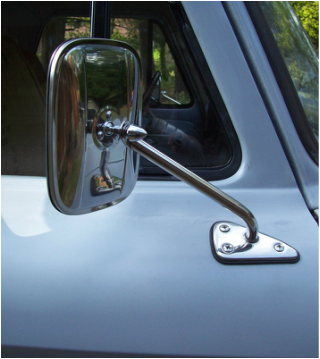
The truck has been a daily driver since Wednesday. The brake lights, dash lights, turn signals and fuel gauge are now working properly. It took several hours this weekend to chase down the wiring gremlins. I even took apart and rebuilt my turn signal switch.
1 Comment
Tailgate is on. Tail lights are on. Cab courtesy light wired and working. Last but not least . . . . the fuel gauge is wired and working. I said working, not necessarily accurate. Time will tell. Tomorrow it goes to the tire shop for front end alignment and tire balancing.
Yesterday evening I mocked up the DS rear fender but a social event made me quit. Today I worked like mad and installed both rear fenders and steps. It's starting to look like a truck again. My wife commented, "Now your truck has hips!" Haha!
The bed is finally on and bolted down. It sits level and square but the bed wood is nothing to brag about. No worries though, it's a working truck bed.
I am amazed at how many pieces there are to a bed. Today I mounted the bed on the frame with the cross members so I could line up and mark the eight bed to frame bolts. I had to make sure the bed was square as well as properly squared on the frame. This week I'll add another coat of Behr exterior latex paint for the wood and another coat of epoxy primer to the bed sheet metal.
Welding the angle strips onto the bed sides was a piece of cake today. It was a lot of work but the Cleco fasteners held the strip in perfect position while I welded. A Cleco fastener is a really neat tool that pinches and hold two pieces of metal together.
Even though the wood needs another coat of paint, I mocked up the bed wood tonight. The rear cross sill needs minor modification. I scratched my head a few times trying to figure out where the bolts in the bed kit are supposed to go, but I think I have that figured out. The next step will be to plug weld the angle strips to the bed sides.
Painting multiple coats on stuff gets boring. Another coat of exterior enamel on the wood, then a top coat of high temp low gloss black on the bottom of the metal bed strips. For fun I installed the door mirrors. I had 2 small chrome plated bullet tips laying around and they fit nicely on the mirrors. Later, I will put the mirror nut inside the bullet tip for a flush fit.
My new order of SPI epoxy primer arrived this week so I sprayed a second fairly heavy coat on the back of the cab, bed and rear fenders today. The bed strips were lightly sandblasted to give them some texture for the KBS Rustseal to grip to. While the KBS Rustseal was drying I top coated the bed wood with satin black Behr Premium Plus exterior latex enamel.
Since my 1965 C10 truck will be a working truck, I'm gonna paint the bed wood black like it came from the factory. The MAR-K Company published test results comparing different bed wood finishes and paint was the superior product hands down. The best results used POR-15 as a base covered by Behr exterior latex enamel. Since I had some KBS Rustseal left over, I used it for a base coat today. Tomorrow I'll apply the exterior latex enamel.
|
See my BLOG entries from prior months below:
March 2024
My Hobbies are:Auto Restoration Categories |
- Main BLOG Page
- Steering Column Page
-
T5 Info Page
- Thinking about installing a T5? READ THIS FIRST
- My T5 videos
- Making a Custom Shifter
- Complete T5 Driveline - Installation from Engine to Rear Axle
- S10 T5 Transmission Jeep Shaft Swap - DIY and skip the adapter plate.
- Camaro Drive Gear Relocation
- T5 Tail Stock with a Cable Speedo Connection
- World Class and Non-World Class versions of the T5 - How to tell them apart.
- How to determine the T5 gearing
- A possible solution for cable speedometers.
- T5 Transmission Identification - What the Tags and Markings Mean
- What's the difference between a Camaro T5, an S10 T5, and an Astro T5?
- T5 Transmission Tear Down
- T5 S10 Transmission Rebuild
- T5 Transmission Rebuild
- T5 pre-purchase inspection and questions
- T5 Resource List
- T5 Case Inspection
- Bell housing differences
- T5 Drive Gear and Driven Gear Combinations
- A Camaro T5 with the S10 Conversion
-
Tips & Tricks Section
- DIY Wiring Tips
- Oil Pump Priming Tool
- Piston Stop Tool
- Broken Bolt Extraction
- DIY 3 Point Seat Belt Installation
- 1963 Chevy C10 Steering Column Removal
- 1963 Chevy C10 Steering Column Disassembly
- 1963 Chevy C10 Steering Column Rebuild
- 1963 Chevy C10 Steering Column Installation
- Easy Clutch Pedal Adjustment
- Making the Steering Column Safer
- Power Steering
- How to improve gauge cluster lighting.
- Stripping Paint - Polycarbide Abrassive Wheel
- Jeep Cherokee Door Check Modification - Very Simple
- Keeping the hood aligned
- DIY All Cable Ebrake System for 1963-1972 C10
- Alignment Tools - Easier than you think
- Conversion to dual master cylinder brakes 1963-1966 C10.
- Steering column modification
- A simple way to remove old control arm bushings.
- An easy way to adjust brake shoes
- How to remove a pilot bushing from the crankshaft.
- Cutting spot welds
- E-brake clip removal made easy
- Harmonic Balancer Installation - Tapping threads in the crank
- POR 15 with less mess.
- Engine Run Stand
- Engine Dolly - EZ to make
- Steering Wheel Restoration Page
- Sway Bar Info
- Power Brake Booster Page
-
Other Projects
- 1934 Chevy Coupe Build Page
- 1934 Chevy Master 5 Window Coupe
- 1963 Body repairs
- Anvil
- Hot Rod 283 SBC Build
- Grand Cathedral Game
- 1968 C10 Short Fleet
- Rockwell Drill Press
- 283ci SBC Engine
- Safety Stand for Lift
- Coat Hook
- Engine Run Stand
- 1963 Short Fleet Project
- Metal sculpture figures
- Shop Project
- Shop Sign
- Lean-to Shop Addition
- Air Compressor Project
- 2 Post Automotive Lift
- 1963 Chevy Custom C10 SBFS BBW
- Metal Top Outdoor Work Table
- Bearings to grenade
- Bar Stool Go Kart
- Special Bolts Plaque
- Vise Stand
- Grinder Stand
-
Random Pics
- 2021 Stovebolt Jamboree Pictures
- 1963 Custom Comfort Seat
- Flywheel differences
- Carb spacer
- Bimini 2019
- T5 shifter ideas
- Engine Torque and HP
- LUGNUTZ DIY Shop
- Alaska 2018
- 2019 ODSS Homecoming
- Chevy 3 speed transmission ID
- 2018 Stovebolt Homecoming Pics
- Anvil
- Pallet Rack Shelving
- Reference PICS
- shop plywood walls
- Welding Stuff