I got out an old timing light that I bought at a yard sale about 2 years ago. Never used it before tonight and didn't even know if it would work. 
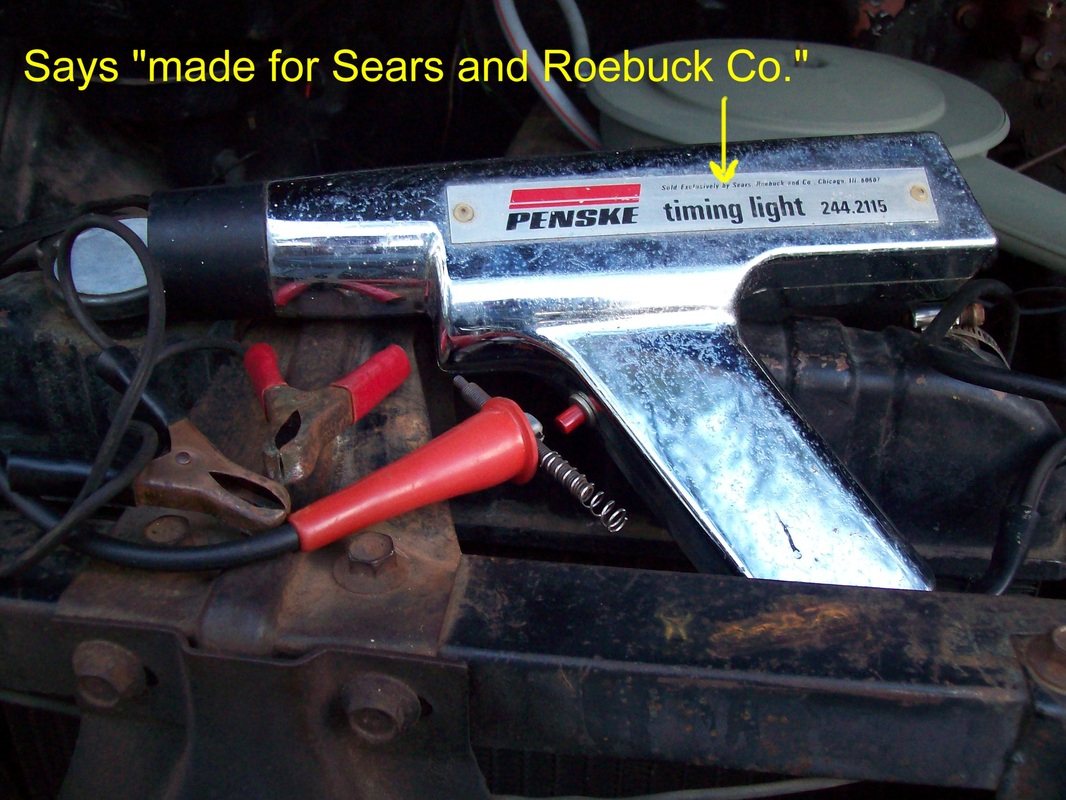
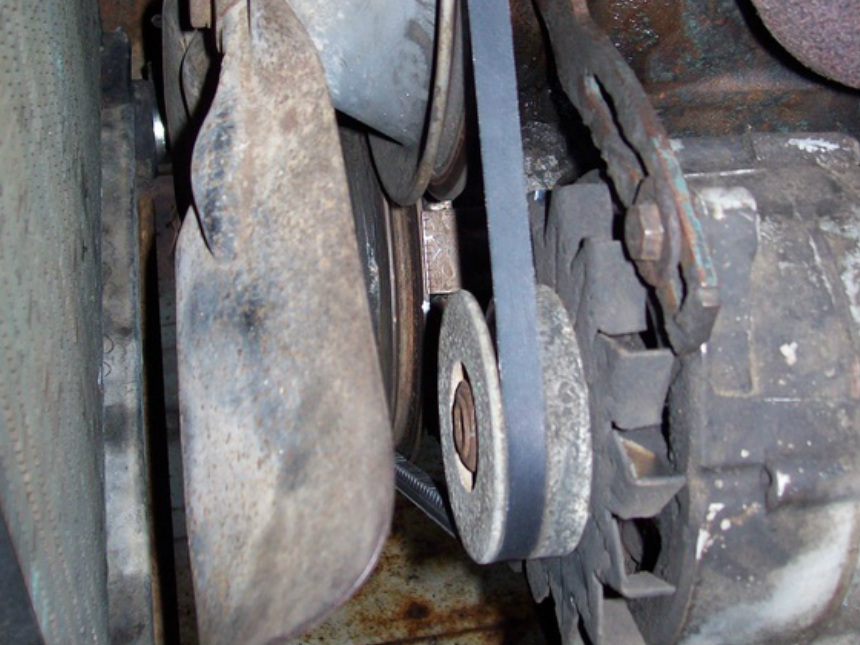
I had a few minutes, so my son helped me set the timing to 4 degrees BTDC (factory specs). I used some white-out to mark the notch on the crank pulley and the 4 degree mark. The timing light worked fine and the engine now runs very smoothly at idle. I'll test it at higher RPMs once I get a vacuum line hooked up to the distributor advance.
0 Comments
My goal this week was to get the gas tank cleaned out and inspected. I was surprised to see only a little rust, so I cleaned it out.
I bought a brake flaring tool that is absolutely great! Every brake line flare comes out perfect. That simple fact takes almost all the frustration out of making new brake line for the truck. The next 2 photos show my newly installed rear brake lines. Next, I'll install the "T" piece connection and the brake hose connecting them to the frame hard line.
I had the truck running last week using an electric fuel pump and a gas can. I'm in the process of getting the fuel lines and gas tank cleaned so I can start and run the truck the normal way.
Today was a day to celebrate! I installed a new fuel pump, thermostat, fan belt and PCV. I also flushed out the radiator and . . . . . . . . . drum roll please, . . . . . . . I got the engine running smoothly. I am fairly confident that this engine will be ready to put into service once the rest of the truck is roadworthy. Disconnecting the Park Brake Cable from the rear brake backing plate was impossible until I understood that I needed to close the 3 little "tines" that were spread open so it could back it out of the hole in the backing plate. When I put the cable back into the hole, the 3 tines will spread open and keep the cable from pulling back out. Today I didn't get to do much. However, I used my sandblasting cabinet for the very first time to clean one of my truck's parts. I got the engine running today for at least a minute and it seems to idle just fine. Part of getting the engine tuned up will include a new air filter. The air filter housing was filthy with carbon and rust, so it was perfect for a test run with my blasting cabinet. Once the air filter was clean, I applied etch primer.
A new brake kit and new brake shoes seemed like a wise choice since they are very affordable and the old stuff was in such bad shape.
So many good thing have happened, I don't know where to begin. The pictures tell it all.
|
See my BLOG entries from prior months below:
March 2024
My Hobbies are:Auto Restoration Categories |
- Main BLOG Page
- Steering Column Page
-
T5 Info Page
- Thinking about installing a T5? READ THIS FIRST
- My T5 videos
- Making a Custom Shifter
- Complete T5 Driveline - Installation from Engine to Rear Axle
- S10 T5 Transmission Jeep Shaft Swap - DIY and skip the adapter plate.
- Camaro Drive Gear Relocation
- T5 Tail Stock with a Cable Speedo Connection
- World Class and Non-World Class versions of the T5 - How to tell them apart.
- How to determine the T5 gearing
- A possible solution for cable speedometers.
- T5 Transmission Identification - What the Tags and Markings Mean
- What's the difference between a Camaro T5, an S10 T5, and an Astro T5?
- T5 Transmission Tear Down
- T5 S10 Transmission Rebuild
- T5 Transmission Rebuild
- T5 pre-purchase inspection and questions
- T5 Resource List
- T5 Case Inspection
- Bell housing differences
- T5 Drive Gear and Driven Gear Combinations
- A Camaro T5 with the S10 Conversion
-
Tips & Tricks Section
- DIY Wiring Tips
- Oil Pump Priming Tool
- Piston Stop Tool
- Broken Bolt Extraction
- DIY 3 Point Seat Belt Installation
- 1963 Chevy C10 Steering Column Removal
- 1963 Chevy C10 Steering Column Disassembly
- 1963 Chevy C10 Steering Column Rebuild
- 1963 Chevy C10 Steering Column Installation
- Easy Clutch Pedal Adjustment
- Making the Steering Column Safer
- Power Steering
- How to improve gauge cluster lighting.
- Stripping Paint - Polycarbide Abrassive Wheel
- Jeep Cherokee Door Check Modification - Very Simple
- Keeping the hood aligned
- DIY All Cable Ebrake System for 1963-1972 C10
- Alignment Tools - Easier than you think
- Conversion to dual master cylinder brakes 1963-1966 C10.
- Steering column modification
- A simple way to remove old control arm bushings.
- An easy way to adjust brake shoes
- How to remove a pilot bushing from the crankshaft.
- Cutting spot welds
- E-brake clip removal made easy
- Harmonic Balancer Installation - Tapping threads in the crank
- POR 15 with less mess.
- Engine Run Stand
- Engine Dolly - EZ to make
- Steering Wheel Restoration Page
- Sway Bar Info
- Power Brake Booster Page
-
Other Projects
- 1934 Chevy Coupe Build Page
- 1934 Chevy Master 5 Window Coupe
- 1963 Body repairs
- Anvil
- Hot Rod 283 SBC Build
- Grand Cathedral Game
- 1968 C10 Short Fleet
- Rockwell Drill Press
- 283ci SBC Engine
- Safety Stand for Lift
- Coat Hook
- Engine Run Stand
- 1963 Short Fleet Project
- Metal sculpture figures
- Shop Project
- Shop Sign
- Lean-to Shop Addition
- Air Compressor Project
- 2 Post Automotive Lift
- 1963 Chevy Custom C10 SBFS BBW
- Metal Top Outdoor Work Table
- Bearings to grenade
- Bar Stool Go Kart
- Special Bolts Plaque
- Vise Stand
- Grinder Stand
-
Random Pics
- 2021 Stovebolt Jamboree Pictures
- 1963 Custom Comfort Seat
- Flywheel differences
- Carb spacer
- Bimini 2019
- T5 shifter ideas
- Engine Torque and HP
- LUGNUTZ DIY Shop
- Alaska 2018
- 2019 ODSS Homecoming
- Chevy 3 speed transmission ID
- 2018 Stovebolt Homecoming Pics
- Anvil
- Pallet Rack Shelving
- Reference PICS
- shop plywood walls
- Welding Stuff