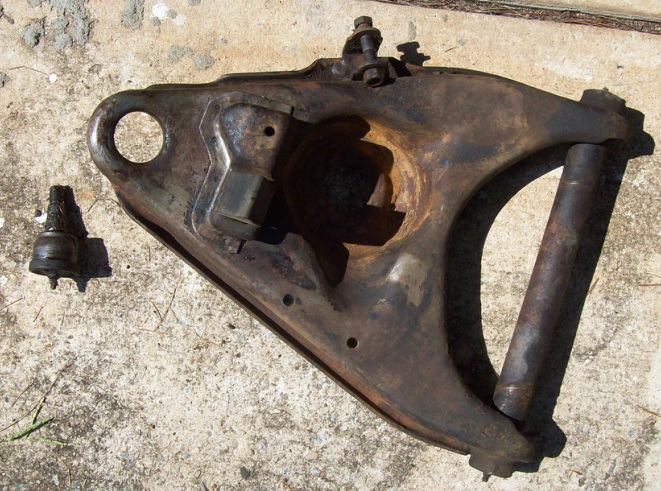
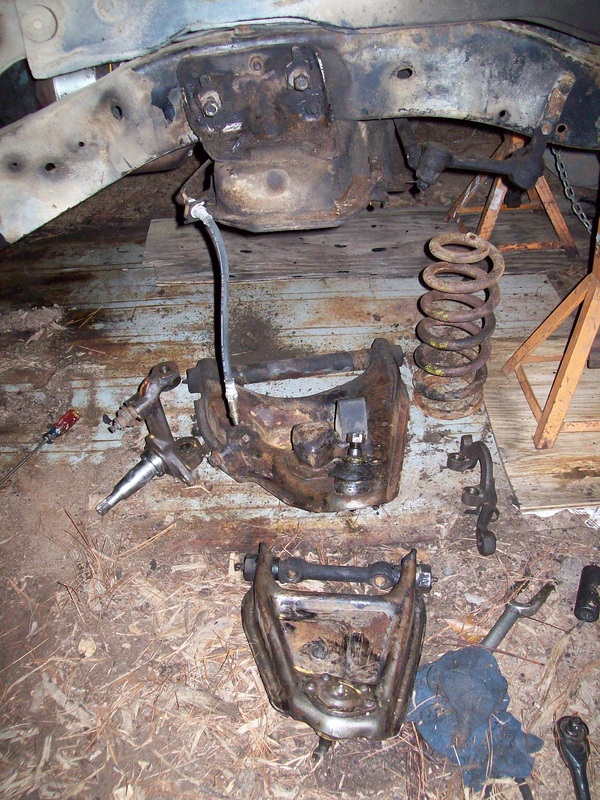
The lower ball joint came out fairly easy after a couple of hard whacks with a sledge. I spent the day cleaning my upper and lower control arms. 
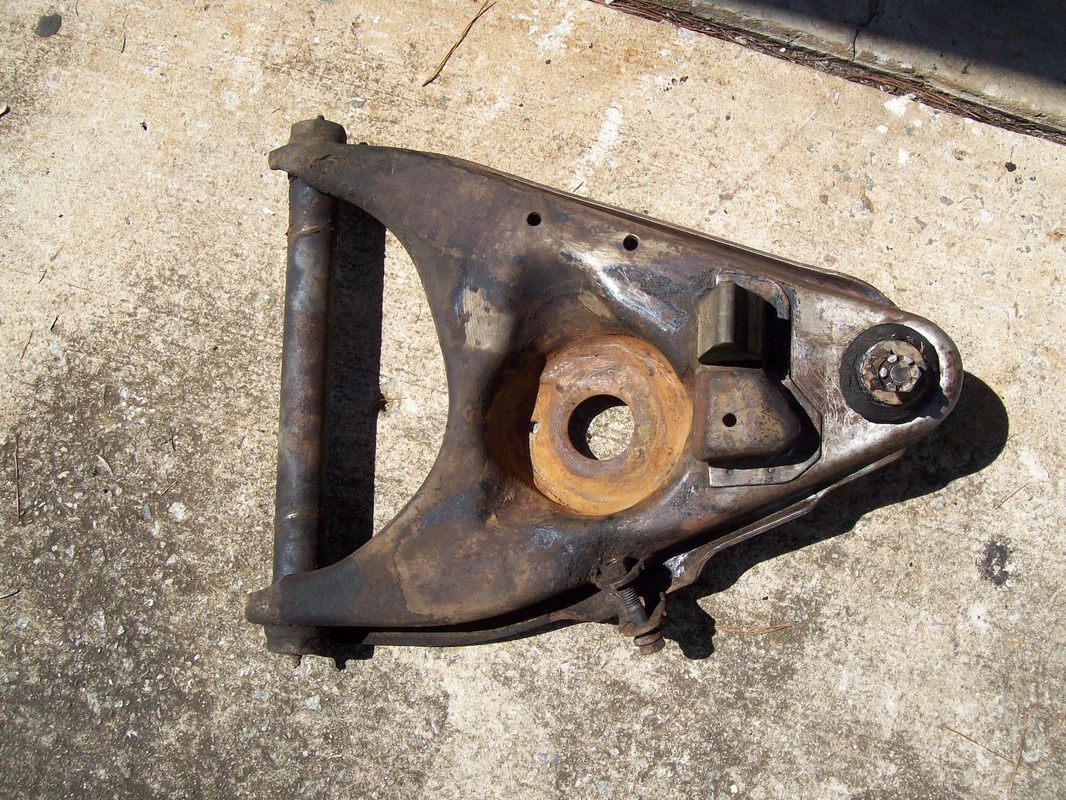
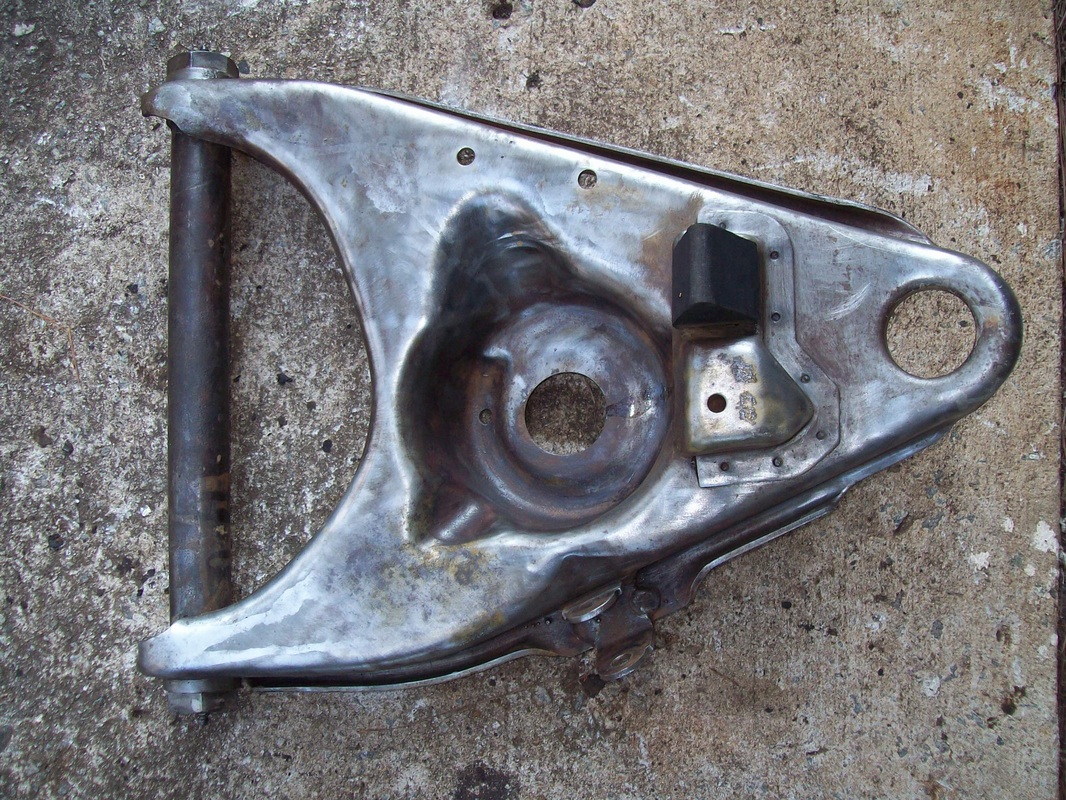
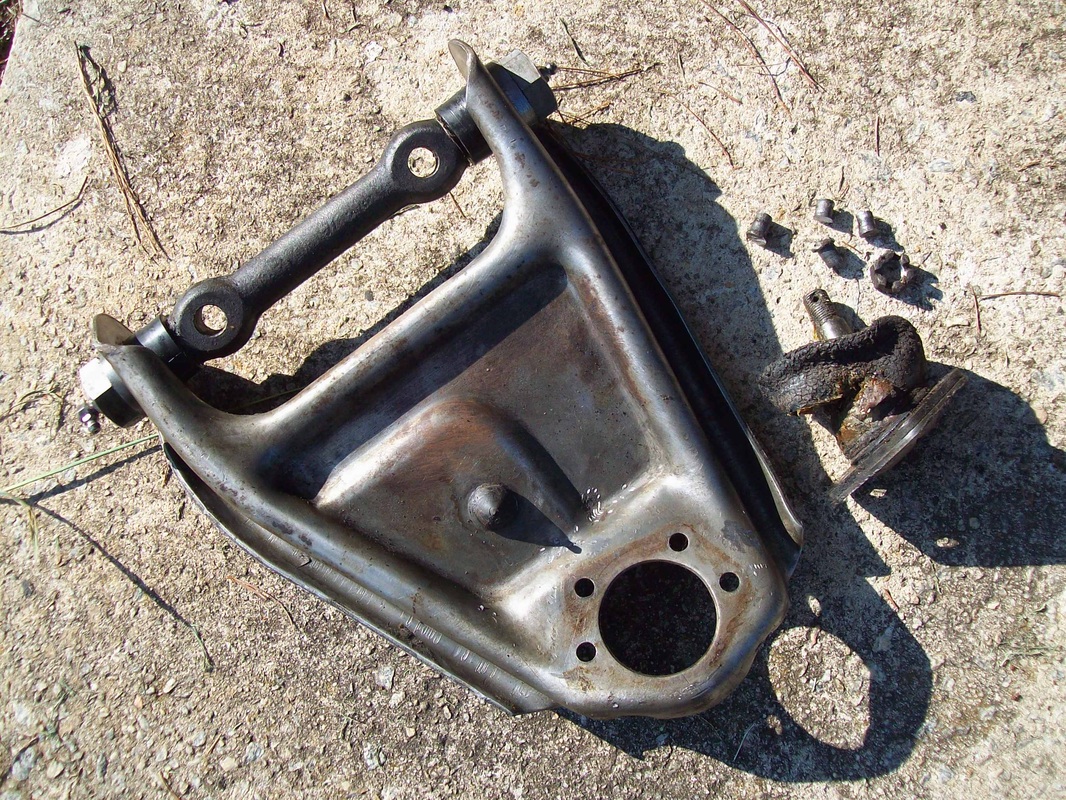
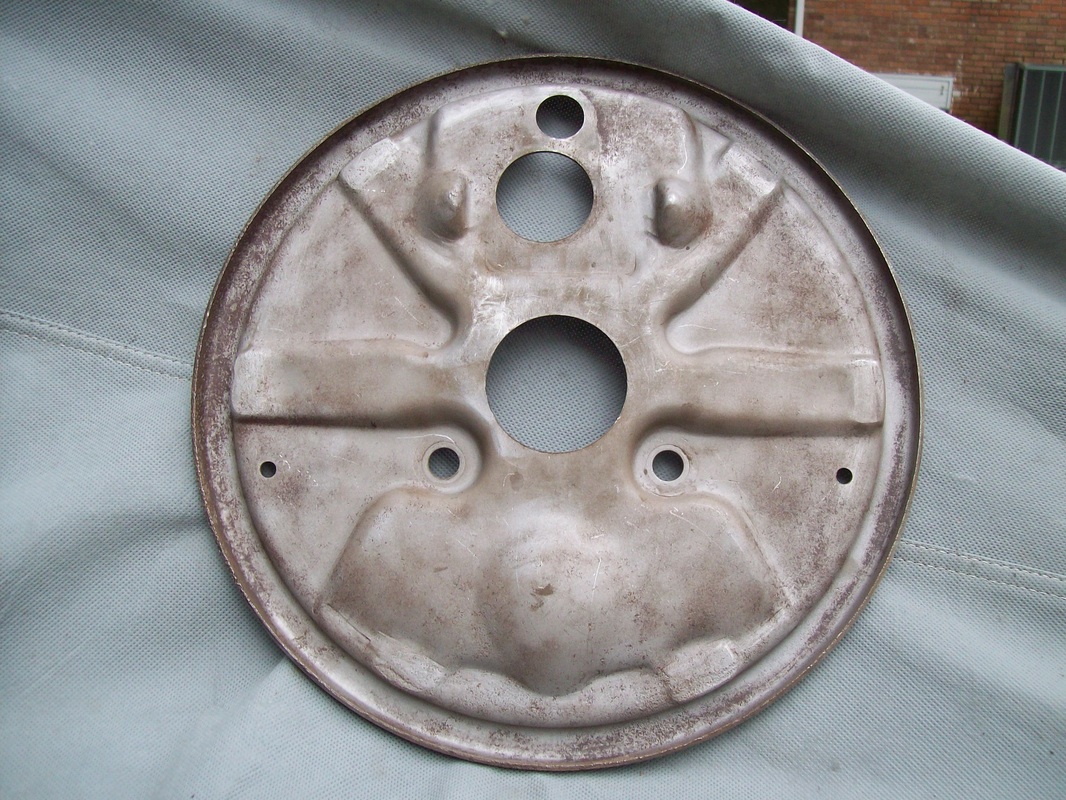
The lower control arm cleaned up pretty well. 
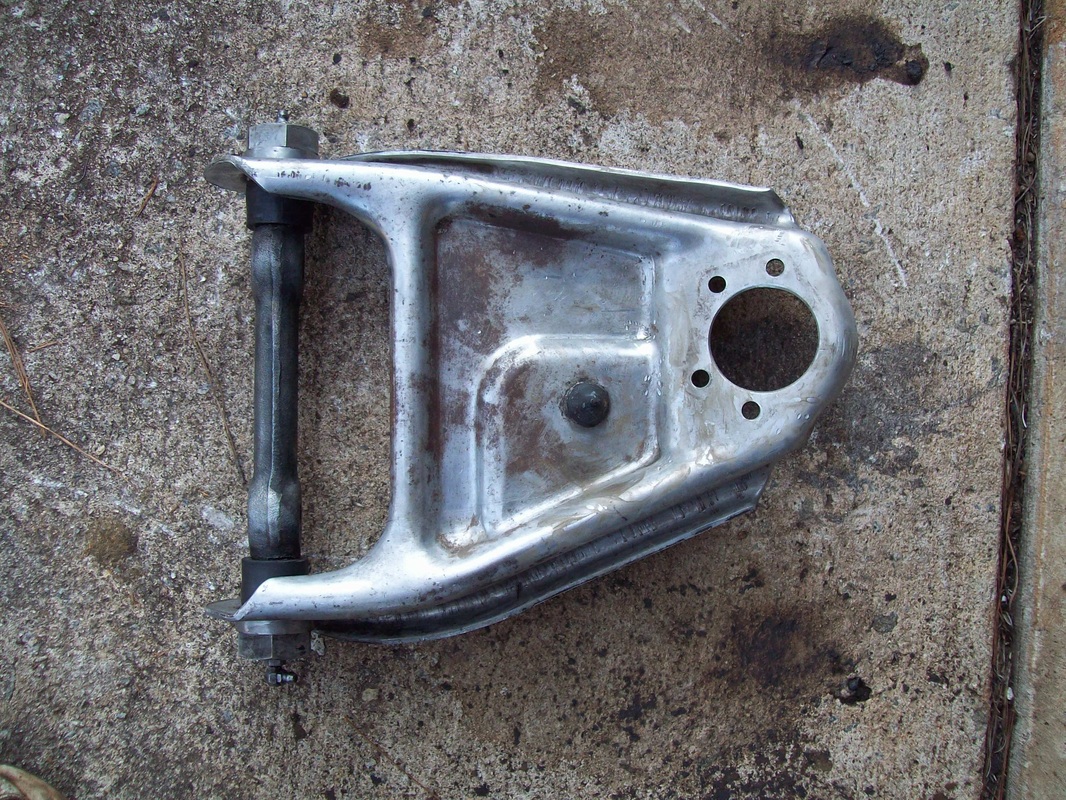
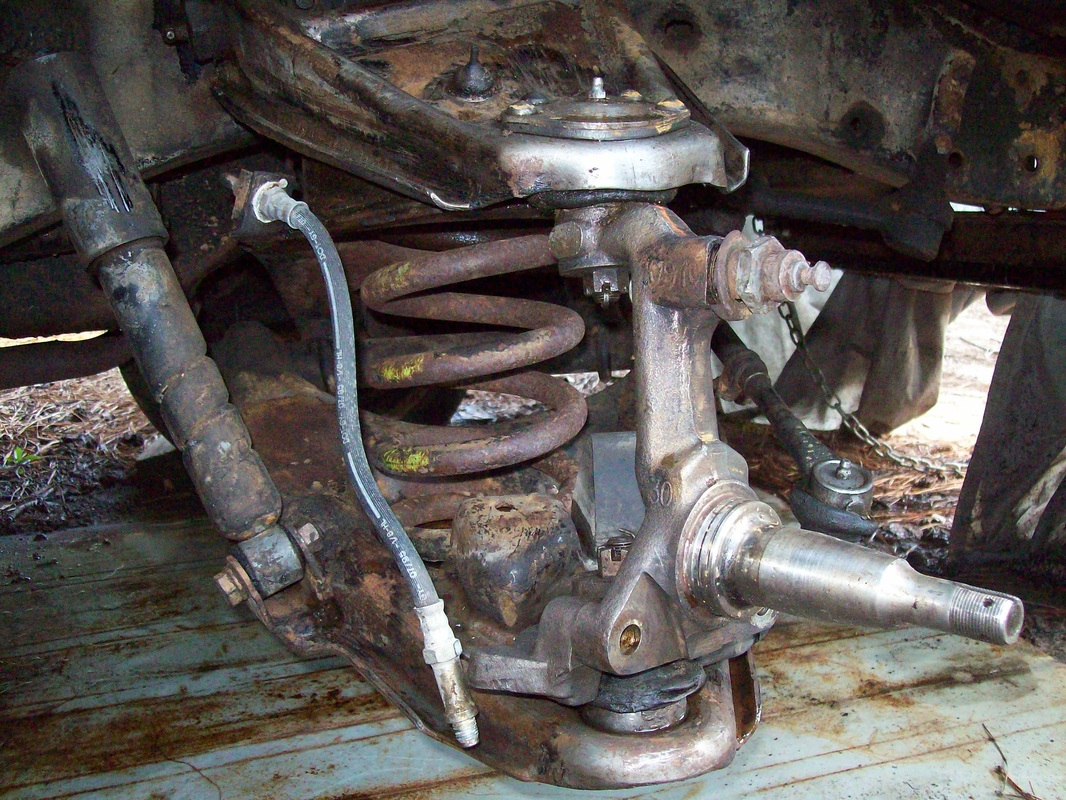
The upper control arm looks good too.
0 Comments
I really had a hard time getting these 4 stupid rivets out of my upper control arm so I could remove the worn out upper ball joint. I pounded them, ground them down, pounded some more, then drilled and pounded again. Finally, after 3 hours, I figured out how to get them out. The driver's side will go much easier (I hope). It's ironic how it took twice as long to remove 4 rivets as it did to remove the whole PS suspension!
After carefully studying how to SAFELY remove the front suspension, the job took only about 1.5 hrs. I took my time so that I didn't make any foolish or dangerous mistakes. First, the tie rods and connecting sleeve were removed as a unit. A spring compressor was used to compress the spring so I could safely remove it. Ball joints were then loosened from the spindle and the compressed spring and spindle were safely removed. I then unbolted the upper and lower control arms. Now I have a lot of cleaning to do!
I just cleaned the passenger front backing plate in my sandblasting cabinet. My air compressor is not as powerful as it should be for sandblast work, but it's all I have, so it took a while and isn't perfect. It made a big difference.
Phase Two involves getting the brakes and drivetrain ready so I can drive the truck. I simply want to make it stop and drive well enough so I can go around the block. Since the engine is running smoothly, I already have a head start. PHASE TWO will accomplish: 1. rebuild the front brakes
2. new front wheel bearings and seals 3. bleed the brake lines 4. repair what appears to be a possible oil leak at the rear main seal 5. change the transmission gear oil 6. flush the radiator and install new radiator cap 7. inspect things under the valve cover and new valve cover seal 8. repair exhaust manifold to exhaust pipe leak 9. install a decent set of tires so I can drive it Phase One of this project has focused on everything behind the cab including restoration of the folllowing: 1. removal of the truck bed, fenders and cross sills (to be restored later) 2. cleaning and then applying POR15 to the frame and control arms 3. restoring the rear differential including new axle bearings, seals and gear oil 4. new shocks and POR15 on freshly cleaned coil springs 5. complete rear brake rebuild 6. new polyurethane bushings for the control arm and tracking arm 7. new brake lines and rear brake hose The rear brake lines are finally done. A new rear brake hose completes PHASE ONE!
Just as I expected, the front brakes are a total disaster! They look even worse than the rear brakes did.
|
See my BLOG entries from prior months below:
March 2024
My Hobbies are:Auto Restoration Categories |
- Main BLOG Page
- Steering Column Page
-
T5 Info Page
- Thinking about installing a T5? READ THIS FIRST
- My T5 videos
- Making a Custom Shifter
- Complete T5 Driveline - Installation from Engine to Rear Axle
- S10 T5 Transmission Jeep Shaft Swap - DIY and skip the adapter plate.
- Camaro Drive Gear Relocation
- T5 Tail Stock with a Cable Speedo Connection
- World Class and Non-World Class versions of the T5 - How to tell them apart.
- How to determine the T5 gearing
- A possible solution for cable speedometers.
- T5 Transmission Identification - What the Tags and Markings Mean
- What's the difference between a Camaro T5, an S10 T5, and an Astro T5?
- T5 Transmission Tear Down
- T5 S10 Transmission Rebuild
- T5 Transmission Rebuild
- T5 pre-purchase inspection and questions
- T5 Resource List
- T5 Case Inspection
- Bell housing differences
- T5 Drive Gear and Driven Gear Combinations
- A Camaro T5 with the S10 Conversion
-
Tips & Tricks Section
- DIY Wiring Tips
- Oil Pump Priming Tool
- Piston Stop Tool
- Broken Bolt Extraction
- DIY 3 Point Seat Belt Installation
- 1963 Chevy C10 Steering Column Removal
- 1963 Chevy C10 Steering Column Disassembly
- 1963 Chevy C10 Steering Column Rebuild
- 1963 Chevy C10 Steering Column Installation
- Easy Clutch Pedal Adjustment
- Making the Steering Column Safer
- Power Steering
- How to improve gauge cluster lighting.
- Stripping Paint - Polycarbide Abrassive Wheel
- Jeep Cherokee Door Check Modification - Very Simple
- Keeping the hood aligned
- DIY All Cable Ebrake System for 1963-1972 C10
- Alignment Tools - Easier than you think
- Conversion to dual master cylinder brakes 1963-1966 C10.
- Steering column modification
- A simple way to remove old control arm bushings.
- An easy way to adjust brake shoes
- How to remove a pilot bushing from the crankshaft.
- Cutting spot welds
- E-brake clip removal made easy
- Harmonic Balancer Installation - Tapping threads in the crank
- POR 15 with less mess.
- Engine Run Stand
- Engine Dolly - EZ to make
- Steering Wheel Restoration Page
- Sway Bar Info
- Power Brake Booster Page
-
Other Projects
- 1934 Chevy Coupe Build Page
- 1934 Chevy Master 5 Window Coupe
- 1963 Body repairs
- Anvil
- Hot Rod 283 SBC Build
- Grand Cathedral Game
- 1968 C10 Short Fleet
- Rockwell Drill Press
- 283ci SBC Engine
- Safety Stand for Lift
- Coat Hook
- Engine Run Stand
- 1963 Short Fleet Project
- Metal sculpture figures
- Shop Project
- Shop Sign
- Lean-to Shop Addition
- Air Compressor Project
- 2 Post Automotive Lift
- 1963 Chevy Custom C10 SBFS BBW
- Metal Top Outdoor Work Table
- Bearings to grenade
- Bar Stool Go Kart
- Special Bolts Plaque
- Vise Stand
- Grinder Stand
-
Random Pics
- 2021 Stovebolt Jamboree Pictures
- 1963 Custom Comfort Seat
- Flywheel differences
- Carb spacer
- Bimini 2019
- T5 shifter ideas
- Engine Torque and HP
- LUGNUTZ DIY Shop
- Alaska 2018
- 2019 ODSS Homecoming
- Chevy 3 speed transmission ID
- 2018 Stovebolt Homecoming Pics
- Anvil
- Pallet Rack Shelving
- Reference PICS
- shop plywood walls
- Welding Stuff