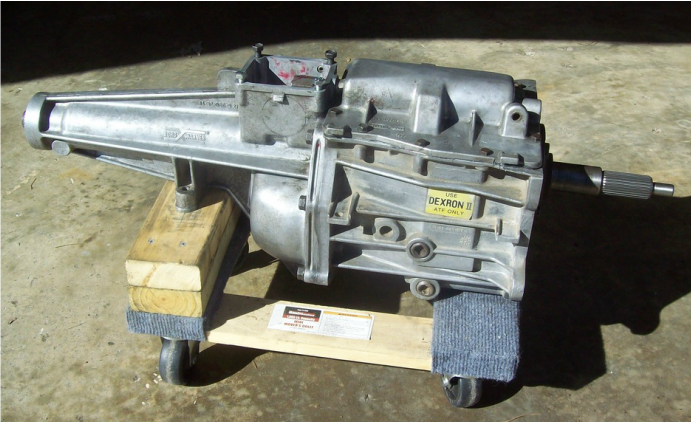
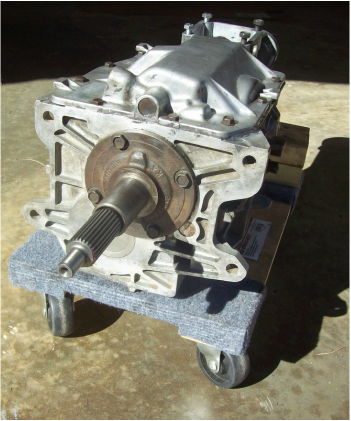
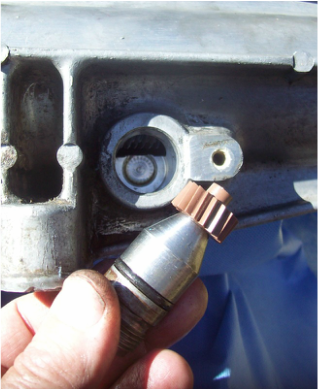
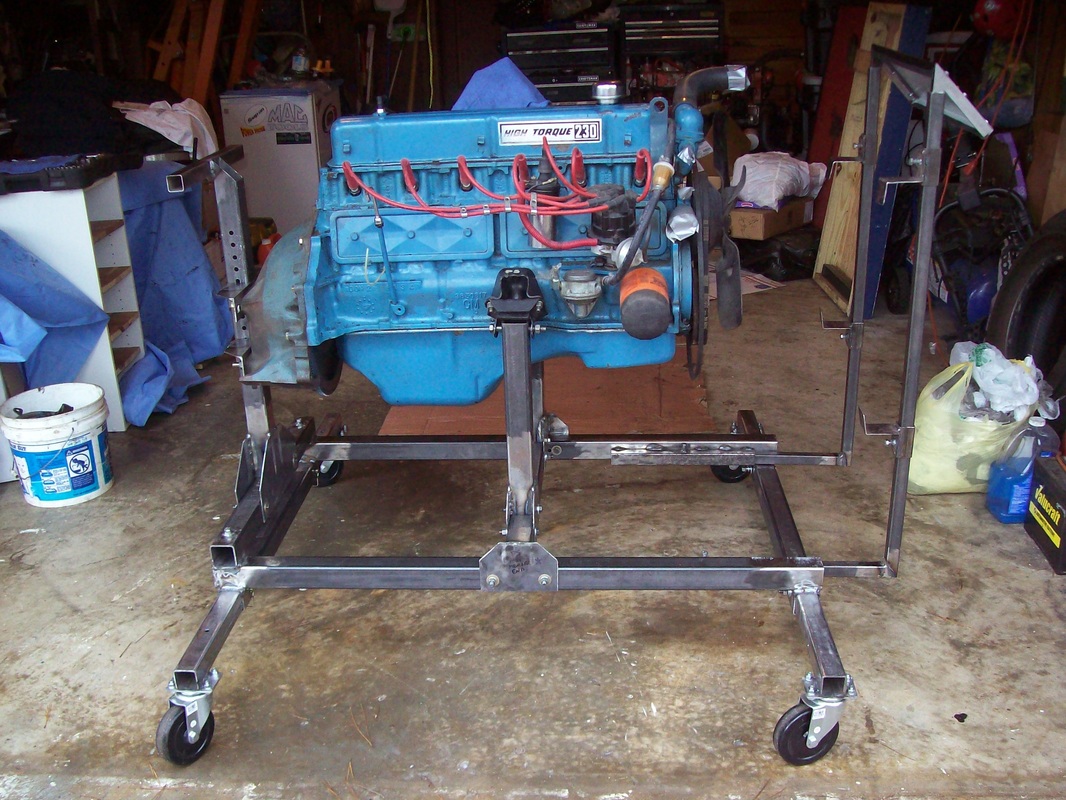
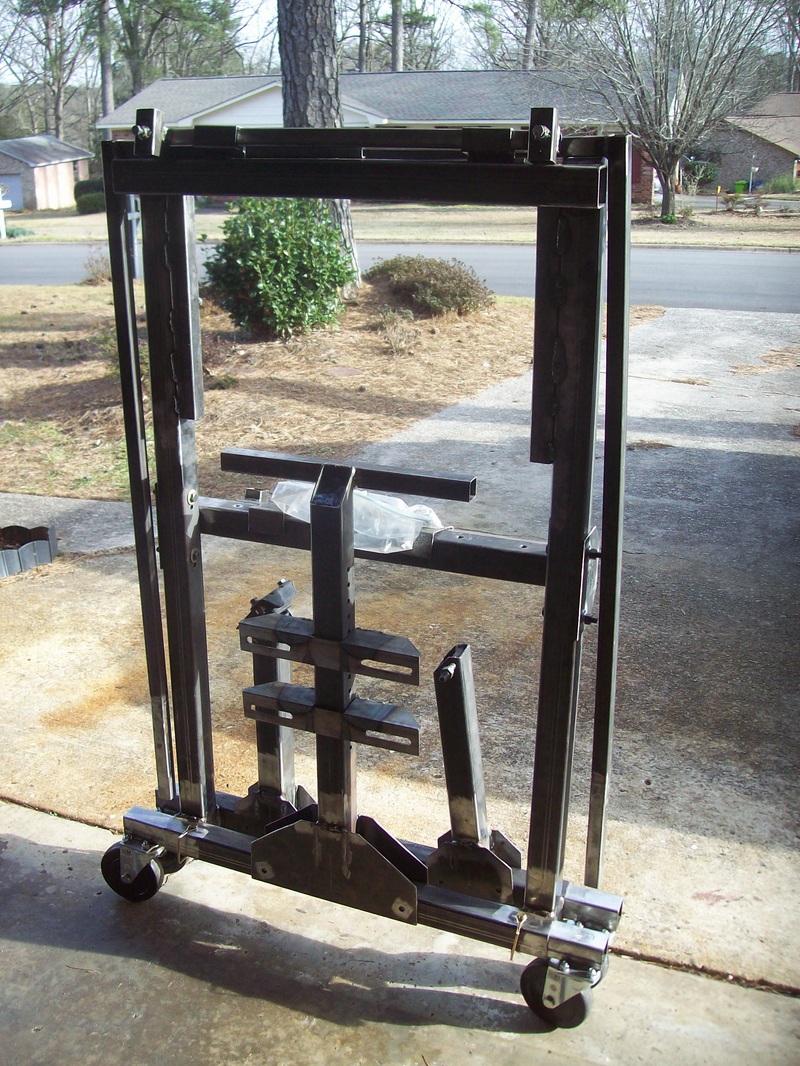
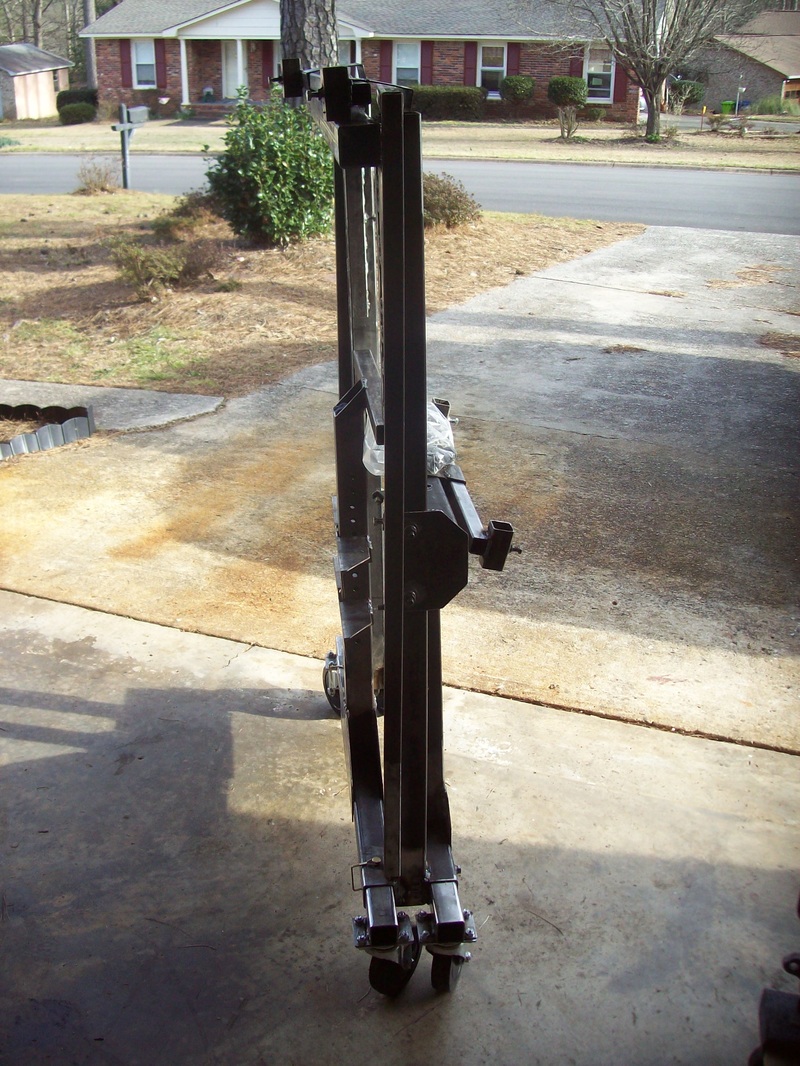
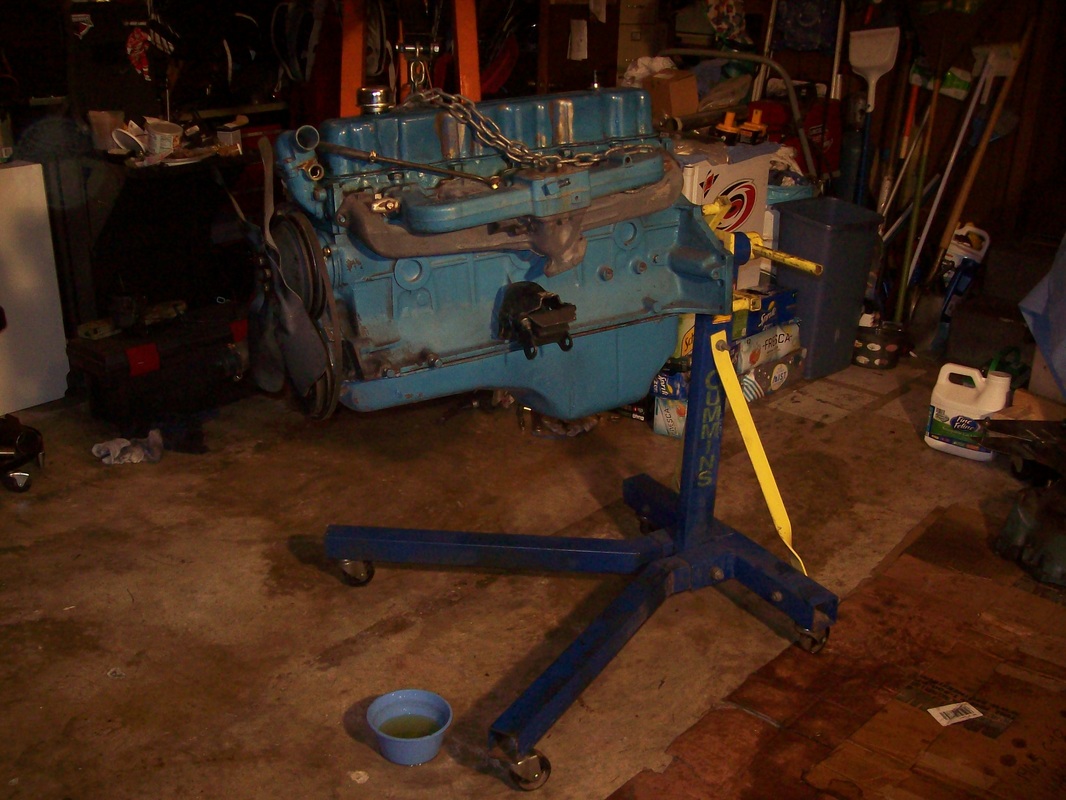
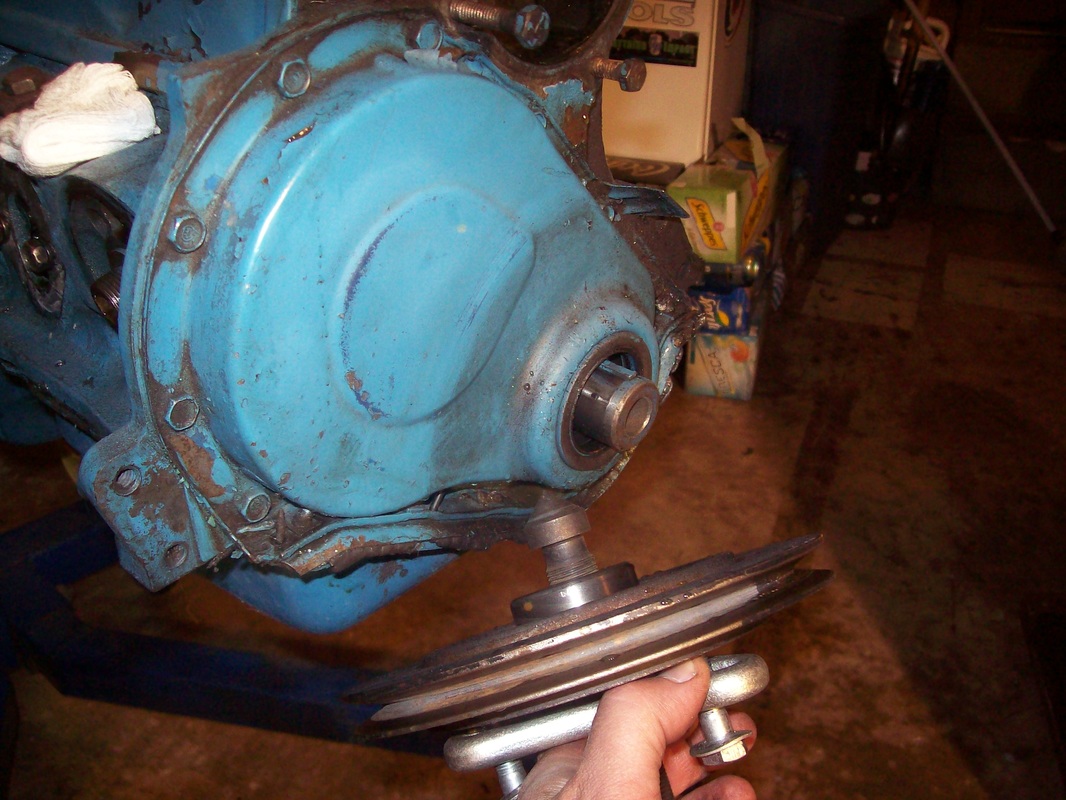
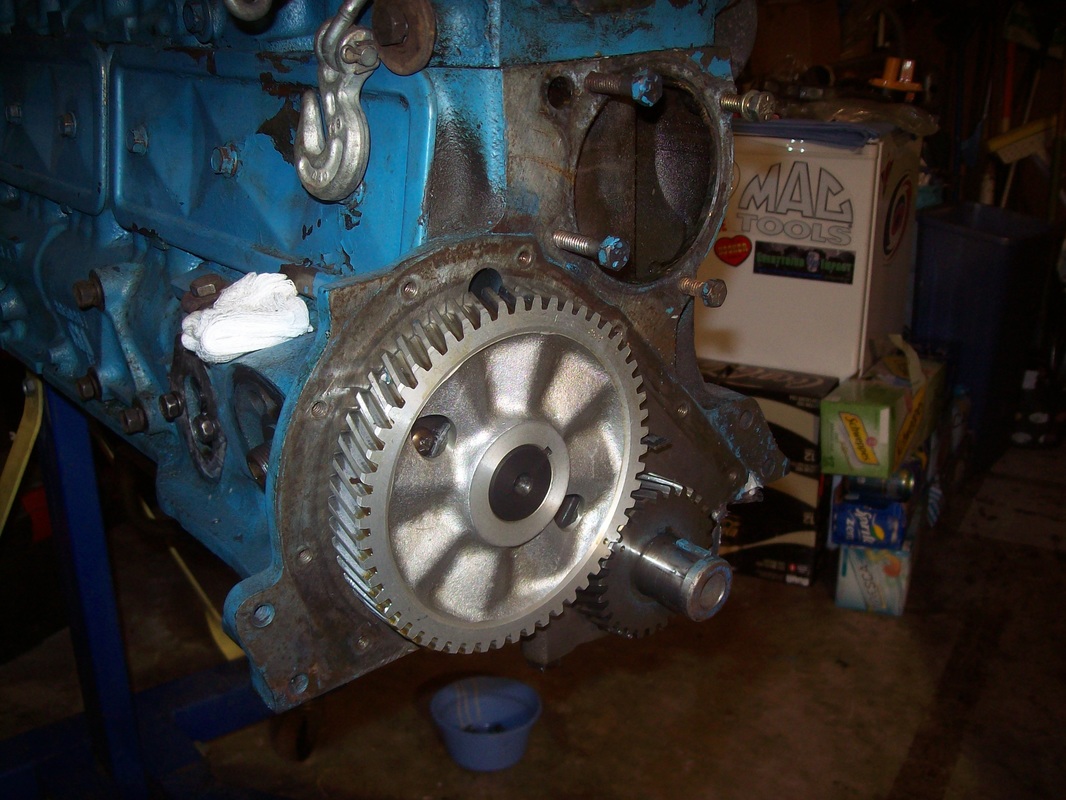
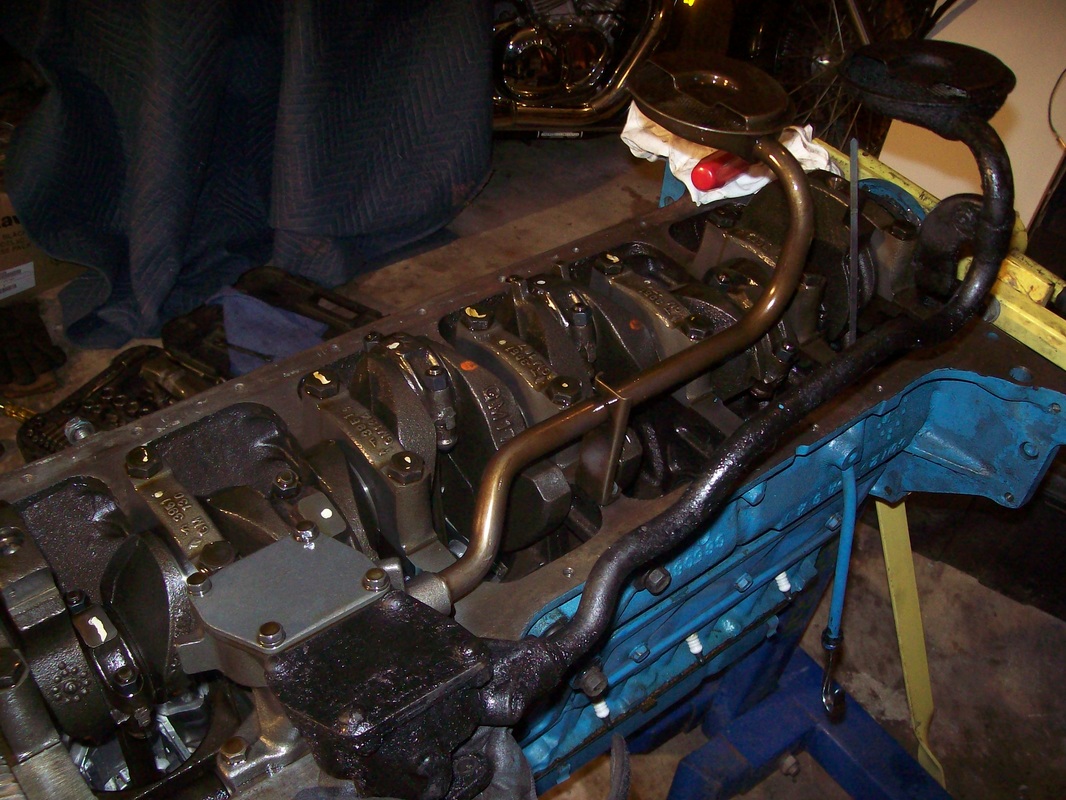
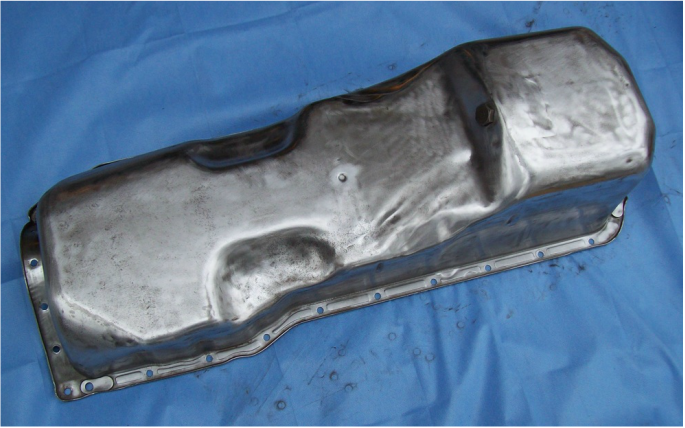
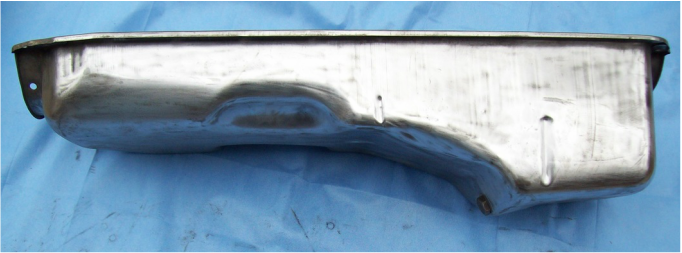
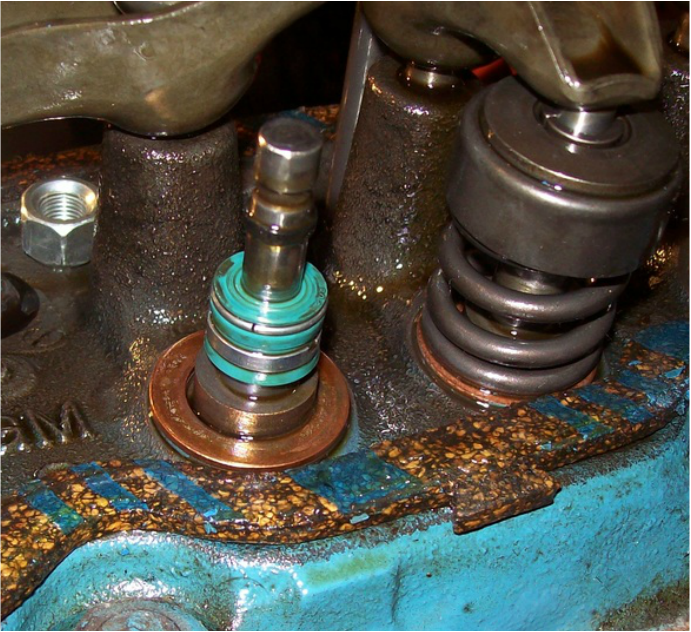
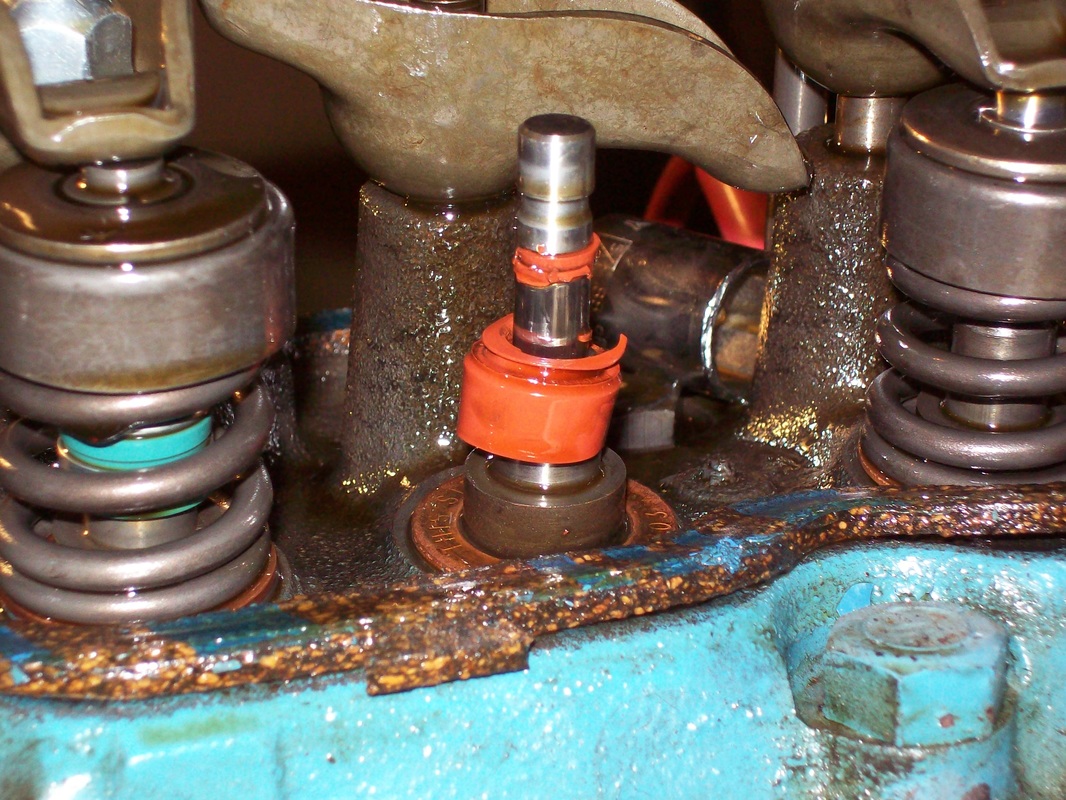
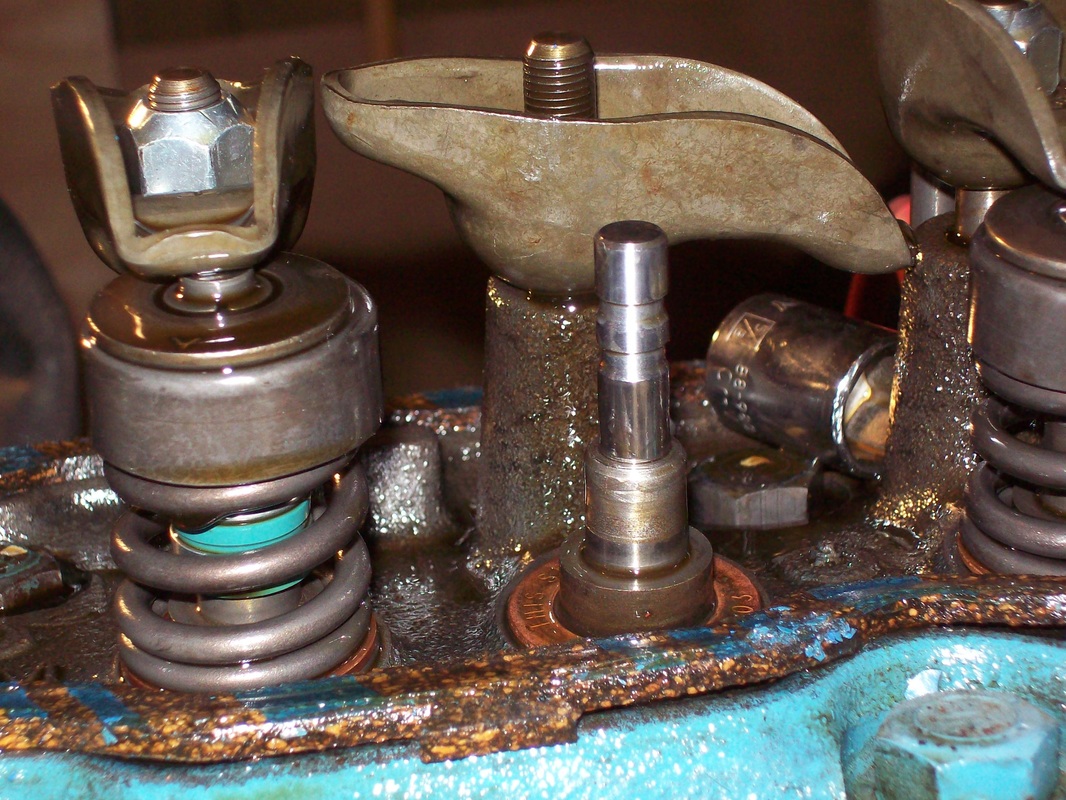
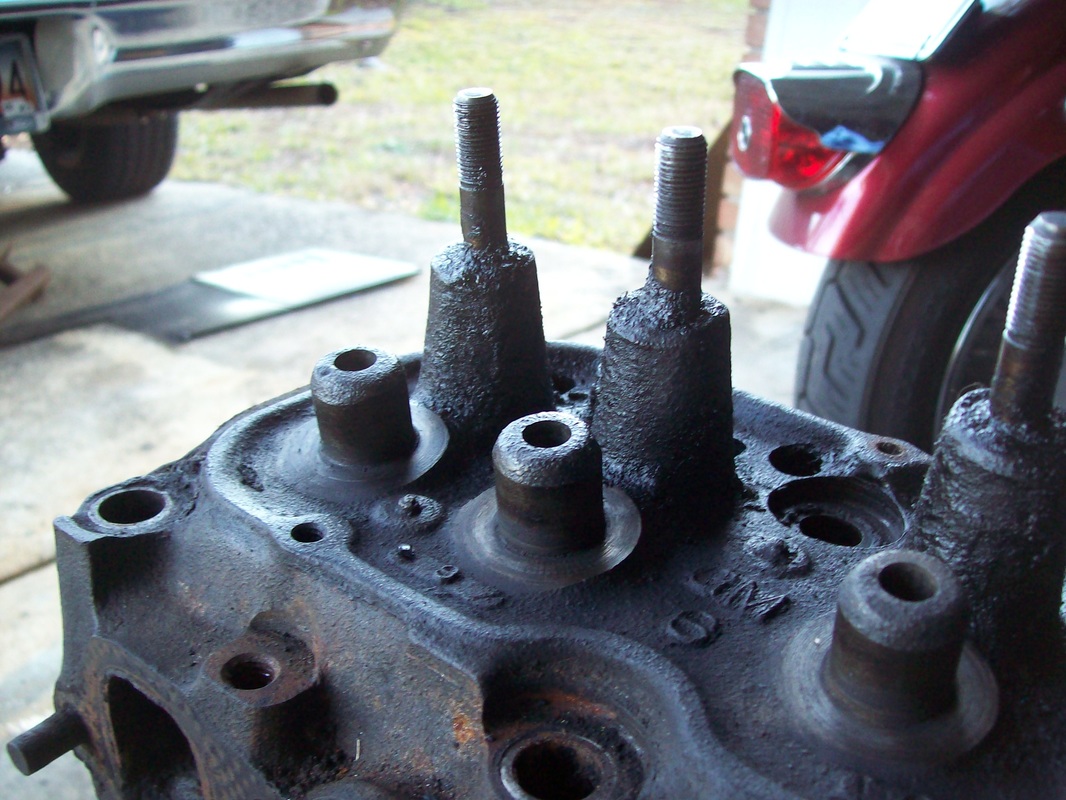
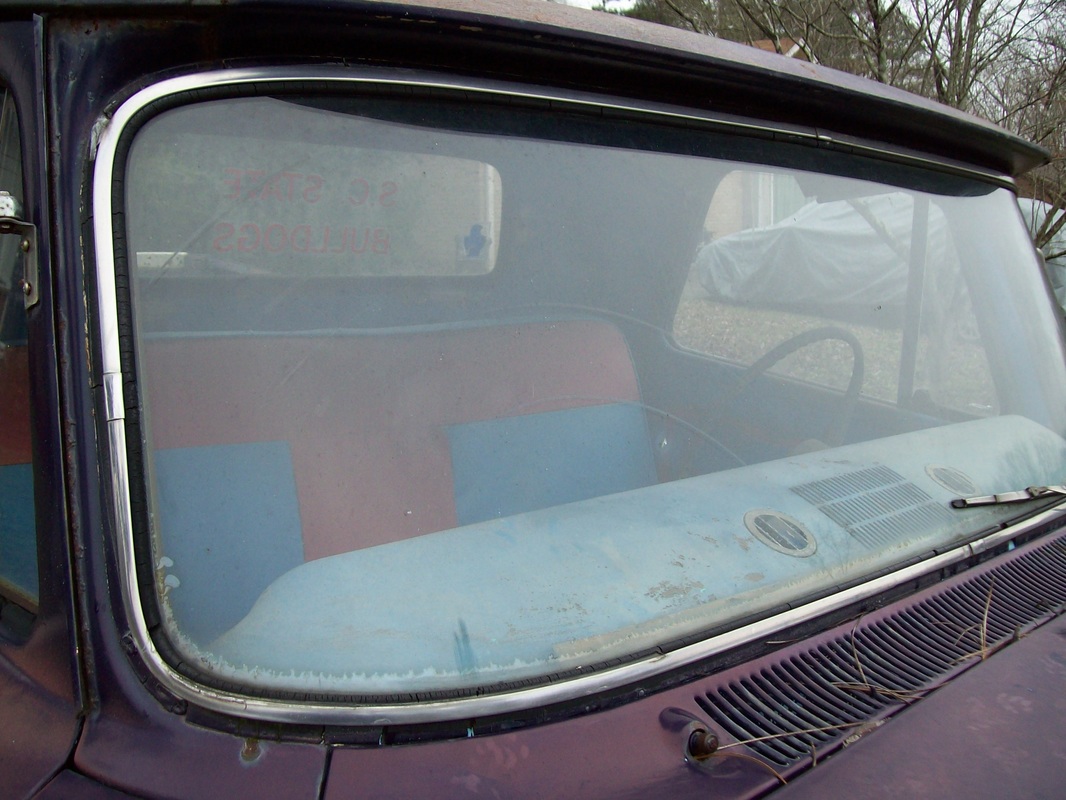
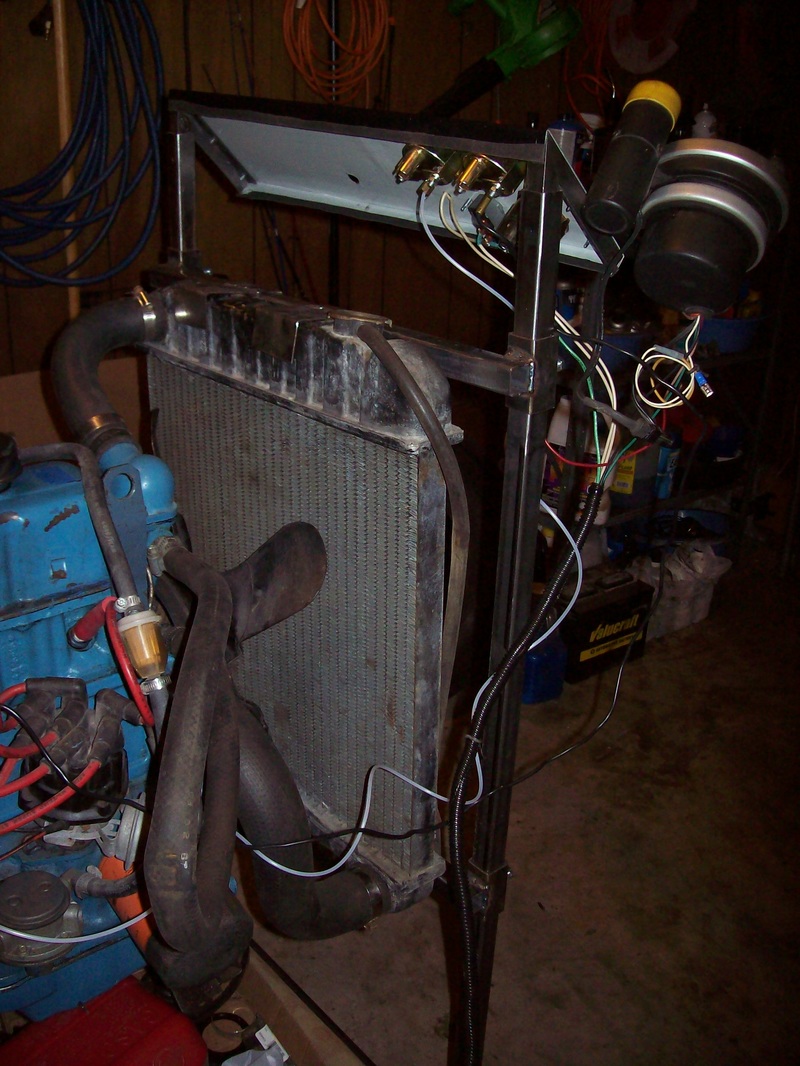
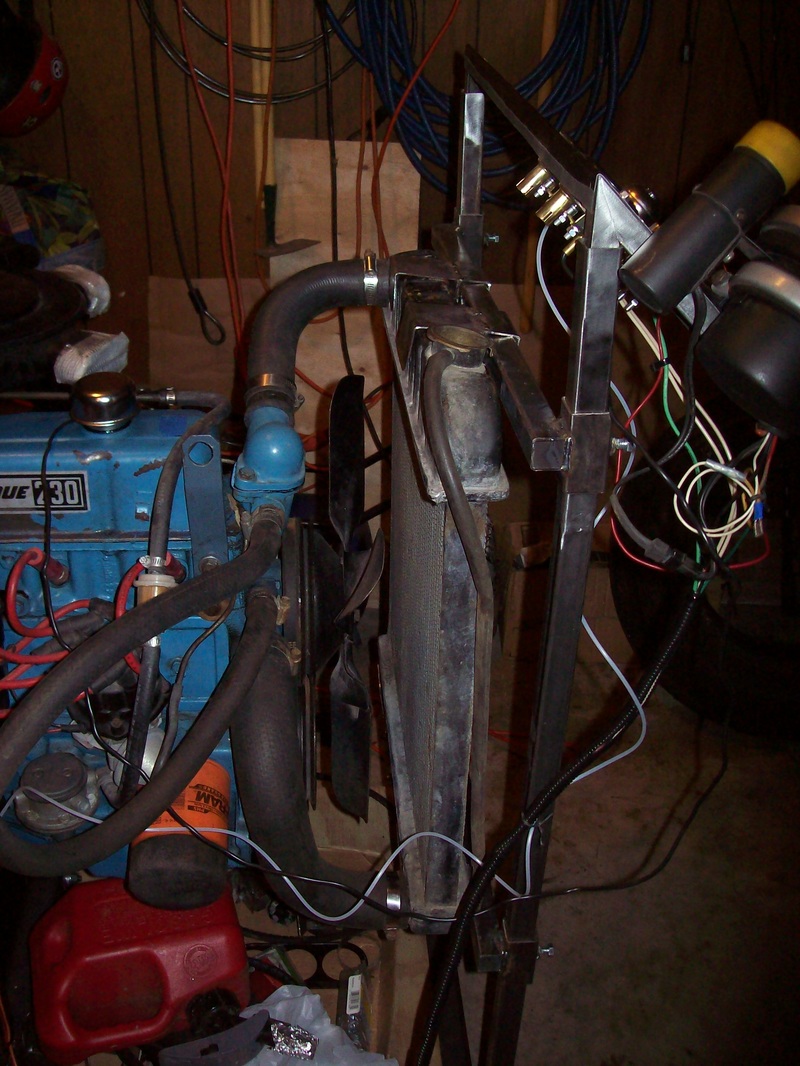
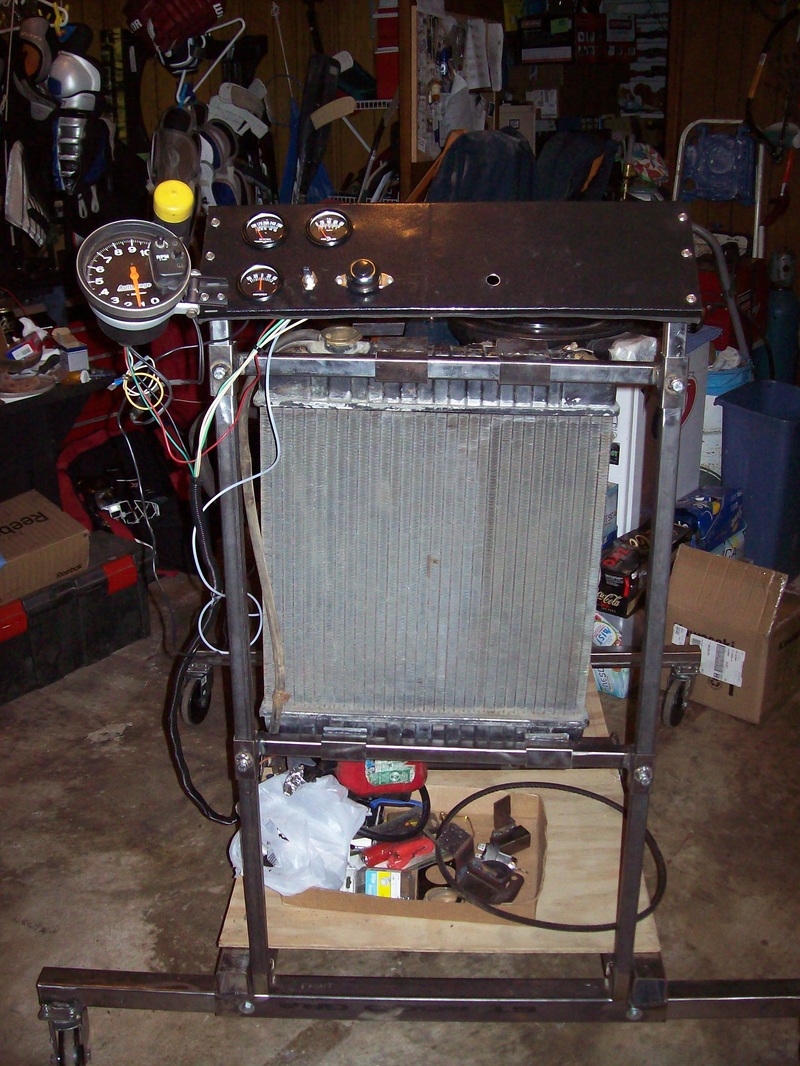
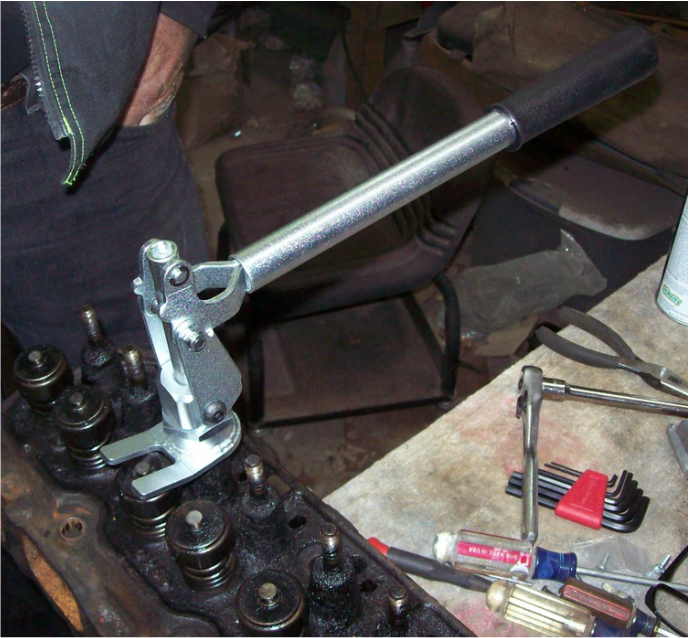
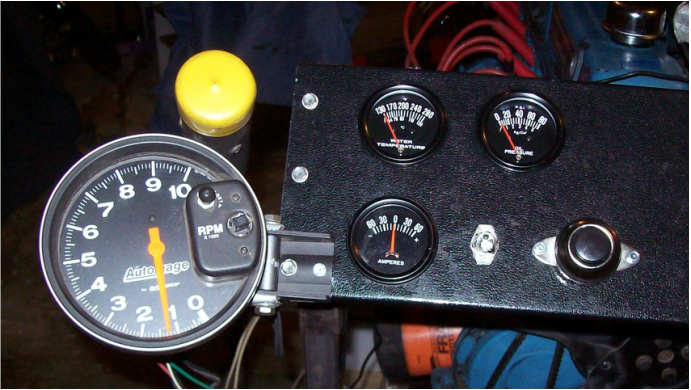
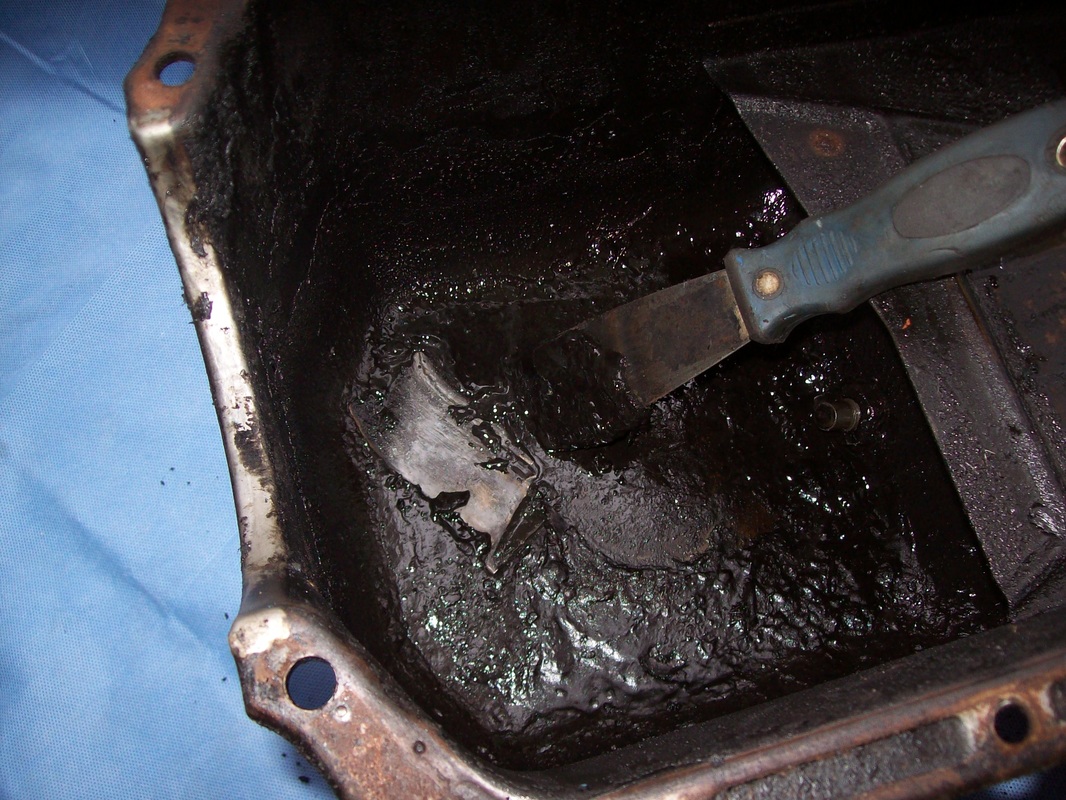
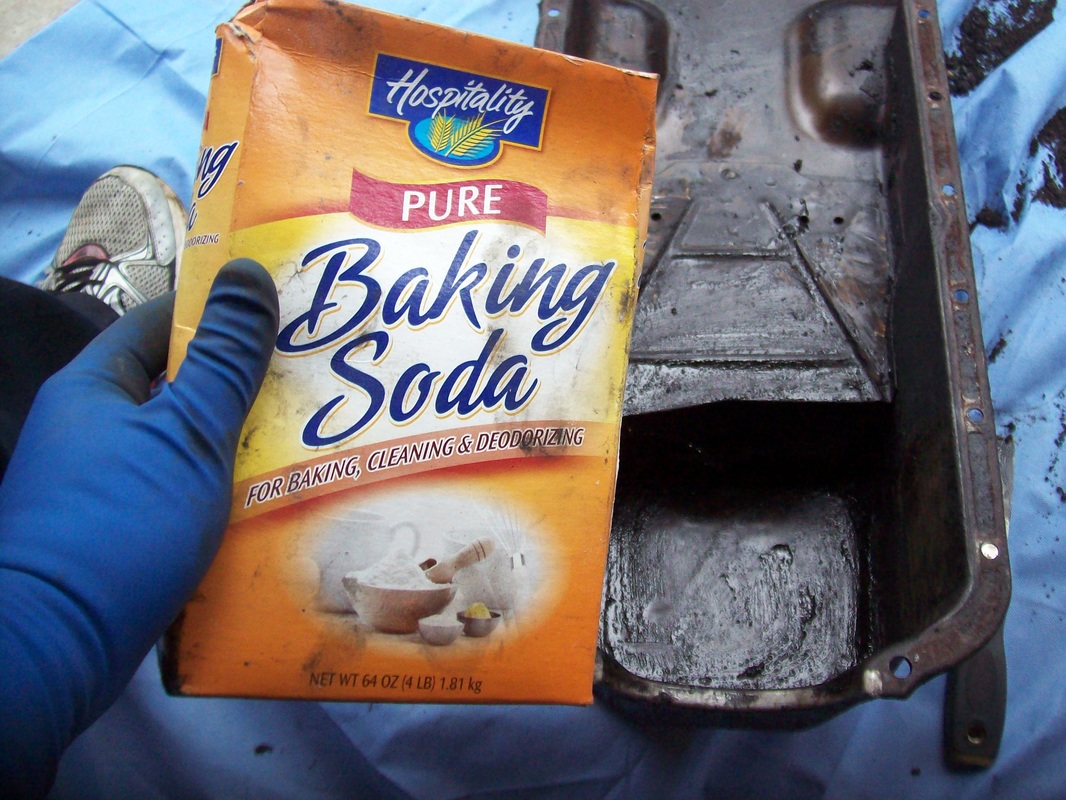
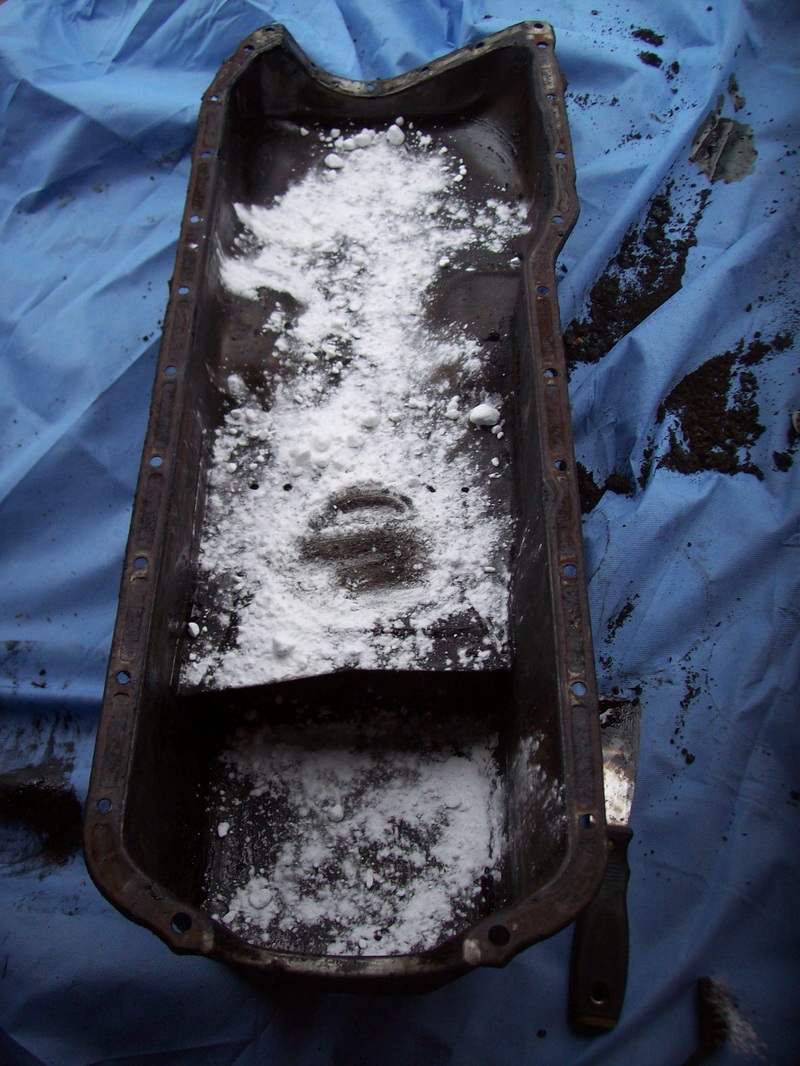
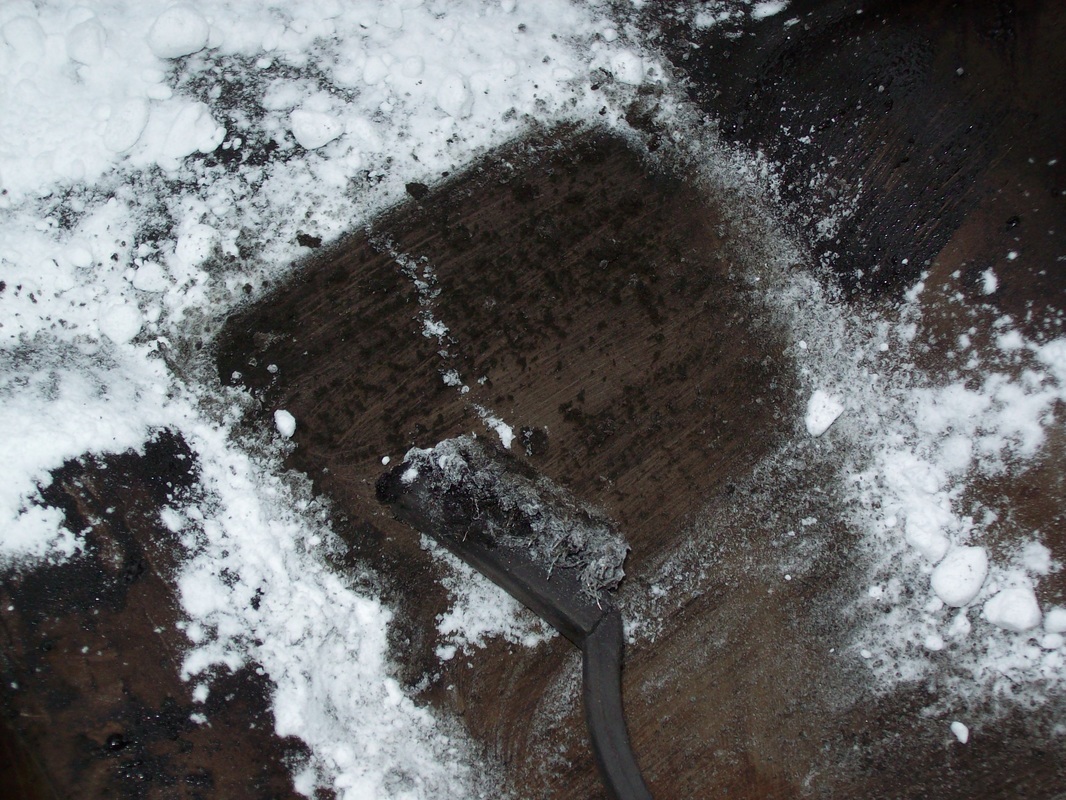
This week I finished building a very special V8 Camaro WC T5 with an S10 tail stock and cable speedo connection. This will be installed in a very nice 1955 Chevy and make highway cruising very nice. I also took my 230ci off the run stand and placed it on the engine stand so I can change some gaskets and then give it some fresh paint. The run stand packs up into a very compact unit that takes up minimal space on my shop floor.
0 Comments
A long vacation and bad weather have slowed progress. However I was able to get something small done this week. The 1964 230ci oil pan has a different shape than the 1965 oil pan. Call me weird, but I like the 1965 pan shape better. So this week I cleaned my 1965 pan to make it ready for installation when I put new gaskets on the engine.
I finally got around to inspecting the valve seals. As you can see, the valve guides are all machined. The intake valve guides have blue POSITIVE SEALS and all look fine. The 2 metal bands hold them onto the machined valve guide.
All the red exhaust valve seals were torn. They are umbrella style seals. Upon inspection, it appears that the upper edge of the umbrella seals were all tucked up inside the cap and into the lower groove on the valve stem where the O-ring seal usually lives. ALL of the intake valves had an O-ring installed in addition to the positive style seals. I've been told that it's BAD to use both. The exhaust valves didn't have O-rings, just umbrellas. I removed all the failed exhaust umbrella seals and installed O-ring seals in the usual location on the exhaust valves only. I removed the O-rings on the intake valves. That's how I plan to run this engine. The last photo shows an un-machined valve guide on a DIFFERENT 230ci head I have in my garage. This has been an eventful 2 weeks. Last Wednesday I bought a 1966 C10 at a very low price. No title but I'm gonna try to get one. If that doesn't work out then the parts will make someone very happy. It has the aluminum grill and stainless windshield trim as well as good doors, front fenders and bed. Engine doesn't run. Hood is excellent. Bed looks pretty good too.
I spent the last 6 weeks building an engine run stand. All that work paid off today when I got to test my 230ci. The engine run stand is rock solid and the design is well thought out. I'm also happy to say that the engine runs very well. The engine run stand plans are designed for a wider radiator than what I have on hand. Using my tall and narrow 1965 Harrison radiator required making a different radiator support than the one suggested in the plans. I also extended the vertical supports.
A few of the valve seals on my 230ci will need to be changed. A few years ago I used the claw style spring compressor but I didn't like it. I just purchased a newer style spring tool that I like much better. It works quickly and locks into place. Compressed air inside the cylinder keeps the valve closed so the valve keepers can be removed when this tool compresses the valve spring.
The run stand control panel is almost done. I installed gauges, a start button and a power switch. A friend gave me a tachometer. A very LARGE tachometer. The run stand will soon be ready to test the engine.
Core Shifters offers a great selection of shifter parts. They offer bases, sticks, knobs and many hard to find shifter items. Click HERE to visit their home page. Click on any of the photos below to view that item. They have many more to chose from.
We've had rain every day for over a week. Can't get much done to the truck with everything so wet. Today I decided to clean the sludge and grease out of my original 1965 230ci oil pan. I don't like sloshing expensive solvent around to clean greasy parts. It's messy and expensive. I'm not sure where I got the idea to use baking soda but it's cheap, works well and isn't messy. First scrape out whatever comes out with a putty knife. Add baking soda. The baking soda sticks to the grease. Scrubbing with a wire brush makes little crumbs of grease much like mixing flour with butter when baking. Steel wool is used for a second scrub with more baking soda. Kerosene or brake cleaner is used to rinse and then finally soap and water. The baking soda is cheap and environmentally friendly. Dispose of the grease/baking soda crumbs together with other motor oil that you recycle.
|
See my BLOG entries from prior months below:
April 2024
My Hobbies are:Auto Restoration Categories |
- Main BLOG Page
- Steering Column Page
-
T5 Info Page
- Thinking about installing a T5? READ THIS FIRST
- My T5 videos
- Making a Custom Shifter
- Complete T5 Driveline - Installation from Engine to Rear Axle
- S10 T5 Transmission Jeep Shaft Swap - DIY and skip the adapter plate.
- Camaro Drive Gear Relocation
- T5 Tail Stock with a Cable Speedo Connection
- World Class and Non-World Class versions of the T5 - How to tell them apart.
- How to determine the T5 gearing
- A possible solution for cable speedometers.
- T5 Transmission Identification - What the Tags and Markings Mean
- What's the difference between a Camaro T5, an S10 T5, and an Astro T5?
- T5 Transmission Tear Down
- T5 S10 Transmission Rebuild
- T5 Transmission Rebuild
- T5 pre-purchase inspection and questions
- T5 Resource List
- T5 Case Inspection
- Bell housing differences
- T5 Drive Gear and Driven Gear Combinations
- A Camaro T5 with the S10 Conversion
-
Tips & Tricks Section
- DIY Wiring Tips
- Oil Pump Priming Tool
- Piston Stop Tool
- Broken Bolt Extraction
- DIY 3 Point Seat Belt Installation
- 1963 Chevy C10 Steering Column Removal
- 1963 Chevy C10 Steering Column Disassembly
- 1963 Chevy C10 Steering Column Rebuild
- 1963 Chevy C10 Steering Column Installation
- Easy Clutch Pedal Adjustment
- Making the Steering Column Safer
- Power Steering
- How to improve gauge cluster lighting.
- Stripping Paint - Polycarbide Abrassive Wheel
- Jeep Cherokee Door Check Modification - Very Simple
- Keeping the hood aligned
- DIY All Cable Ebrake System for 1963-1972 C10
- Alignment Tools - Easier than you think
- Conversion to dual master cylinder brakes 1963-1966 C10.
- Steering column modification
- A simple way to remove old control arm bushings.
- An easy way to adjust brake shoes
- How to remove a pilot bushing from the crankshaft.
- Cutting spot welds
- E-brake clip removal made easy
- Harmonic Balancer Installation - Tapping threads in the crank
- POR 15 with less mess.
- Engine Run Stand
- Engine Dolly - EZ to make
- Steering Wheel Restoration Page
- Sway Bar Info
- Power Brake Booster Page
-
Other Projects
- 1934 Chevy Coupe Build Page
- 1934 Chevy Master 5 Window Coupe
- 1963 Body repairs
- Anvil
- Hot Rod 283 SBC Build
- Grand Cathedral Game
- 1968 C10 Short Fleet
- Rockwell Drill Press
- 283ci SBC Engine
- Safety Stand for Lift
- Coat Hook
- Engine Run Stand
- 1963 Short Fleet Project
- Metal sculpture figures
- Shop Project
- Shop Sign
- Lean-to Shop Addition
- Air Compressor Project
- 2 Post Automotive Lift
- 1963 Chevy Custom C10 SBFS BBW
- Metal Top Outdoor Work Table
- Bearings to grenade
- Bar Stool Go Kart
- Special Bolts Plaque
- Vise Stand
- Grinder Stand
-
Random Pics
- 2021 Stovebolt Jamboree Pictures
- 1963 Custom Comfort Seat
- Flywheel differences
- Carb spacer
- Bimini 2019
- T5 shifter ideas
- Engine Torque and HP
- LUGNUTZ DIY Shop
- Alaska 2018
- 2019 ODSS Homecoming
- Chevy 3 speed transmission ID
- 2018 Stovebolt Homecoming Pics
- Anvil
- Pallet Rack Shelving
- Reference PICS
- shop plywood walls
- Welding Stuff